주요 콘텐츠로 건너뛰기

Alcatel IdealXCITE Rear Speaker Replacement

필요한 것

  1. Alcatel IdealXCITE Rear Speaker Replacement, Battery: 1 단계, 이미지 1/3 Alcatel IdealXCITE Rear Speaker Replacement, Battery: 1 단계, 이미지 2/3 Alcatel IdealXCITE Rear Speaker Replacement, Battery: 1 단계, 이미지 3/3
    • Place your finger in the small notch on the left corner of the phone.

    • Use your finger to gently pull up on the back cover where the notch is located.

    • Gently pull up on the back cover, working around the phone.

    • Remove the cover from the phone, and set it aside for later installation.

  2. Alcatel IdealXCITE Rear Speaker Replacement: 2 단계, 이미지 1/3 Alcatel IdealXCITE Rear Speaker Replacement: 2 단계, 이미지 2/3 Alcatel IdealXCITE Rear Speaker Replacement: 2 단계, 이미지 3/3
    • Place your thumb in the small notch between the battery and the phone.

    • Use your thumb to gently pry the battery up at the notch, releasing it from the phone.

    • Take note of the contacts in the phone and on the battery for reinstallation.

  3. Alcatel IdealXCITE Rear Speaker Replacement, Antenna: 3 단계, 이미지 1/2 Alcatel IdealXCITE Rear Speaker Replacement, Antenna: 3 단계, 이미지 2/2
    • Remove the four 4mm PH00 screws.

  4. Alcatel IdealXCITE Rear Speaker Replacement: 4 단계, 이미지 1/3 Alcatel IdealXCITE Rear Speaker Replacement: 4 단계, 이미지 2/3 Alcatel IdealXCITE Rear Speaker Replacement: 4 단계, 이미지 3/3
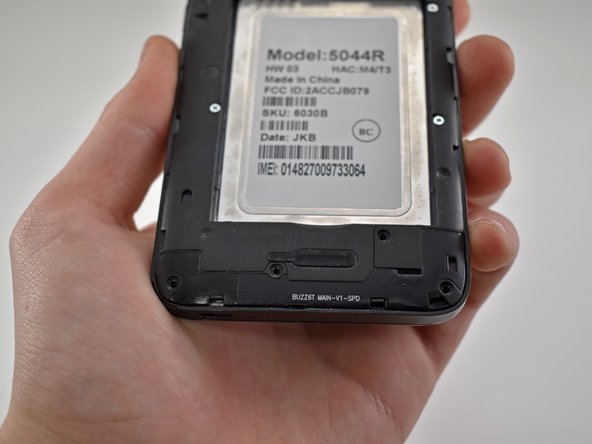
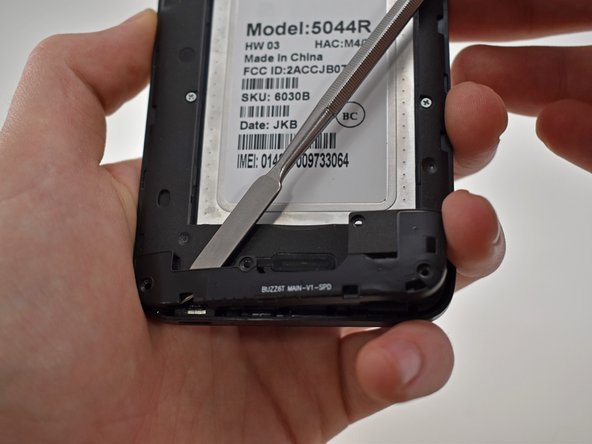
    • Using a spudger, pry upwards in the indentation on the bottom right corner of the phone.

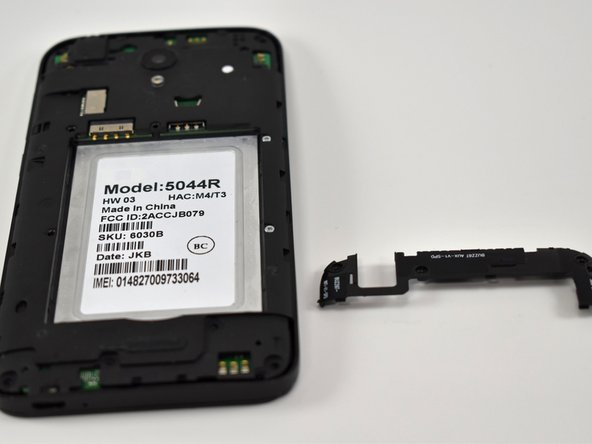
    • Work the tool gently around the antenna to release it.

  5. Alcatel IdealXCITE Rear Speaker Replacement, Rear Speaker: 5 단계, 이미지 1/3 Alcatel IdealXCITE Rear Speaker Replacement, Rear Speaker: 5 단계, 이미지 2/3 Alcatel IdealXCITE Rear Speaker Replacement, Rear Speaker: 5 단계, 이미지 3/3
    • Remove the three 4mm PH00 screws holding the WiFi/GPS antenna in.

    • Gently pry the WiFi/GPS antenna out using a Jimmy and set aside.

  6. Alcatel IdealXCITE Rear Speaker Replacement: 6 단계, 이미지 1/2 Alcatel IdealXCITE Rear Speaker Replacement: 6 단계, 이미지 2/2
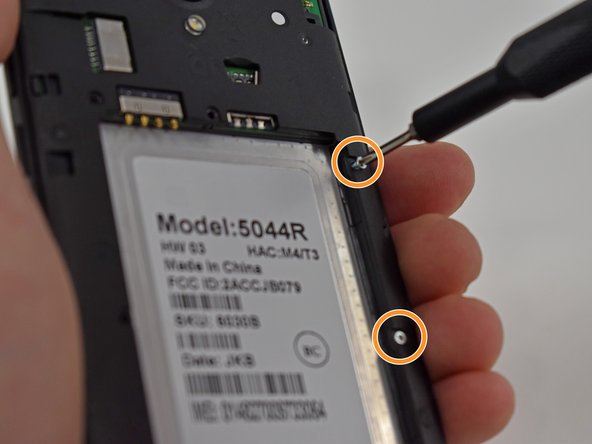
    • Remove the three remaining 4mm PH00 screws.

    • Remove the two 3mm PH00 screws.

  7. Alcatel IdealXCITE Rear Speaker Replacement: 7 단계, 이미지 1/3 Alcatel IdealXCITE Rear Speaker Replacement: 7 단계, 이미지 2/3 Alcatel IdealXCITE Rear Speaker Replacement: 7 단계, 이미지 3/3
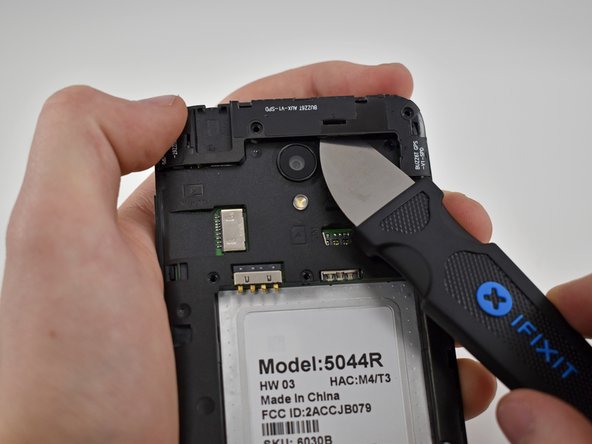
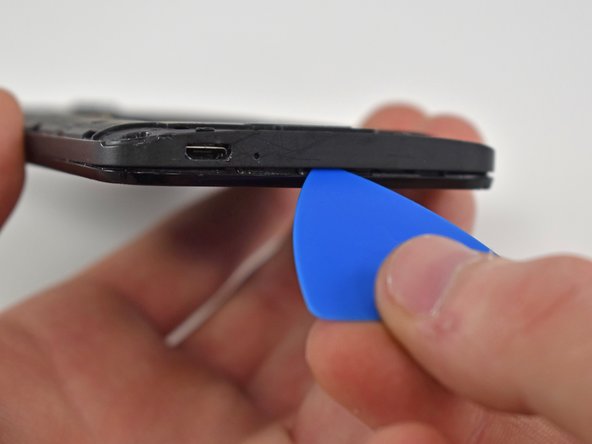
    • Using a spudger and an iFixit opening pick, pry the midframe up.

  8. Alcatel IdealXCITE Rear Speaker Replacement: 8 단계, 이미지 1/3 Alcatel IdealXCITE Rear Speaker Replacement: 8 단계, 이미지 2/3 Alcatel IdealXCITE Rear Speaker Replacement: 8 단계, 이미지 3/3
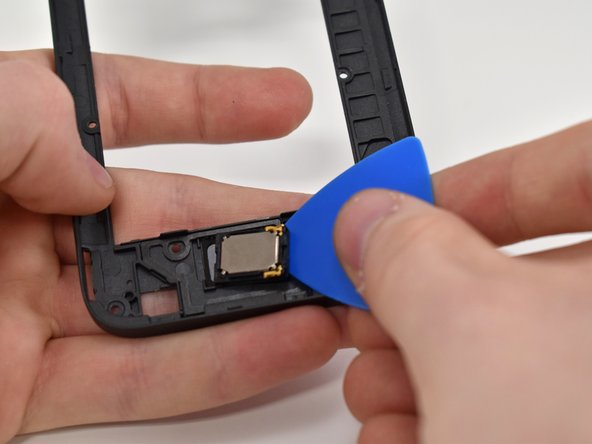
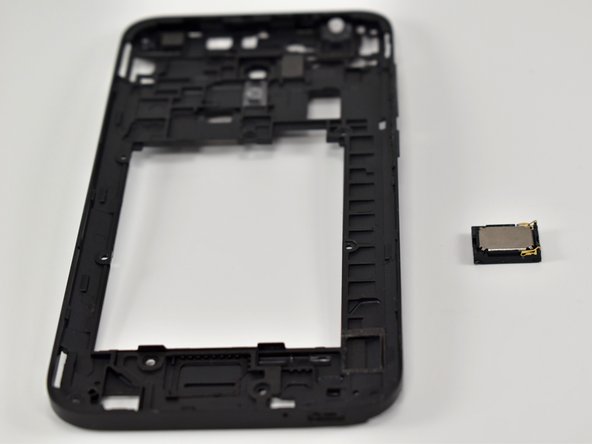
    • Pry gently between the rear case and speaker using an iFixit opening pick.

    • Reapply adhesive to the new speaker when reassembling the phone.

결론

To reassemble your device, follow these instructions in reverse order.

Franklin Froehlich

회원 가입일: 03/07/19

427 평판

안내서 3개 작성하였습니다

Casper College, Team S1-G2, Lareau Spring 2019 Casper College, Team S1-G2, Lareau Spring 2019 회원

CASC-LAREAU-S19S1G2

4 회원들

안내서 6개 작성하였습니다

댓글 0개

댓글 쓰기

조회 통계:

24 시간 전: 0

7일 전: 1

30일 전: 2

전체 시간: 285