소개
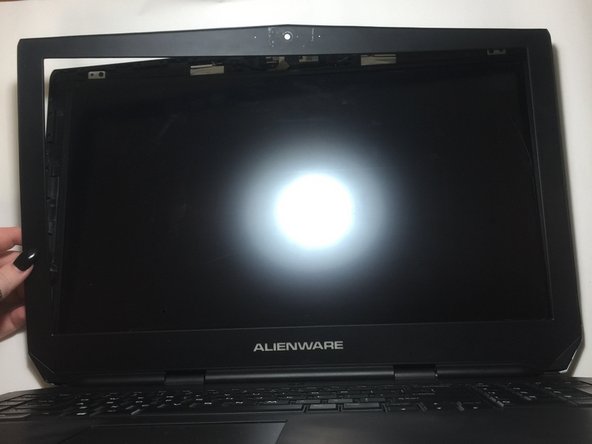
One of the causes for a blank or pix-elated screen could because it is cracked. In this guide, we will show you how to replace your screen.
필요한 것
-
-
Put the laptop on a hard surface.
-
Make sure that the Alienware is not plugged into any power source.
-
First, we need to unplug the battery.
 FixBot에 문의하기
-
-
-
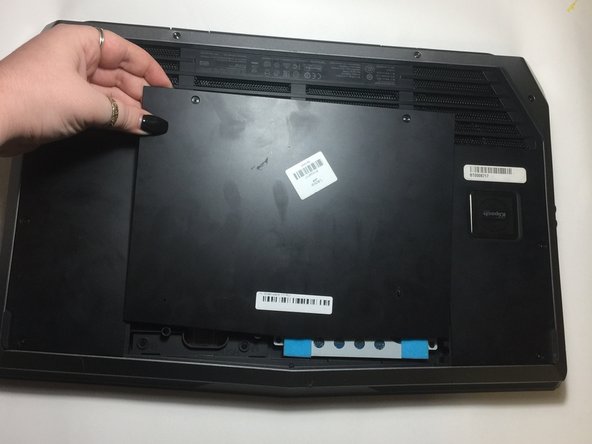
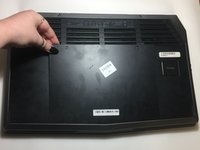
To unplug the battery, turn the computer upside down.
-
Remove the two 4mm screws from the plastic covering protecting the inner part of the laptop.
-
-
-
-
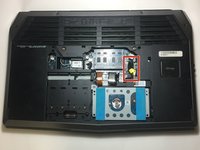
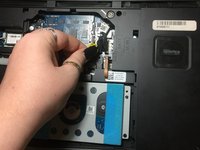
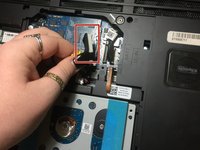
Now, you are going to look for a yellow tag.
-
Unplug the black wire that has the yellow tag.
-
This with successfully disconnect your battery.
-
-
-
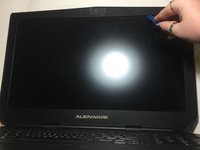
Using the plastic opening tool, gently remove the black plastic casing from the LCD screen.
-
Run the opening tool along the inner side of the computer where the screen and the plastic covering meet.
-
-
-
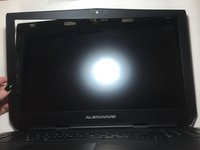
Tilt the screen forward towards the keyboard.
-
Disconnect the plug that is connecting the screen to the main body.
-


To reassemble your device, follow these instructions in reverse order.
팀

University of North Texas, Team S6-G4, Thomas Fall 2017 University of North Texas, Team S6-G4, Thomas Fall 2017 회원
UNT-THOMAS-F17S6G4
3 회원들
안내서 6개를 작성함