소개
The RAM is a vital component in the Alienware M17-R1. As larger programs are being released, they will require more memory, meaning that the RAM may need to be upgraded.
필요한 것
-
-
-
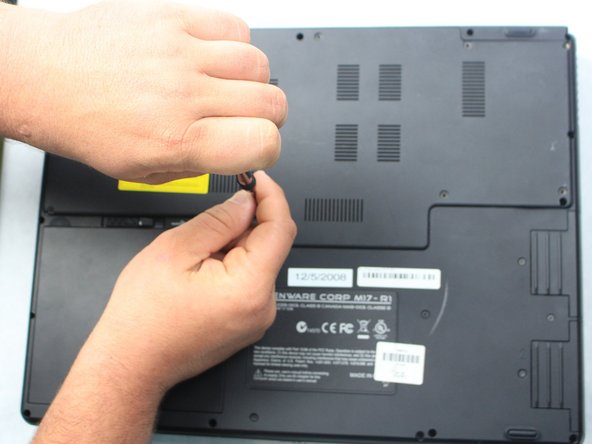
Remove the nine 3 mm screws that secure the cover using a Phillips #1 screwdriver.
-
-
-
Once the cover is removed, locate the RAM compartment to begin the replacement.
-
-
-
After locating the RAM, gently pull the two metal clips outward and lift the RAM card out of its socket.
-
-
-
To insert the new RAM, place it on top of the socket and carefully apply downward pressure until it snaps into place.
-


To reassemble your device, follow these instructions in reverse order.
팀

Sam Houston State, Team S15-G2, Blackburne Fall 2018 Sam Houston State, Team S15-G2, Blackburne Fall 2018 회원
SHSU-BLACKBURNE-F18S15G2
4 회원들
안내서 5개를 작성함