주요 콘텐츠로 건너뛰기

Alienware M17x Hard Drive Replacement

필요한 것

  1. Alienware M17x Hard Drive Replacement, Battery: 1 단계, 이미지 1/2 Alienware M17x Hard Drive Replacement, Battery: 1 단계, 이미지 2/2
    • Turn off your laptop before starting.

    • Flip the laptop over so the model stickers face the ceiling.

  2. Alienware M17x Hard Drive Replacement: 2 단계, 이미지 1/1
    • Remove the two 3.5 mm Phillips #0 screws holding the cover in place.

    • Slide cover forward then carefully lift up.

  3. Alienware M17x Hard Drive Replacement: 3 단계, 이미지 1/1
    • Remove the two 5.5 mm Phillips #0 screws holding the battery in place.

  4. Alienware M17x Hard Drive Replacement: 4 단계, 이미지 1/2 Alienware M17x Hard Drive Replacement: 4 단계, 이미지 2/2
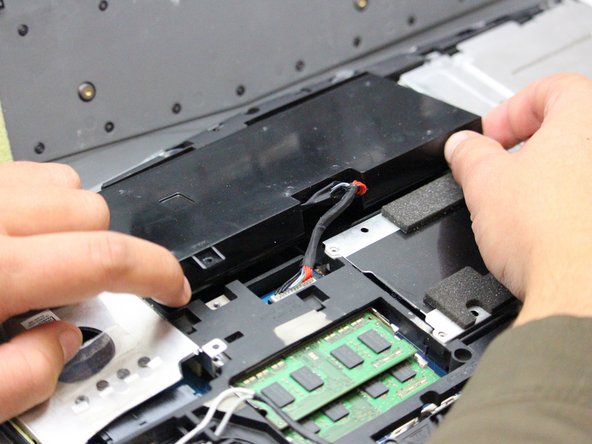
    • Carefully use the Plastic Opening Tool to unplug the battery.

    • Lift the battery up and out to remove.

  5. Alienware M17x Hard Drive Replacement, Hard Drive: 5 단계, 이미지 1/1
    • With the laptop flipped over, cover removed, and battery removed; continue by locating your hard drive(s).

  6. Alienware M17x Hard Drive Replacement: 6 단계, 이미지 1/3 Alienware M17x Hard Drive Replacement: 6 단계, 이미지 2/3 Alienware M17x Hard Drive Replacement: 6 단계, 이미지 3/3
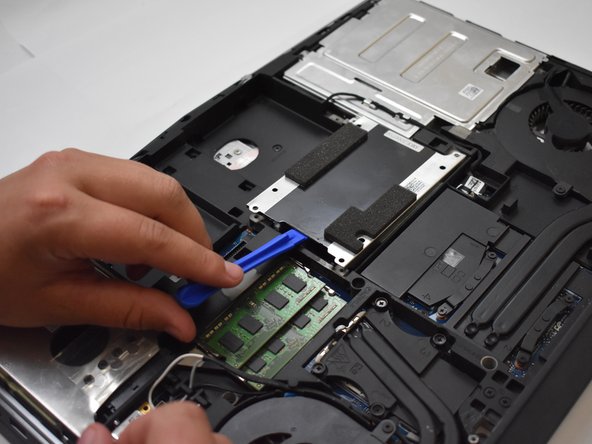
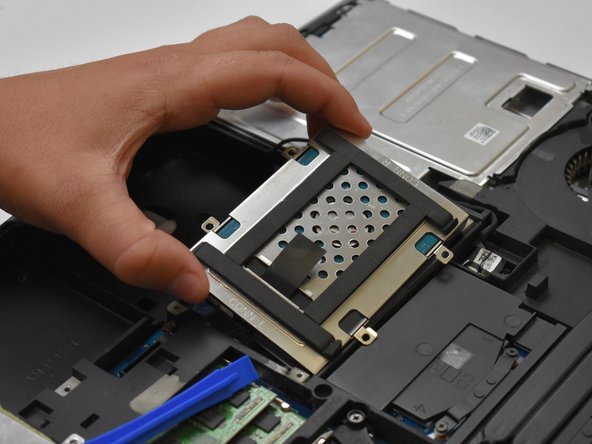
    • Remove the eight 3.5 mm Phillips #0 screws.

    • Remove the hard drive(s), using the Plastic Opening Tool by lifting on the edges and pulling the hard drive up and out.

결론

To reassemble your device, follow these instructions in reverse order.

다른 한 분이 해당 안내서를 완성하였습니다.

Mosier Locke

회원 가입일: 09/27/18

729 평판

안내서 5개 작성하였습니다

댓글 0개

댓글 쓰기

조회 통계:

24 시간 전: 3

7일 전: 7

30일 전: 13

전체 시간: 2,350