주요 콘텐츠로 건너뛰기

Altair WBP-210 Full Disassembly

필요한 것

  1. Altair WBP-210 Full Disassembly, Remove Mini-XLR nut: 1 단계, 이미지 1/1
    • Remove nut on mini-XLR connector.

  2. Altair WBP-210 Full Disassembly, Remove rubber panels: 2 단계, 이미지 1/2 Altair WBP-210 Full Disassembly, Remove rubber panels: 2 단계, 이미지 2/2
    • Slide off rubber panels on all four corners.

    • If there are screws underneath, remove those as well.

  3. Altair WBP-210 Full Disassembly, Open case: 3 단계, 이미지 1/2 Altair WBP-210 Full Disassembly, Open case: 3 단계, 이미지 2/2
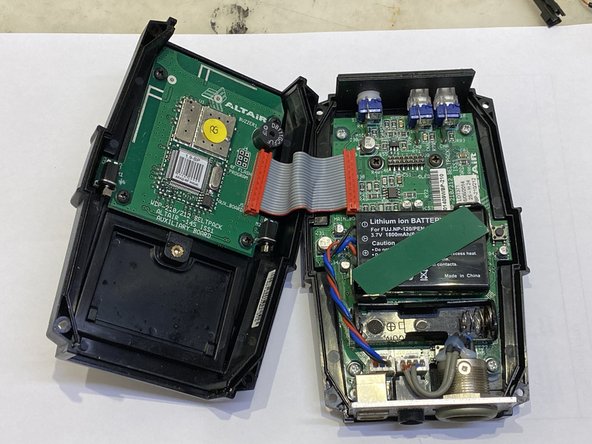
    • Open the case using a suitable tool to help separate the two halves.

    • Watch out for the ribbon cable.

  4. Altair WBP-210 Full Disassembly, Remove back case.: 4 단계, 이미지 1/2 Altair WBP-210 Full Disassembly, Remove back case.: 4 단계, 이미지 2/2
    • Disconnect the back half of the case.

  5. Altair WBP-210 Full Disassembly, Remove Auxiliary Board: 5 단계, 이미지 1/2 Altair WBP-210 Full Disassembly, Remove Auxiliary Board: 5 단계, 이미지 2/2
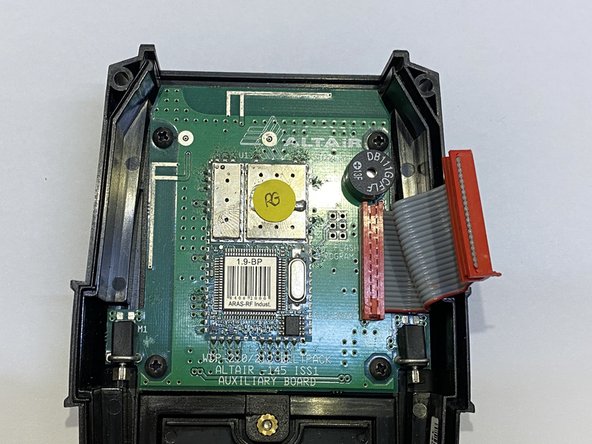
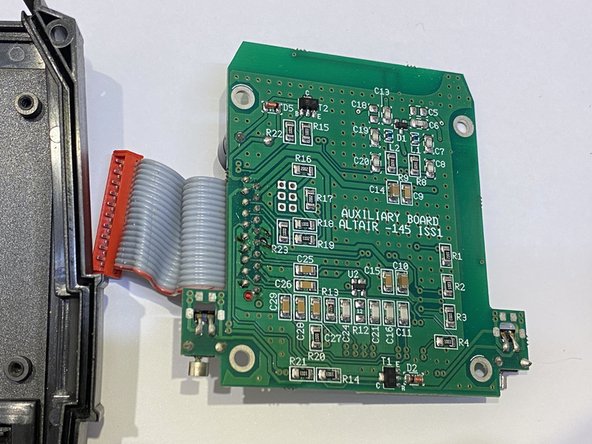
    • There are four screws holding the Auxiliary Board in place.

  6. Altair WBP-210 Full Disassembly, Remove Battery: 6 단계, 이미지 1/2 Altair WBP-210 Full Disassembly, Remove Battery: 6 단계, 이미지 2/2
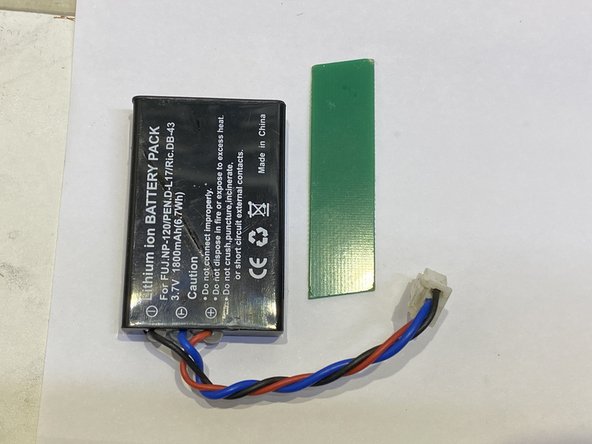
    • The battery is held in place by a flexible bit of PCB, which can be carefully removed.

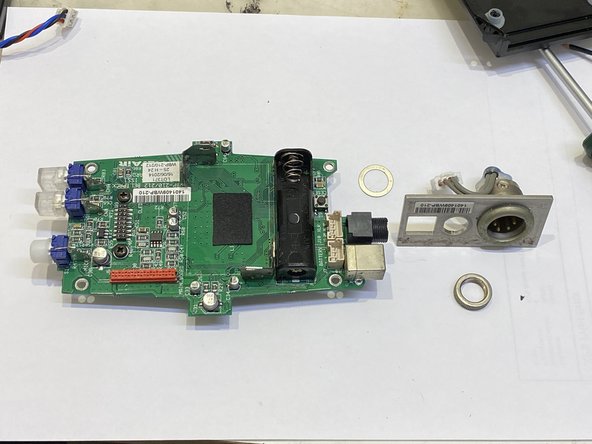
  7. Altair WBP-210 Full Disassembly, Remove main board: 7 단계, 이미지 1/2 Altair WBP-210 Full Disassembly, Remove main board: 7 단계, 이미지 2/2
    • The main PCB is held in place by four screws.

결론

To reassemble your device, follow these instructions in reverse order.

다른 한 분이 해당 안내서를 완성하였습니다.

raven

회원 가입일: 09/02/15

1,080 평판

안내서 4개 작성하였습니다

댓글 0개

댓글 쓰기

조회 통계:

24 시간 전: 0

7일 전: 1

30일 전: 7

전체 시간: 34