이 버전에는 잘못된 편집 사항이 있을 수 있습니다. 최신 확인된 스냅샷으로 전환하십시오.
필요한 것
-
이 단계는 번역되지 않았습니다. 번역을 도와주십시오
-
Remove the rubber layer beneath the device.
-
Look for the crater beneath the rubber layer and place your thumb on it. Hold down and lift off the cover with your other hand.
-
Remove the four 8.0 mm T8 Torx screws on the lid.
-
Remove the lid from the device.
-
-
이 단계는 번역되지 않았습니다. 번역을 도와주십시오
-
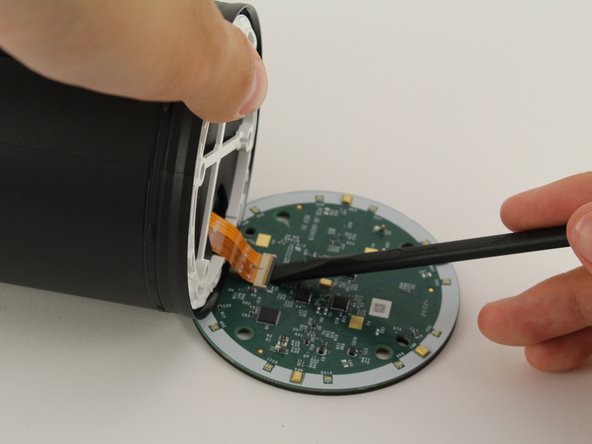
Use a spudger to flip up the small flap on the ZIF connector.
-
Gently pull the ribbon cable out of the ZIF connector.
-
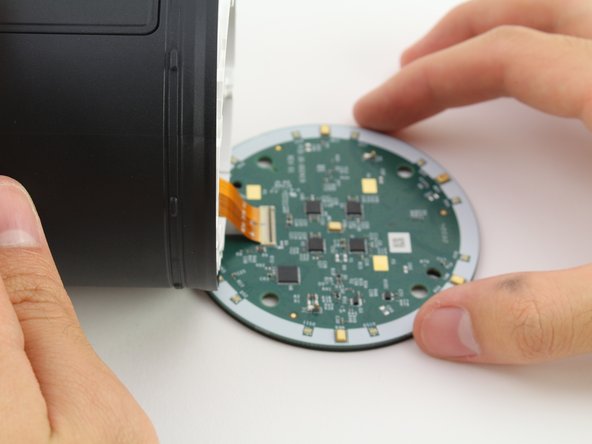
Lift the AMP Board gently while sliding the ribbon cable out through the center hole to reveal another set of wires underneath the board.
-
-
이 단계는 번역되지 않았습니다. 번역을 도와주십시오
-
Use a spudger to lift up one of the small flaps on only one side of the female connector.
-
Pull on the wire toward the lifted side until the male connector is disconnected.
-
Remove the AMP Board.
-
-
-
이 단계는 번역되지 않았습니다. 번역을 도와주십시오
-
Remove the four 30.0 mm T8 Torx screws in the corners.
-
Remove the large plastic piece on top of the subwoofer while threading the ribbon cable and male connector through the hole.
-
-
이 단계는 번역되지 않았습니다. 번역을 도와주십시오
-
Remove the lid on top of the subwoofer.
-
Flip the device over and let the subwoofer fall into your hand.
-
-
이 단계는 번역되지 않았습니다. 번역을 도와주십시오
-
Lift the MIC board over and lay it down against a surface.
-
Use a spudger to flip up the small flap on the ZIF connector.
-
Disconnect the ribbon cable from the MIC board and pull the board away.
-
-
이 단계는 번역되지 않았습니다. 번역을 도와주십시오
-
Remove the four 16.0 mm T8 Torx screws underneath the speaker.
-
Flip the device over while supporting the front panel side.
-
Remove the front panel cover by lifting it.
-
-
이 단계는 번역되지 않았습니다. 번역을 도와주십시오
-
Remove the white plastic shielding and the black silicon cover.
-
Remove the metal cover beneath the black silicon cover.
-
-
이 단계는 번역되지 않았습니다. 번역을 도와주십시오
-
Carefully lift up the MLB board. Underneath it is another ZIF connector. Use a spudger to flip the small flap on the ZIF connector.
-
Remove the MLB Board by flipping the device over and letting it fall into your hands.
-


다른 한 분이 해당 안내서를 완성하였습니다.
팀

Cal Poly, Team S4-G4, White Fall 2018 Cal Poly, Team S4-G4, White Fall 2018 회원
CPSU-WHITE-F18S4G4
3 회원들
안내서 5개 작성하였습니다