이 버전에는 잘못된 편집 사항이 있을 수 있습니다. 최신 확인된 스냅샷으로 전환하십시오.
필요한 것
-
이 단계는 번역되지 않았습니다. 번역을 도와주십시오
-
Slowly lift the plate containing the board. Be careful not to disconnect any of the wires.
-
-
-
이 단계는 번역되지 않았습니다. 번역을 도와주십시오
-
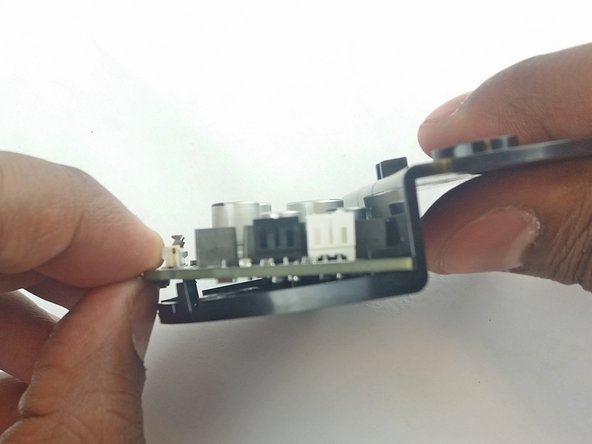
Using tweezers, carefully disconnect the two red and black cables from their sockets on the board.
-
-
이 단계는 번역되지 않았습니다. 번역을 도와주십시오
-
Lift the brown plastic latch on the ZIF connector securing the driver board ribbon cable.
-
Pull the ribbon cable from its connector. The plate and board should now be free from the Echo.
-
-
이 단계는 번역되지 않았습니다. 번역을 도와주십시오
-
Using the spudger, pull back the two plastic clips on the plate.
-
Lift the board up and pull it away from the plate.
-
-
이 단계는 번역되지 않았습니다. 번역을 도와주십시오
-
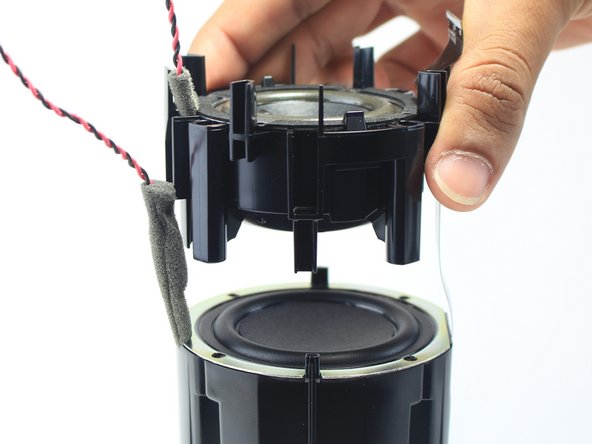
Remove the plastic plate from the bottom of the device. Then remove the plastic shrouding.
-
-
이 단계는 번역되지 않았습니다. 번역을 도와주십시오
-
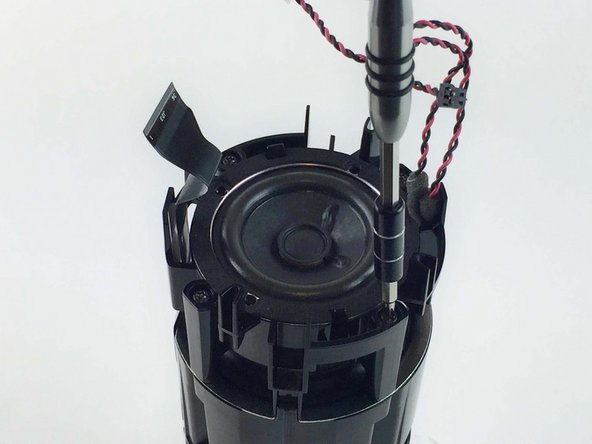
Remove the four 42.8 mm T10 Torx screws around the tweeter.
-
Lift the tweeter and its attached housing from the device.
-


팀

USF Tampa, Team 3-3, Wollert Spring 2016 USF Tampa, Team 3-3, Wollert Spring 2016 회원
USFT-WOLLERT-S16S3G3
4 회원들
안내서 12개 작성하였습니다
댓글 3개
Are you saying removing it and replacing the same tweeter is what you have to do? It says no parts.
The primary purpose of this guide is to show you how to remove a failing tweeter so that you can replace it with a new one. The "no parts required" text appears at the top of this guide because the author didn't have a source for the replacement part.