소개
If your Amazon Fire Max 11 is losing its charge extremely fast, overheating extremely often, or shutting off randomly, it might be time to replace the battery. This guide will walk you through this replacement process.
WARNING: The Amazon Fire Max 11 uses a lithium-ion battery for power. Be extremely careful not to puncture the battery when attempting to replace it. If you notice any swelling of the battery DO NOT attempt to remove the battery on your own as lithium-ion batteries are prone to popping after long periods of time or blunt trauma. For more information on what to do with a swollen battery, see this guide.
Before you begin this repair, be sure to power off your laptop and unplug it from the charger.
필요한 것
-
-
Use a heat gun along the edges of the screen to loosen the adhesive.
-
Insert the iFixit opening tool along the seam between the screen and back case and gently pry around the perimeter of the screen.
 FixBot에 문의하기
-
-
-
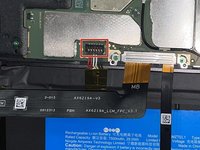
Once the screen has been separated from the case, lift it slightly to reveal the display cable connected to the motherboard.
-
Gently push the tip of a spudger under the metal buckle to unclip it, then swing it over the socket.
-
Next, hold the buckle and cable together and gently pull the connector straight out of its socket.
-
Grip the cable and buckle together and insert the connector fully into its socket.
-
Flip the buckle over the socket and use a spudger to press the buckle down until it clicks into place.
-
Remove the screen.
-
-
-
-
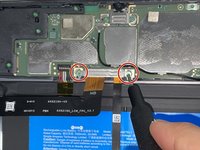
Use a Phillips #000 screwdriver to remove the two screws securing the bracket that connects the motherboard to the magnetic connection port for keyboards through a long, slim wire.
-
Remove the bracket.
-
-
-
Place a spudger or an opening tool under the press connector's edge and pry straight up to disconnect it.
-
-
-
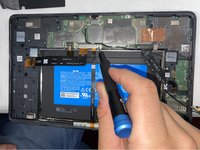
Use a Phillips #000 screwdriver to remove the single screw securing the black bracket above the right corner of the battery.
-
Remove the bracket.
-
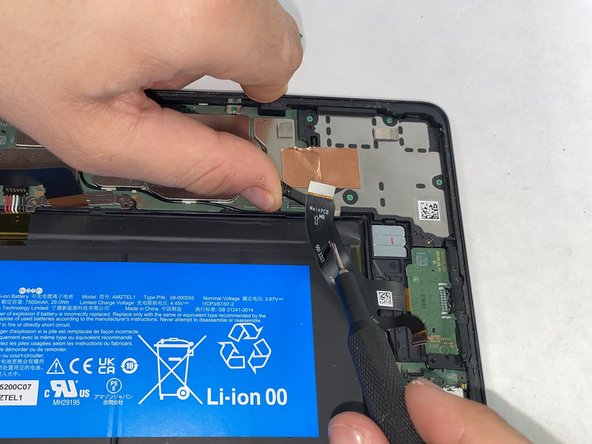
Lift the wire up and unplug the connector.
-
-
-
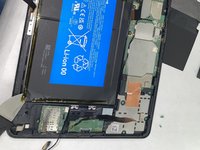
Gently disconnect the battery cable from the socket on the motherboard.
-
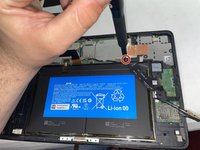
Use a Jimmy to pry the battery from the device starting from the bottom of the battery towards the keyboard connection port.
-
Remove the battery.
-


To reassemble your device, follow these instructions in reverse order. Take your e-waste to an R2 or e-Stewards certified recycler.
다른 2명이 해당 안내서를 완성하였습니다.
팀

UMass Dartmouth, Team 1-3, Konn Spring 2024 UMass Dartmouth, Team 1-3, Konn Spring 2024 회원
UMASSD-KONN-S24S1G3
4 회원들
안내서 4개를 작성함