주요 콘텐츠로 건너뛰기

AmazonBasics BTV1 Micro USB Jack Replacement

필요한 것

  1. AmazonBasics BTV1 Micro USB Jack Replacement, Battery: 1 단계, 이미지 1/2 AmazonBasics BTV1 Micro USB Jack Replacement, Battery: 1 단계, 이미지 2/2
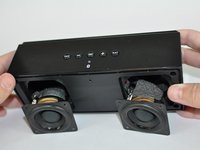
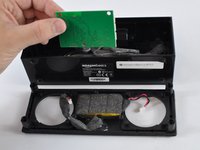
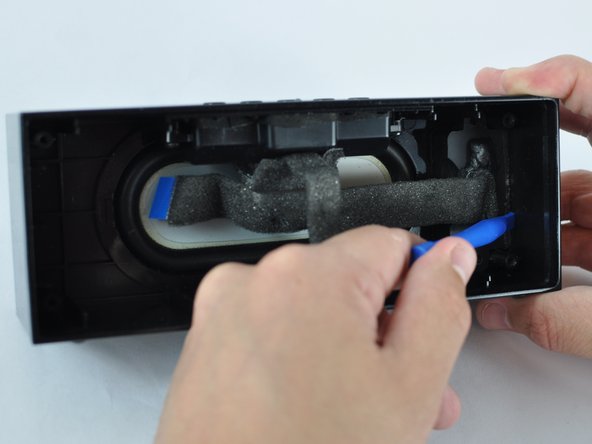
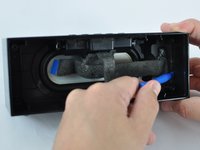
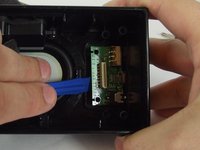
    • Hold the speaker firmly and wedge a plastic opening tool in between the faceplate and the body of the speaker.

    • Move the tool back and forth along the entire perimeter of the face plate until you feel the plate loosen, then pry the plate off.

  2. AmazonBasics BTV1 Micro USB Jack Replacement: 2 단계, 이미지 1/2 AmazonBasics BTV1 Micro USB Jack Replacement: 2 단계, 이미지 2/2
    • Using a Phillips #1 screwdriver, remove the four black 10mm screws around each of speakers.

    • Using a Phillps #1 screwdriver, remove the four black 10mm screws securing the inside panel to the case.

  3. AmazonBasics BTV1 Micro USB Jack Replacement: 3 단계, 이미지 1/2 AmazonBasics BTV1 Micro USB Jack Replacement: 3 단계, 이미지 2/2
    • Tilt the case downwards until the speakers fall out of their housings.

    • Reach your thumb and forefinger past the speakers and detach the front speaker panel from the unit.

  4. AmazonBasics BTV1 Micro USB Jack Replacement: 4 단계, 이미지 1/2 AmazonBasics BTV1 Micro USB Jack Replacement: 4 단계, 이미지 2/2
    • Gently pull each plastic connector from the motherboard.

    • Take a note of which connector goes with each component for easy reassembly.

    • Use a Phillips #1 screwdriver to remove each of the three black 9.6mm screws from the motherboard.

  5. AmazonBasics BTV1 Micro USB Jack Replacement: 5 단계, 이미지 1/2 AmazonBasics BTV1 Micro USB Jack Replacement: 5 단계, 이미지 2/2
    • Lift the motherboard off the face plate, exposing the battery.

    • Lift the battery out of its housing.

    • Use caution when using tools around the battery; batteries can be dangerous if punctured.

  6. AmazonBasics BTV1 Micro USB Jack Replacement, Micro USB Jack: 6 단계, 이미지 1/3 AmazonBasics BTV1 Micro USB Jack Replacement, Micro USB Jack: 6 단계, 이미지 2/3 AmazonBasics BTV1 Micro USB Jack Replacement, Micro USB Jack: 6 단계, 이미지 3/3
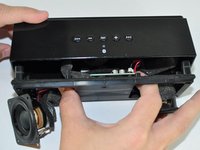
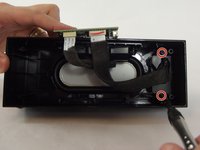
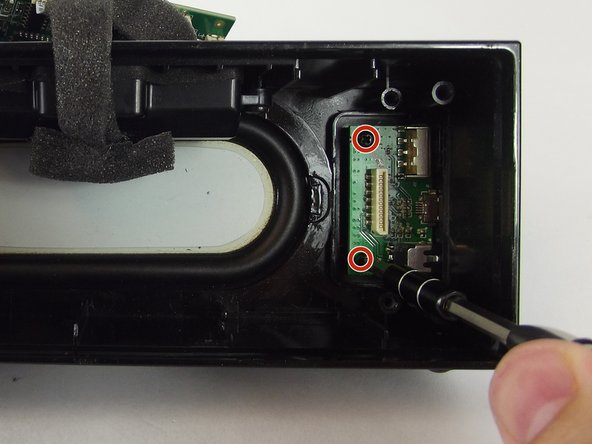
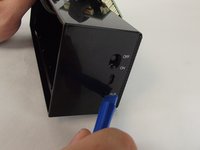
    • Using a Phillips #1 screwdriver, remove the two black 10mm screws on the interior of the case on the side with the USB and AUX inputs.

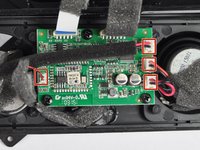
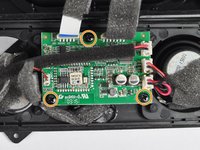
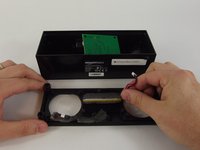
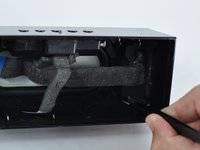
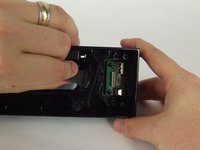
    • Use the plastic opening tool and tweezers at different points to work the audio input casing off.

  7. AmazonBasics BTV1 Micro USB Jack Replacement: 7 단계, 이미지 1/2 AmazonBasics BTV1 Micro USB Jack Replacement: 7 단계, 이미지 2/2
    • Use your fingers to pull casing off by the ribbon.

    • Use a Phillips #1 screwdriver to remove the two 7.6mm screws that hold the board in place.

  8. AmazonBasics BTV1 Micro USB Jack Replacement: 8 단계, 이미지 1/2 AmazonBasics BTV1 Micro USB Jack Replacement: 8 단계, 이미지 2/2
    • Use plastic opening tool to lift up the board.

    • Use plastic opening tool to gently push the aux input jack out of its housing.

  9. AmazonBasics BTV1 Micro USB Jack Replacement: 9 단계, 이미지 1/1
    • Use the soldering iron to heat up solder joint and desoldering wick to remove the solder on each solder pad.

    • Do not apply heat from soldering iron for lengthy periods of time as this could potentially damage the board.

결론

To reassemble your device, follow these instructions in reverse order.

다른 2명이 해당 안내서를 완성하였습니다.

Chris Shannon

회원 가입일: 02/01/16

1,039 평판

안내서 5개 작성하였습니다

USF Tampa, Team 14-2, Lacy Spring 2016 USF Tampa, Team 14-2, Lacy Spring 2016 회원

USFT-LACY-S16S14G2

3 회원들

안내서 5개 작성하였습니다

댓글 한 개

that's awesome didn't i would find a tutorial but here it is. thanks man. What kind of usb connector do i use.

michael sorsby - 답글

댓글 쓰기

조회 통계:

24 시간 전: 0

7일 전: 0

30일 전: 2

전체 시간: 592