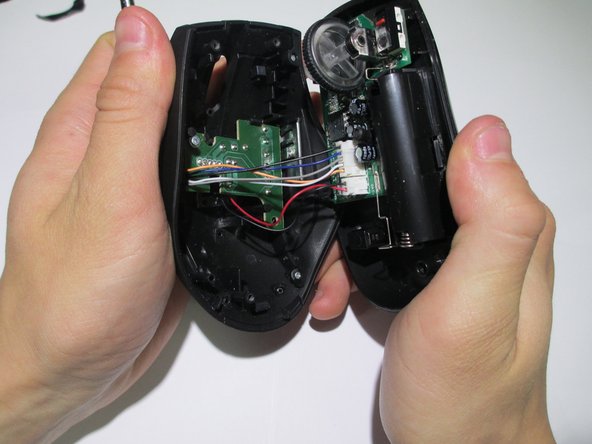
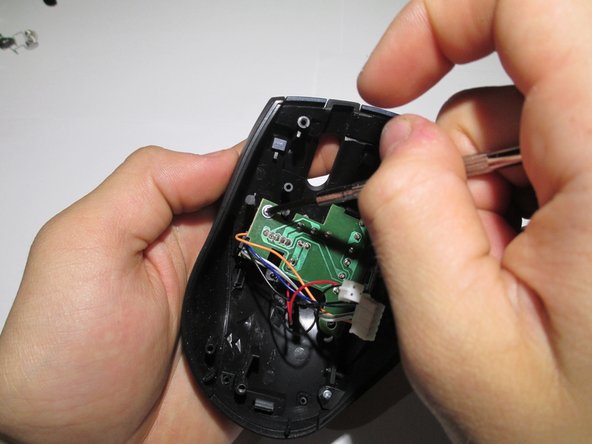
주요 콘텐츠로 건너뛰기

Anker 2.4G Wireless Mouse LED Replacement

필요한 것

  1. Anker 2.4G Wireless Mouse LED Replacement, LED: 1 단계, 이미지 1개 중 1개
    • Use a spudger to gently pry off the stickers to reveal the location of the four screws.

  2. Anker 2.4G Wireless Mouse LED Replacement: 2 단계, 이미지 1개 중 1개
    • Remove the four screws to continue.

  3. Anker 2.4G Wireless Mouse LED Replacement: 3 단계, 이미지 2개 중 1개 Anker 2.4G Wireless Mouse LED Replacement: 3 단계, 이미지 2개 중 2개
    • Pry the center of the mouse apart using a spudger to separate the upper and lower housing of the boards.

  4. Anker 2.4G Wireless Mouse LED Replacement: 4 단계, 이미지 1개 중 1개
    • Remove the wires from the white crimp headers. This will separate the upper and lower housing units of the mouse.

    • Pull as far up on the wire as possible, but be careful to avoid ripping the wires.

  5. Anker 2.4G Wireless Mouse LED Replacement: 5 단계, 이미지 2개 중 1개 Anker 2.4G Wireless Mouse LED Replacement: 5 단계, 이미지 2개 중 2개
    • Take the upper housing of the mouse and remove the two screws that hold the board in place.

  6. Anker 2.4G Wireless Mouse LED Replacement: 6 단계, 이미지 1개 중 1개
    • Gently remove the circuit board from the mouse.

  7. Anker 2.4G Wireless Mouse LED Replacement: 7 단계, 이미지 1개 중 1개
    • To remove the LED, flip the board over and desolder the wires.

    • Replace LED with a new LED and resolder into place.

결론

To reassemble your device, follow these instructions in reverse order.

작성자

4다른 기여자 명과 함께

Colin

회원 가입일: 02/10/14

406 평판

안내서 3개를 작성함

Cal Poly, Team 1-39, Maness Winter 2014 Cal Poly, Team 1-39, Maness Winter 2014 회원

CPSU-MANESS-W14S1G39

4 회원들

안내서 16개를 작성함

0가이드 댓글

댓글 쓰기

조회 통계:

지난 24시간: 0

지난 7일: 3

지난 30일: 10

전체 시간: 3,211