주요 콘텐츠로 건너뛰기

Anker Soundcore Flare Mini Battery Replacement

필요한 것

  1. Anker Soundcore Flare Mini Battery Replacement, Bottom Cover: 1 단계, 이미지 1/3 Anker Soundcore Flare Mini Battery Replacement, Bottom Cover: 1 단계, 이미지 2/3 Anker Soundcore Flare Mini Battery Replacement, Bottom Cover: 1 단계, 이미지 3/3
    이 단계에 사용된 도구:
    Tweezers
    $4.99
    구매
    • The rubber cover of the speaker is glued down.

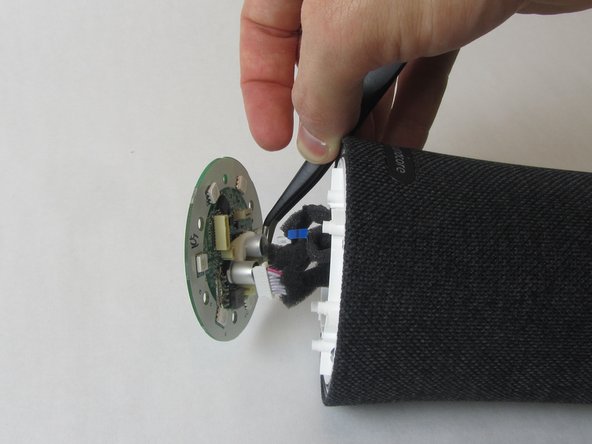
    • Use precision tweezers to peel the rubber cover off of the bottom of the speaker.

  2. Anker Soundcore Flare Mini Battery Replacement: 2 단계, 이미지 1/3 Anker Soundcore Flare Mini Battery Replacement: 2 단계, 이미지 2/3 Anker Soundcore Flare Mini Battery Replacement: 2 단계, 이미지 3/3
    • Remove six 10 mm screws holding the plastic cover in place using a Phillips #000 screwdriver.

    • Use your hand to pull the plastic cover off the bottom of the speaker.

  3. Anker Soundcore Flare Mini Battery Replacement, Motherboard: 3 단계, 이미지 1/3 Anker Soundcore Flare Mini Battery Replacement, Motherboard: 3 단계, 이미지 2/3 Anker Soundcore Flare Mini Battery Replacement, Motherboard: 3 단계, 이미지 3/3
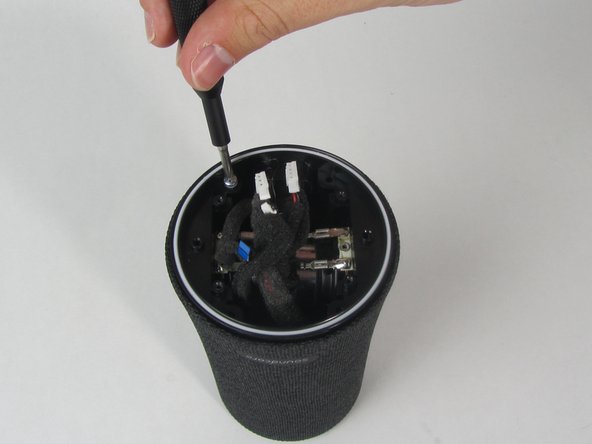
    • Remove the single 10 mm screw holding the motherboard in place using a Phillips #000 screwdriver.

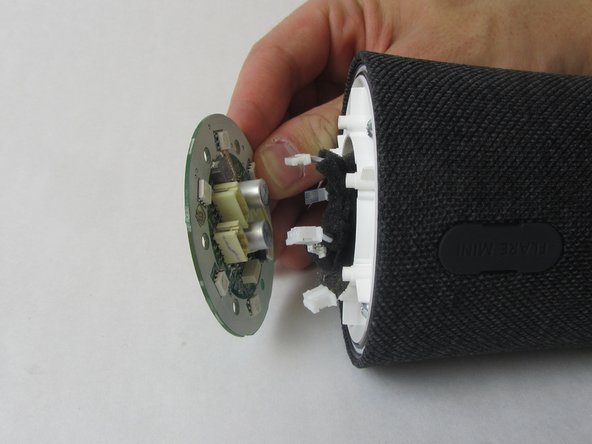
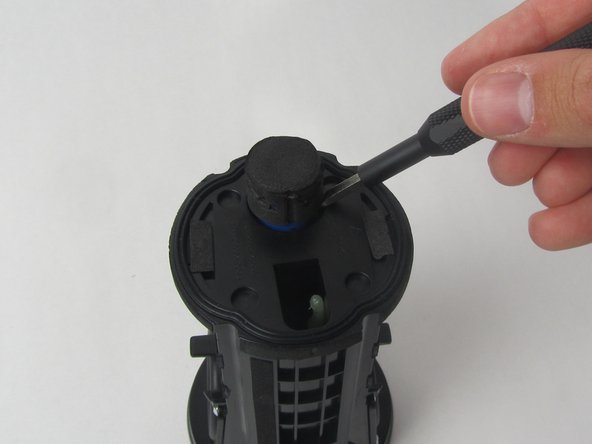
    • Lift the motherboard up.

    • The motherboard is still attached to several wires underneath.

  4. Anker Soundcore Flare Mini Battery Replacement: 4 단계, 이미지 1/3 Anker Soundcore Flare Mini Battery Replacement: 4 단계, 이미지 2/3 Anker Soundcore Flare Mini Battery Replacement: 4 단계, 이미지 3/3
    이 단계에 사용된 도구:
    Tweezers
    $4.99
    구매
    • Use precision tweezers to firmly grasp the five power connectors and detach them from the back of the motherboard.

    • When removing the power connectors, do not pull the wires themselves.

    • Remove the motherboard from the speaker.

  5. Anker Soundcore Flare Mini Battery Replacement, Waterproof Outer Shell: 5 단계, 이미지 1/3 Anker Soundcore Flare Mini Battery Replacement, Waterproof Outer Shell: 5 단계, 이미지 2/3 Anker Soundcore Flare Mini Battery Replacement, Waterproof Outer Shell: 5 단계, 이미지 3/3
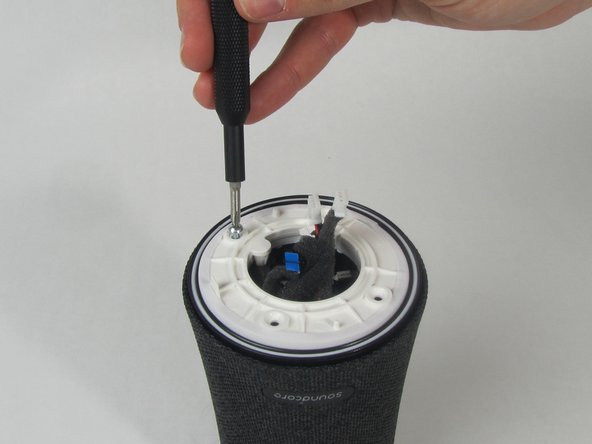
    • Remove the four 11 mm screws from the white plastic cover using a Phillips #1 screwdriver.

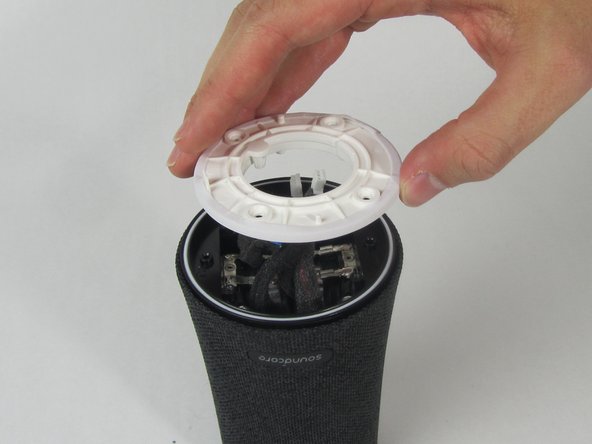
    • Remove the white plastic cover from the speaker.

  6. Anker Soundcore Flare Mini Battery Replacement: 6 단계, 이미지 1/2 Anker Soundcore Flare Mini Battery Replacement: 6 단계, 이미지 2/2
    • Remove the other four 11 mm screws holding the outer shell in place with a Phillips #1 screwdriver.

  7. Anker Soundcore Flare Mini Battery Replacement: 7 단계, 이미지 1/1
    • Pull the charging port away from the side of the speaker.

  8. Anker Soundcore Flare Mini Battery Replacement: 8 단계, 이미지 1/3 Anker Soundcore Flare Mini Battery Replacement: 8 단계, 이미지 2/3 Anker Soundcore Flare Mini Battery Replacement: 8 단계, 이미지 3/3
    • Use a spudger to loosen the cover from the inner components of the speaker.

    • Slide the cover completely off.

    • One wire will still be connected to the shell.

  9. Anker Soundcore Flare Mini Battery Replacement, Battery: 9 단계, 이미지 1/3 Anker Soundcore Flare Mini Battery Replacement, Battery: 9 단계, 이미지 2/3 Anker Soundcore Flare Mini Battery Replacement, Battery: 9 단계, 이미지 3/3
    • Use a spudger to pry the battery out.

    • It will be tough to start, but once you work the top part of the battery out with the spudger, you can pull it the rest of the way by hand.

결론

To reassemble your device, follow these instructions in reverse order.

다른 한 분이 해당 안내서를 완성하였습니다.

Ethan Holland

회원 가입일: 01/08/22

479 평판

안내서 4개 작성하였습니다

댓글 2개

where can I buy the battery replacement component ?

Andre Walters - 답글

Amazon, search for “rechargeable lithium ion battery 18650” it has to be a 2600 mAh 3.7v. I didn’t find one with the same connector so I just soldered the old one to the new battery, it works fine.

Mario Ojeda -

댓글 쓰기

조회 통계:

24 시간 전: 2

7일 전: 17

30일 전: 55

전체 시간: 1,717