소개
Follow these steps to replace the Aorus X7 v2 I/O Board for better sound quality and performance. Replacing the board can improve hardware support, graphics performance, and increase computer speed. It's recommended to replace the board every 2-4 years, but it can last up to 8 years. All you need is a new board, standard tools, and this guide to get started.
필요한 것
-
-
Use the T5 Torx Screwdriver to remove the 12 screws on the bottom of the laptop. Once the screws are removed, lift off the bottom panel.
-
Locate the speaker on the right-hand side of the device.
-
Remove the four red and black braided cables by gripping the black plastic piece on each cable and gently tugging to separate it from the white outlet.
-
-
-
-
Use the Phillips #0 Screwdriver to remove the two screws holding the speaker in place. Lift off the speaker panel.
-
Use the Phillips #0 Screwdriver to remove the three screws holding the board in place.
-
Carefully pull the two black tabs on either side of the black ribbon to disconnect them from the board.
-
-
-
Gently pull off the inner black ribbon to remove it from the board.
-
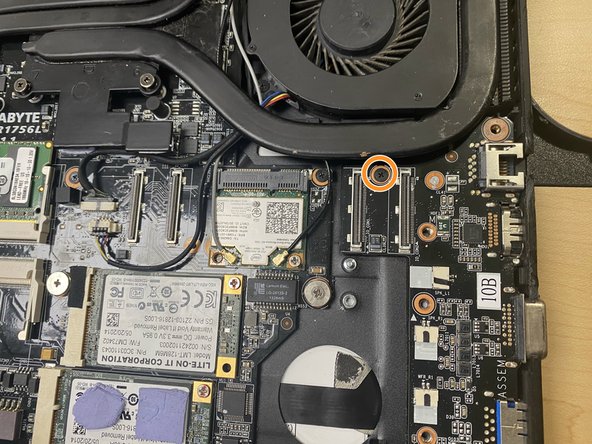
Use the Phillips #0 Screwdriver to remove the screw.
-
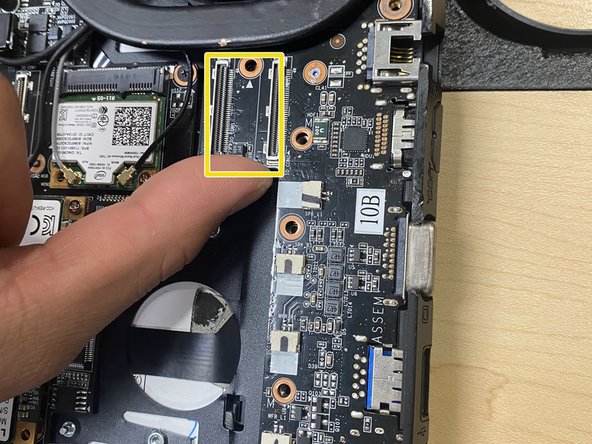
Place a finger under the board (see photo for location reference) and slowly lift up to remove the board.
-


Complete these steps in reverse order to install your new I/O Board.
Complete these steps in reverse order to install your new I/O Board.
다른 한 분이 해당 안내서를 완성하였습니다.
팀

Gateway, Team 1-4, Pee Fall 2022 Gateway, Team 1-4, Pee Fall 2022 회원
GCC-PEE-F22S1G4
3 회원들
안내서 6개 작성하였습니다