소개
In this guide, we'll walk you through the screen replacement process and provide any warnings or precautions you should keep in mind. Remember to handle your device with care and follow the specific instructions for your device to avoid damaging other components.
필요한 것
-
-
Turn off the device using the power button.
-
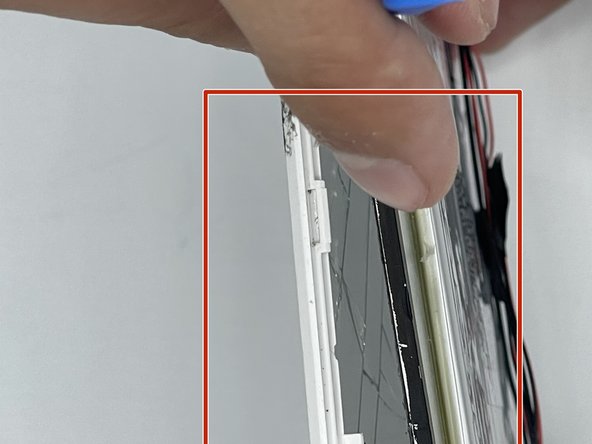
Using fingernails/a pry tool, separate the back panel of the device. This may decent force as they are connected by push tabs.
-
-
-
-
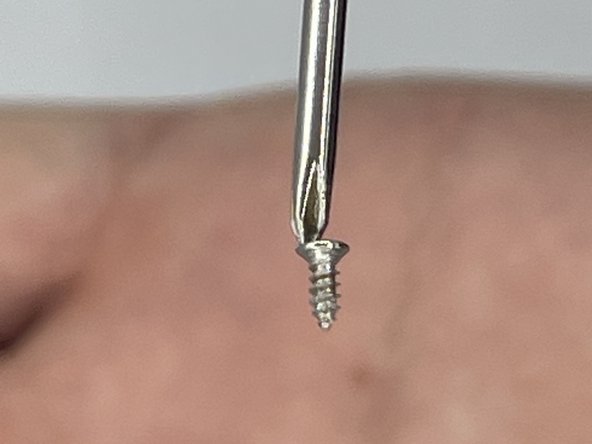
Locate the four (0.4 mm) screws positioned near the cameras at the top of the device, and use a screwdriver to unscrew them. (Circles).
-
-
-
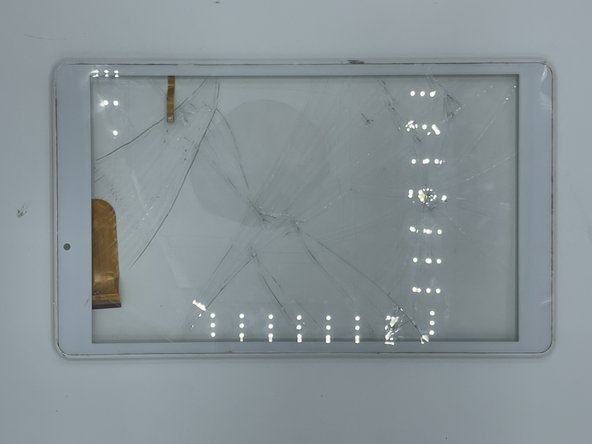
To disconnect the ribbon connectors, first, you need to flip up the tabs located above the ribbon gently. This will release the ribbon from the connector. Then, you can use tweezers to gently pull the ribbon out of the connector. Remember to be careful and avoid pulling too hard to prevent damage to the ribbon or connector.
-


To reassemble your device, follow these instructions in reverse order.
To reassemble your device, follow these instructions in reverse order.
다른 한 분이 해당 안내서를 완성하였습니다.
팀

University of North Texas, Team 3-7, Saru Jimmy Spring 2023 University of North Texas, Team 3-7, Saru Jimmy Spring 2023 회원
UNT-SARU JIMMY-S23S3G7
4 회원들
안내서 4개 작성하였습니다