소개
This is a guide to replace the lightning port of your Apple Magic Keyboard 2 A2450. This guide uses the iFixit Pro Tech Toolkit. When going through the guide, make sure you do not lose any screws and not injure the battery to where it could cause harm.
필요한 것
-
-
Apply heat around the perimeter of the lower case to loosen the adhesive that secures the lower case to the chassis.
-
Insert an opening pick in the gap between the lower case and chassis.
-
After ensuring that the adhesive is warm, slide the pick around the perimeter to sever the adhesive.
-
As you sever the adhesive, insert additional opening picks at each corner to prevent the adhesive from readhering.
-
Remove the lower case.
-
-
-
-
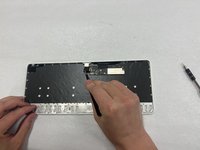
Use a T3 Torx screwdriver head to remove all twelve 5 mm that secure the midframe.
-
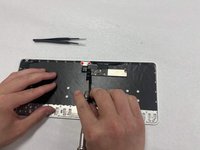
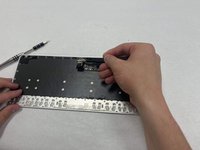
Use tweezers to disconnect the battery motherboard connection.
-
Remove the midframe.
-


To reassemble your device, follow these instructions in reverse order.
팀

IUPUI, Team 3-2, Harley Spring 2024 IUPUI, Team 3-2, Harley Spring 2024 회원
IUPUI-HARLEY-S24S3G2
4 회원들
안내서 3개를 작성함
2가이드 댓글
I am glad I found this post. I broke the cable from the lighting port on the Apple Keyboard 2 A2450 (touch id, not numeric pad) and would like to find a new lightning port and cable. Can you point me to a place where I can buy this please. I think I need to lighting port and the cable because it seems that the cable cannot be removed from the lighting port.