이 버전에는 잘못된 편집 사항이 있을 수 있습니다. 최신 확인된 스냅샷으로 전환하십시오.
필요한 것
-
이 단계는 번역되지 않았습니다. 번역을 도와주십시오
-
Lay the display facing down with the stand away from you.
-
Remove the three size 2.0 hex screws on the swing arm and remove the swing arm as well as the plastic shield under it.
-
-
이 단계는 번역되지 않았습니다. 번역을 도와주십시오
-
Remove the size 2.5 hex screws from each corner that connects the panels to the display and remove them.
-
-
이 단계는 번역되지 않았습니다. 번역을 도와주십시오
-
Rotate the display so the legs of the display are now facing you
-
Grip the top of the clear panel and lift it upwards, and pull the ADC cable through the hole.
-
-
이 단계는 번역되지 않았습니다. 번역을 도와주십시오
-
Remove the grey back panel by lifting the bottom and pulling the ADC cable through the hole.
-
-
이 단계는 번역되지 않았습니다. 번역을 도와주십시오
-
The next layer will be a shiny metal panel, which might have some stickers. Make sure to remove these stickers.
-
-
-
이 단계는 번역되지 않았습니다. 번역을 도와주십시오
-
Now locate and remove the lone Phillips screw holding the EMI shield to the display
-
-
이 단계는 번역되지 않았습니다. 번역을 도와주십시오
-
Now that the screw has been removed, slide the panel towards your body and lift it out.
-
-
이 단계는 번역되지 않았습니다. 번역을 도와주십시오
-
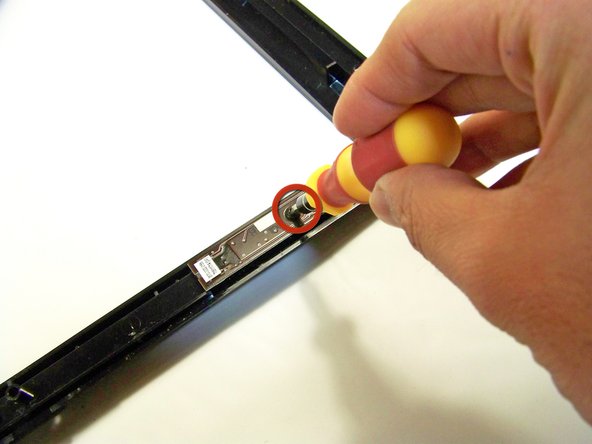
Using the spudger, remove the four black panel covers on the edges of the display.
-
-
이 단계는 번역되지 않았습니다. 번역을 도와주십시오
-
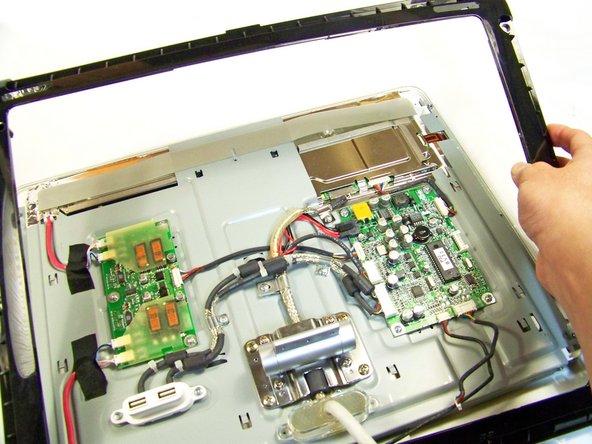
Remove the outer frame and and pull the cables through the hole. Flip the frame upside down.
-
-
이 단계는 번역되지 않았습니다. 번역을 도와주십시오
-
The red highlighted box is the power button
-
The teal highlighted box is the brightness button
-


다른 한 분이 해당 안내서를 완성하였습니다.
팀

Cal Poly, Team 3-20, Maness Winter 2010 Cal Poly, Team 3-20, Maness Winter 2010 회원
CPSU-MANESS-W10S3G20
4 회원들
안내서 15개 작성하였습니다