소개
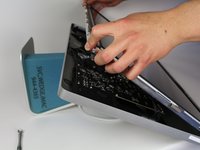
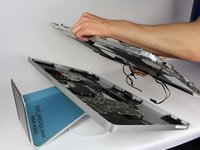
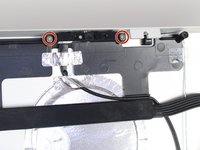
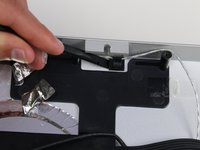
After the LCD is removed, it looks like the webcam and microphone are right within reach. The two wires that are connecting them to the main logic board are behind a lot of the other wires and components making it a little tricky to get to their connectors and take them out. Also, since the microphone is held in by adhesives, a prying tool is absolutely essential to replace it!
필요한 것
-
-
-
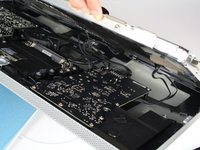
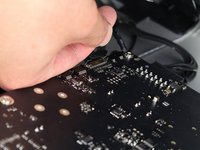
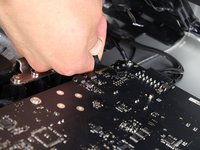
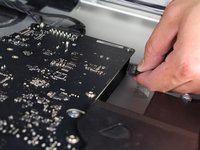
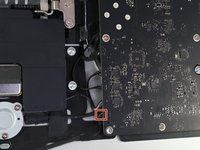
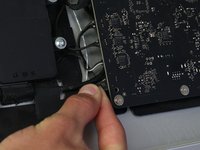
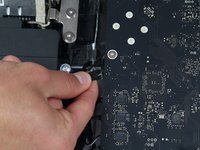
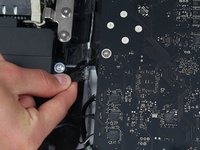
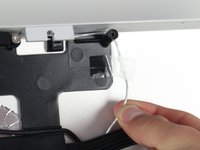
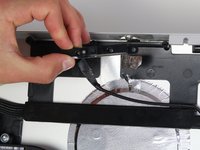
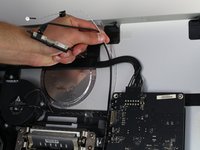
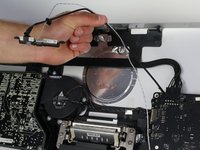
The webcam and microphone are located at the top of the device. First, follow the white microphone wire down to its connector in the logic board.
-
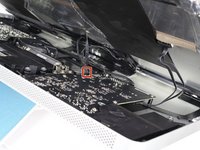
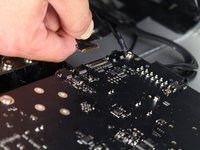
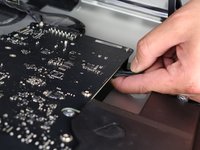
Carefully pull the white wire's connector from the logic board.
-
-
-
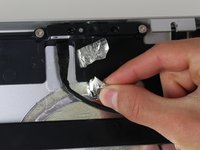
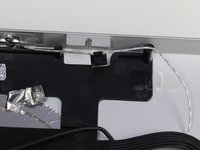
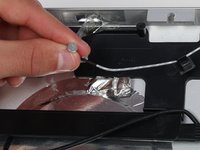
The actual microphone itself is stuck to the top of the casing using a small amount of adhesive and covered by a piece of tape.
-
Remove the piece of tape using either tweezers or your fingers to have access to the microphone.
-
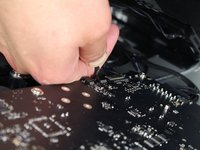
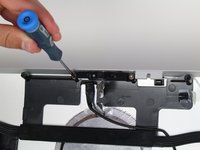
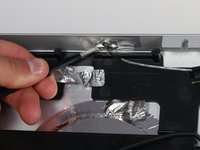
Use the plastic spudger again to get underneath the small round microphone and pry it loose from the adhesive.
-


To reassemble your device, follow these instructions in reverse order.
다른 4명이 해당 안내서를 완성하였습니다.
팀

Cal Poly, Team 5-11, Maness Spring 2015 Cal Poly, Team 5-11, Maness Spring 2015 회원
CPSU-MANESS-S15S5G11
4 회원들
안내서 20개를 작성함