이 버전에는 잘못된 편집 사항이 있을 수 있습니다. 최신 확인된 스냅샷으로 전환하십시오.
필요한 것
-
-
이 단계는 번역되지 않았습니다. 번역을 도와주십시오
-
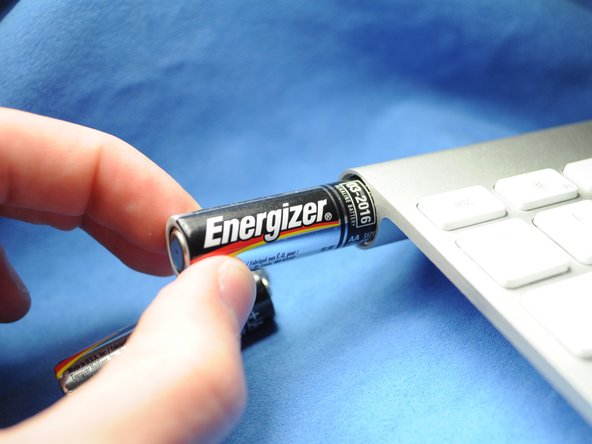
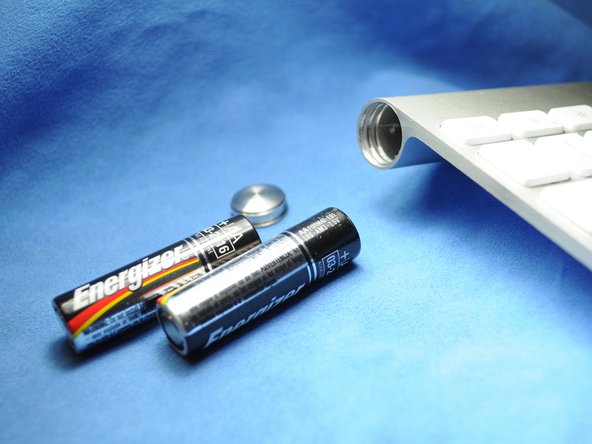
Slide the two (three on the previous generation) replacement AA batteries into the battery compartment. Verify the positive and negative terminals are facing the correct orientation.
-

다른 35명이 해당 안내서를 완성하였습니다.

댓글 5개
This works great - as long as the batteries inside did not leak and create a permanent seal for the cap. I managed to get the keyboard working again by removing the batteries through the electronics compartment (remove grey center cover, slide electronics out). It did take some effort (including driving a screw into the stuck battery and yanking it out with pliers) to remove the stuck batteries and all the remains of the leakage, but I ended up with a working keyboard. Only thing is that I need to use the 'backdoor' every time my batteries need replacing, since the battery cover is permanently sealed...
Also have a perma sealed battery cover. Poured vinegar in from middle and let soak over night. Wanna drill into coin slot to try and remove cover but need to get batteries out first. Can I just remove the one screw from logic board and disconnect ribbon cable, to have it slide out the power button end? How careful w cable? Looks like it has 2 tiny clips, do these need to be addressed or can I just pry it off?