이 번역은 원본 안내서의 최신 업데이트를 반영하지 않을 수 있습니다. 번역 업데이트를 돕거나 아니면 원본 안내서 보기를 참조하세요.
소개
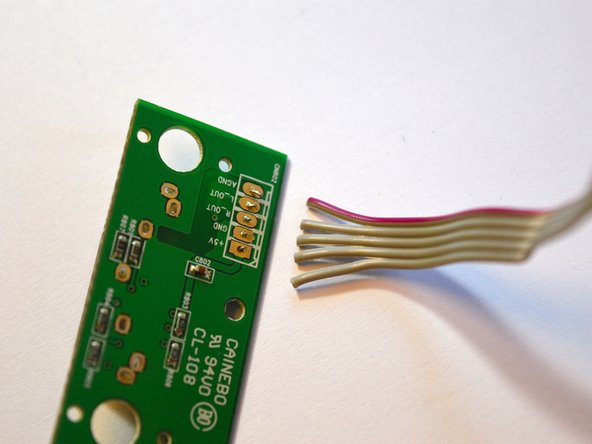
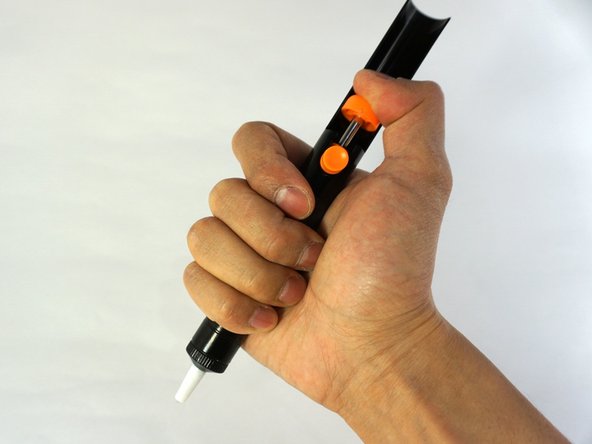
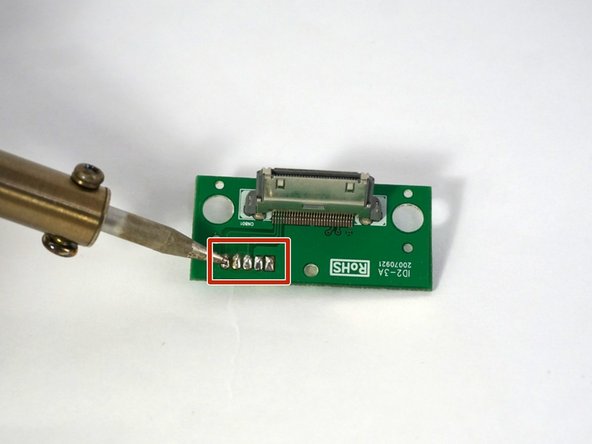
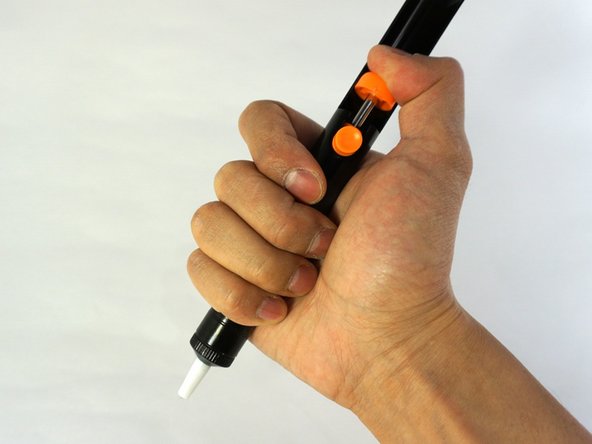
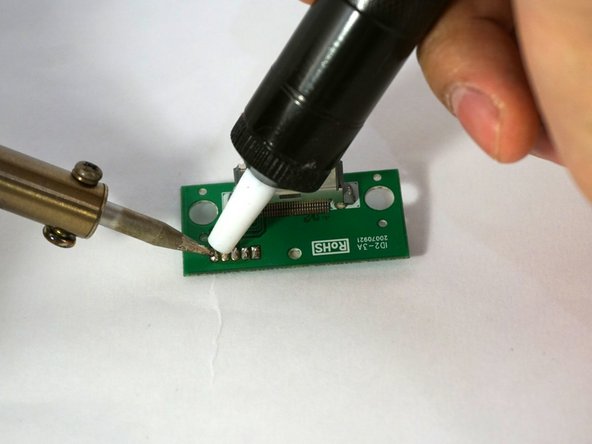
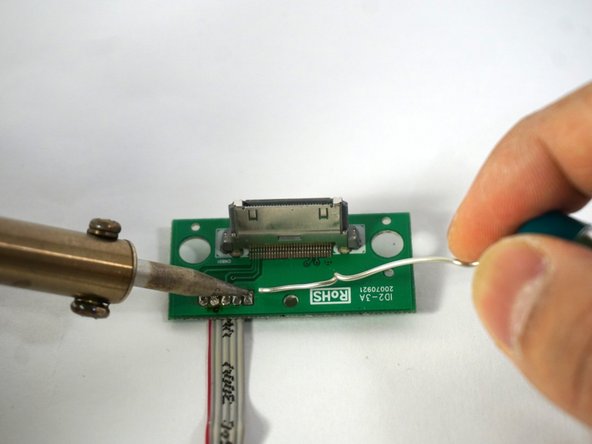
During this guide you will need some solder skills to repair the product. If you don't have any experiences in soldering, take a look at the How to Solder and Desolder Connections guide. Make sure you have all the tools that's needed to desolder en solder. Be aware of the fumes—do this in a well ventilated room!
필요한 것
-
-
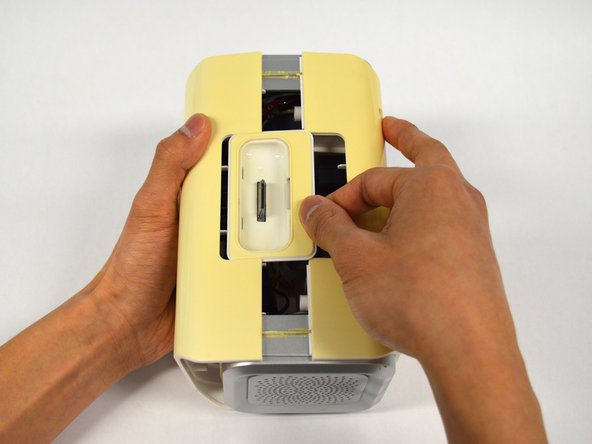
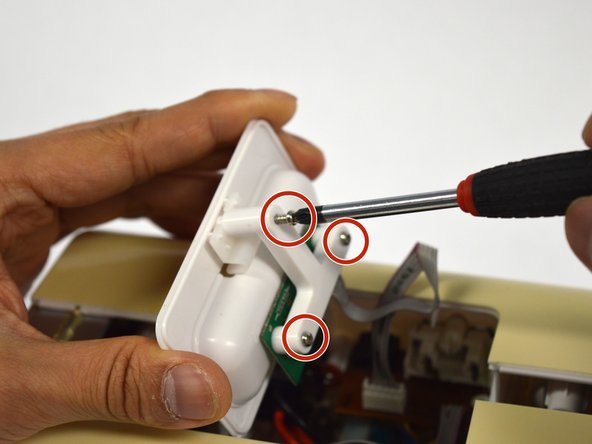
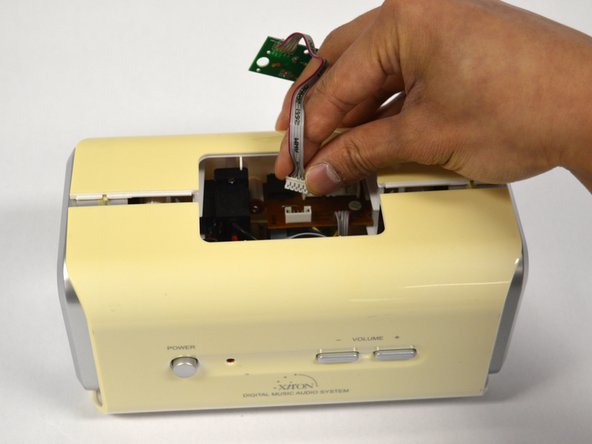
Unscrew the four Phillips screws on the backside of the docking system.
-
-


To reassemble your device, follow these instruction in reverse order from step 7
To reassemble your device, follow these instruction in reverse order from step 7
팀

Delft University of Technology, Team S1-G6, Flipsen Spring 2017 Delft University of Technology, Team S1-G6, Flipsen Spring 2017 회원
TUD-FLIPSEN-S17S1G6
3 회원들
안내서 2개 작성하였습니다