주요 콘텐츠로 건너뛰기

Apple iSight Webcam Privacy Lens Replacement

필요한 것

  1. Apple iSight Webcam Privacy Lens Replacement, External Body Frame: 1 단계, 이미지 1/1
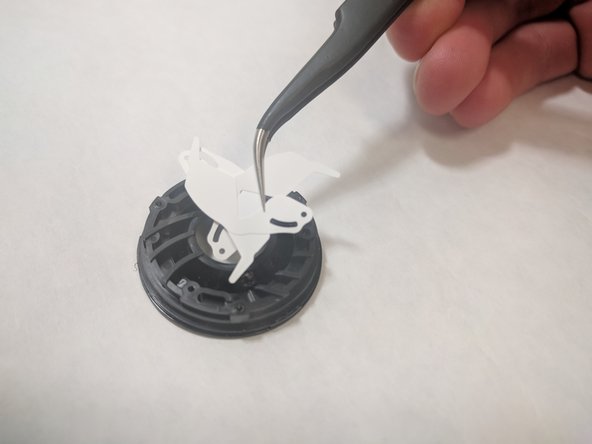
    • Remove two 3.55 mm screws that hold the body to the ball and socket joint using the PH000 screwhead.

  2. Apple iSight Webcam Privacy Lens Replacement: 2 단계, 이미지 1/1
    • Insert the tweezers into the crevice of the ball and socket joint, and prop up the tabs to remove the white ring from the body.

  3. Apple iSight Webcam Privacy Lens Replacement: 3 단계, 이미지 1/2 Apple iSight Webcam Privacy Lens Replacement: 3 단계, 이미지 2/2
    • Press the Apple logo through to pull apart the body frame from the body of the webcam.

  4. Apple iSight Webcam Privacy Lens Replacement, Privacy Lens: 4 단계, 이미지 1/1
    • Remove the end cap with the Apple logo by simply pulling it off.

  5. Apple iSight Webcam Privacy Lens Replacement: 5 단계, 이미지 1/2 Apple iSight Webcam Privacy Lens Replacement: 5 단계, 이미지 2/2
    • Unscrew the 3 (3.55 mm) screws surrounding the black casing near the camera-lens.

  6. Apple iSight Webcam Privacy Lens Replacement: 6 단계, 이미지 1/1
    • Using tweezers, remove the netting that surrounds the black casing.

  7. Apple iSight Webcam Privacy Lens Replacement: 7 단계, 이미지 1/1
    • Pry open the top of the black casing and pull it off.

    • There is slot on each side just below the power cord connector.

  8. Apple iSight Webcam Privacy Lens Replacement: 8 단계, 이미지 1/1
    • Unscrew 2 (4.41 mm) screws seen in the picture that surround the attachment of the lens to the main body.

  9. Apple iSight Webcam Privacy Lens Replacement: 9 단계, 이미지 1/2 Apple iSight Webcam Privacy Lens Replacement: 9 단계, 이미지 2/2
    • ,Pull the loose circuit strip from its connection using tweezers.

    • Do this for the side connection as well. This enables the entire camera lens section to come off.

    • Pull the camera lens section off the main body.

  10. Apple iSight Webcam Privacy Lens Replacement: 10 단계, 이미지 1/2 Apple iSight Webcam Privacy Lens Replacement: 10 단계, 이미지 2/2
    • Unscrew the final (4.41 mm) screw that connects the lens circuitry to the aperture.

    • Then pull off the circuitry top section.

  11. Apple iSight Webcam Privacy Lens Replacement: 11 단계, 이미지 1/2 Apple iSight Webcam Privacy Lens Replacement: 11 단계, 이미지 2/2
    • Pull off the top piece of the lens aperture.

    • Finally, remove the privacy lens using tweezers.

결론

To reassemble your device, follow these instructions in reverse order.

다른 4명이 해당 안내서를 완성하였습니다.

Cullen Shorey

회원 가입일: 03/21/18

271 평판

안내서 1개 작성함

IUPUI, Team S5-G1, Baechle Spring 2018 IUPUI, Team S5-G1, Baechle Spring 2018 회원

IUPUI-BAECHLE-S18S5G1

3 회원들

안내서 3개 작성하였습니다

댓글 0개

댓글 쓰기

조회 통계:

24 시간 전: 0

7일 전: 3

30일 전: 16

전체 시간: 1,157