소개
This guide, along with the prerequisite guides, will demonstrate how to remove and replace the camera in your Arnova 7K G3 tablet.
필요한 것
-
-
Remove four 5 mm Phillips #00 screws from each corner of the tablet.
 FixBot에 문의하기
-
-
-
Place the iFixit opening tool in the notches between the cases and pull the covers apart.
-
-
-
Repeat step two until 3/4 of the rear cover is unlatched.
-
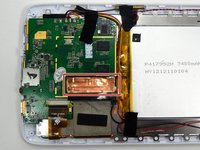
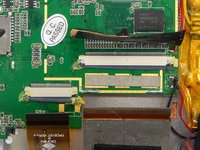
Proceed to remove the rear cover by gently pulling it apart by hand.
-
-
이 단계에 사용된 도구:Tweezers$4.99
-
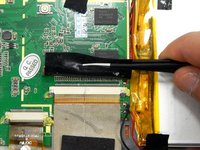
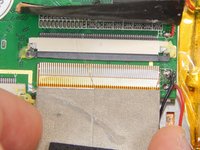
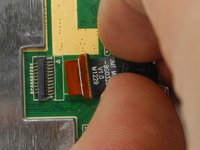
Peel the copper tape covering the ribbon connector with a set of tweezers.
-
-
-
-
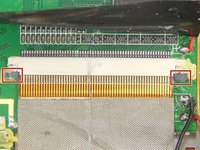
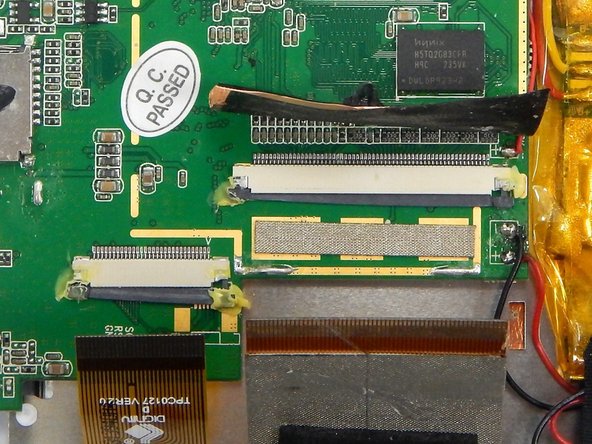
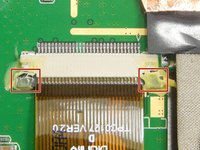
Locate the two gray pins on the ribbon connector.
-
Grab the first pin with tweezers and gently pull it towards the ribbon. Repeat the step.
-
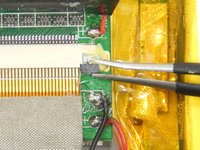
Gently pull the ribbon cable out of the connection port.
-
-
-
Locate the ribbon connector two.
-
Locate the pins of ribbon connector two. Repeat step two for unlocking the pins.
-
Gently pull the ribbon out of the connection port.
-
-
-
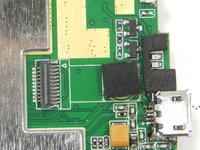
Remove the two Phillips #00 screws from the motherboard.
-
-
-
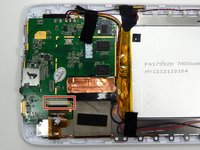
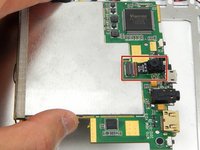
Gently lift up the motherboard and reorient it in a more efficient manner in order to locate the desired components.
-
-
-
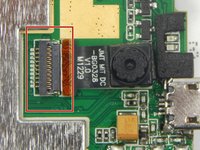
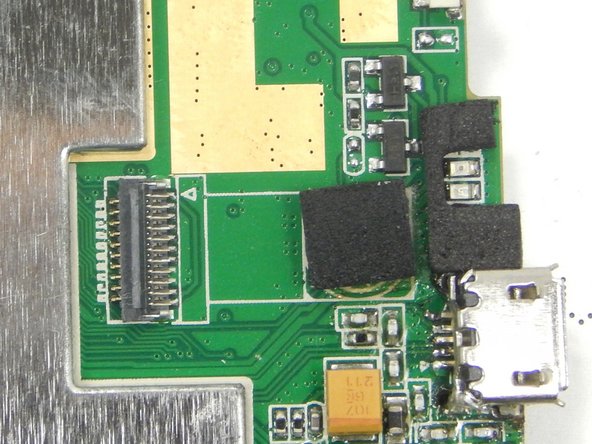
Locate the camera and camera ribbon connection on the backside of the motherboard.
-
-
이 단계에 사용된 도구:Tweezers$4.99
-
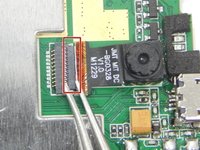
Unlock the camera ribbon connector clip using a pair of tweezers.
-
-
-
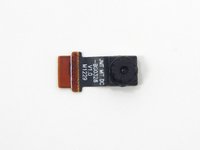
Gently by hand, remove the camera and its ribbon by pulling the camera away from the motherboard.
-


To reassemble your device, follow these instructions in reverse order.
팀

Michigan Tech, Team 1-2, Lauer Spring 2015 Michigan Tech, Team 1-2, Lauer Spring 2015 회원
MTU-LAUER-S15S1G2
2 회원들
안내서 10개를 작성함