이 버전에는 잘못된 편집 사항이 있을 수 있습니다. 최신 확인된 스냅샷으로 전환하십시오.
필요한 것
-
이 단계는 번역되지 않았습니다. 번역을 도와주십시오
-
Use your hand to firmly grasp the cushion and remove it from the speaker.
-
Repeat the process for the other side if needed.
-
-
이 단계는 번역되지 않았습니다. 번역을 도와주십시오
-
Slide the plastic spudger beneath the dust cover of the speaker.
-
Lift the dust cover up with the plastic spudger.
-
Using your fingers, completely remove the dust cover from the speaker.
-
-
-
이 단계는 번역되지 않았습니다. 번역을 도와주십시오
-
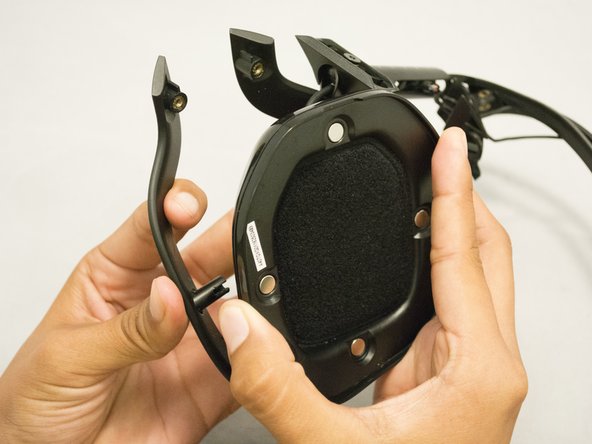
Remove four 5 mm screws from the speaker protector using a JIS #1 screwdriver.
-
Use your hands to remove the speaker protector.
-
-
이 단계는 번역되지 않았습니다. 번역을 도와주십시오
-
Remove the two 2 mm long screws securing the motherboard using a Phillips #000 screwdriver.
-
-
이 단계는 번역되지 않았습니다. 번역을 도와주십시오
-
Use your fingers to hold the wire located by the covered part and gently lift it out of its cradle.
-
Carefully use your fingers to disconnect the colored wires connected to the motherboard.
-


팀

Eastern Washington University, Team S1-G1, Rowley Summer 2017 Eastern Washington University, Team S1-G1, Rowley Summer 2017 회원
EWU-ROWLEY-SU17S1G1
4 회원들
안내서 10개 작성하였습니다