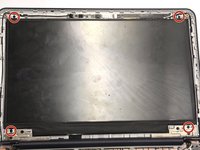
주요 콘텐츠로 건너뛰기

Asus Chromebook C202SA-YS02 Screen Replacement

필요한 것

  1. Asus Chromebook C202SA-YS02 Screen Replacement, Bezel: 1 단계, 이미지 1개 중 1개
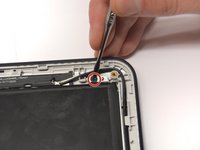
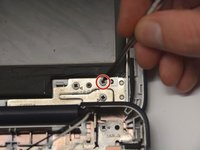
    • Using a flat blade, remove the two screw covers on the front of the bezel. They are attached by adhesive, so you may have to dig at it a little bit.

  2. Asus Chromebook C202SA-YS02 Screen Replacement: 2 단계, 이미지 1개 중 1개
    • Unscrew and remove the two Phillips #1 4.5 mm screws that are now visible.

  3. Asus Chromebook C202SA-YS02 Screen Replacement: 3 단계, 이미지 1개 중 1개
    • Using the plastic opening tool, carefully pry off the bezel. It will come off entirely, so be careful not to break it.

  4. Asus Chromebook C202SA-YS02 Screen Replacement, Screen: 4 단계, 이미지 3개 중 1개 Asus Chromebook C202SA-YS02 Screen Replacement, Screen: 4 단계, 이미지 3개 중 2개 Asus Chromebook C202SA-YS02 Screen Replacement, Screen: 4 단계, 이미지 3개 중 3개
    • Unscrew and remove the four screws holding the screen in place.

  5. Asus Chromebook C202SA-YS02 Screen Replacement: 5 단계, 이미지 1개 중 1개
    • Fold down screen and remove the screen connector band. You may have to use a small flat blade or a spudger, since the latch is very small.

결론

To reassemble your device, follow these instructions in reverse order.

다른 4명이 해당 안내서를 완성하였습니다.

작성자

1다른 기여자 명과 함께

Beau Hansen

회원 가입일: 09/28/17

845 평판

안내서 7개를 작성함

댓글 0개

댓글 쓰기

조회 통계:

지난 24시간: 0

지난 7일: 6

지난 30일: 32

전체 시간: 3,606