소개
If your Asus Chromebook C300MA DB01 is not displaying a clear image, use this guide to replace the screen.
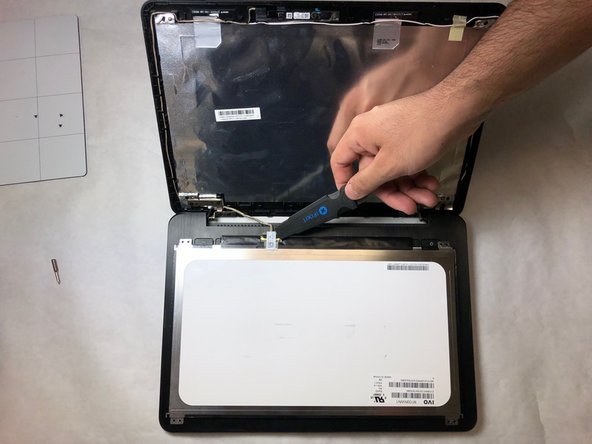
The screen transmits visual imagery through the wires connected to the screen. A faulty connection will transmit distorted images or no images at all.
필요한 것


거의 끝나갑니다!
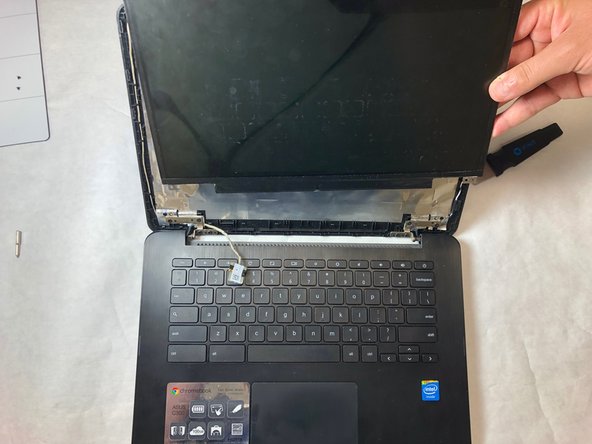
To reassemble your device, follow these instructions in reverse order.
결론
To reassemble your device, follow these instructions in reverse order.
팀

IUPUI, Team S10-G10, Wilson Spring 2019 IUPUI, Team S10-G10, Wilson Spring 2019 회원
IUPUI-WILSON-S19S10G10
3 회원들
안내서 3개 작성하였습니다