주요 콘텐츠로 건너뛰기

Asus Chromebook C300MA-DB01 Mouse Pad Replacement

필요한 것

  1. Asus Chromebook C300MA-DB01 Mouse Pad Replacement, Back Cover: 1 단계, 이미지 1/1
    • Place device bottom-side up.

  2. Asus Chromebook C300MA-DB01 Mouse Pad Replacement: 2 단계, 이미지 1/1
    • Remove the three 6.0 mm Philips screws from the center of the case with the #2 screwdriver bit.

    • Remove the eight 9.0 mm Philips screws along the perimeter of the case with the #2 screwdriver bit.

  3. Asus Chromebook C300MA-DB01 Mouse Pad Replacement: 3 단계, 이미지 1/1
    • Using a plastic opening tool, separate the bottom case at the seam.

    • Prying open a laptop requires a lot of force but use caution so as to avoid breaking the fragile connectors.

  4. Asus Chromebook C300MA-DB01 Mouse Pad Replacement: 4 단계, 이미지 1/2 Asus Chromebook C300MA-DB01 Mouse Pad Replacement: 4 단계, 이미지 2/2
    • Lift the keyboard panel away from the components at its hinges, which are located at the back of the laptop.

  5. Asus Chromebook C300MA-DB01 Mouse Pad Replacement, Mouse pad: 5 단계, 이미지 1/1
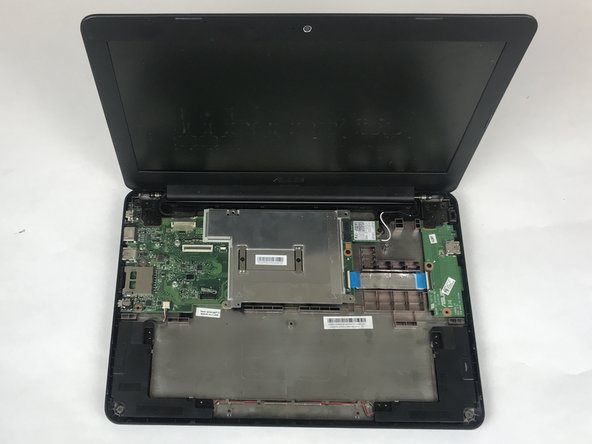
    • Use plastic opening tool to pry open clip holding keyboard wires to the circuit board.

    • Use plastic opening tool to pry open clip holding mouse pad wires to circuit board.

  6. Asus Chromebook C300MA-DB01 Mouse Pad Replacement: 6 단계, 이미지 1/2 Asus Chromebook C300MA-DB01 Mouse Pad Replacement: 6 단계, 이미지 2/2
    • Lift and remove keyboard from device. The keyboard and Mouse pad are one part that must be replaced simultaneously.

결론

To reassemble your device, follow these instructions in reverse order.

wyatt boyatt

회원 가입일: 09/25/17

541 평판

안내서 5개 작성하였습니다

USF Tampa, Team S4-G3, Eyestone Fall 2017 USF Tampa, Team S4-G3, Eyestone Fall 2017 회원

USFT-EYESTONE-F17S4G3

3 회원들

안내서 12개 작성하였습니다

댓글 0개

댓글 쓰기

조회 통계:

24 시간 전: 0

7일 전: 0

30일 전: 2

전체 시간: 122