주요 콘텐츠로 건너뛰기

Asus Chromebook Flip C302CA Motherboard Replacement

필요한 것

  1. Asus Chromebook Flip C302CA Motherboard Replacement, Back Panel: 1 단계, 이미지 1/1
    • Turn the laptop over so the bottom is facing you.

  2. Asus Chromebook Flip C302CA Motherboard Replacement: 2 단계, 이미지 1/3 Asus Chromebook Flip C302CA Motherboard Replacement: 2 단계, 이미지 2/3 Asus Chromebook Flip C302CA Motherboard Replacement: 2 단계, 이미지 3/3
    • Remove two rubber caps on the top.

    • Remove the two 1 mm screws using the Phillips #00 screwdriver.

  3. Asus Chromebook Flip C302CA Motherboard Replacement: 3 단계, 이미지 1/3 Asus Chromebook Flip C302CA Motherboard Replacement: 3 단계, 이미지 2/3 Asus Chromebook Flip C302CA Motherboard Replacement: 3 단계, 이미지 3/3
    • Remove the ten 2 mm screws from the back panel using a T5 Torx screwdriver.

    • Carefully remove the back panel using an opening pick.

  4. Asus Chromebook Flip C302CA Motherboard Replacement: 4 단계, 이미지 1/2 Asus Chromebook Flip C302CA Motherboard Replacement: 4 단계, 이미지 2/2
    • Remove the back panel from the laptop.

  5. Asus Chromebook Flip C302CA Motherboard Replacement, Battery: 5 단계, 이미지 1/3 Asus Chromebook Flip C302CA Motherboard Replacement, Battery: 5 단계, 이미지 2/3 Asus Chromebook Flip C302CA Motherboard Replacement, Battery: 5 단계, 이미지 3/3
    이 단계에 사용된 도구:
    Tweezers
    $4.99
    구매
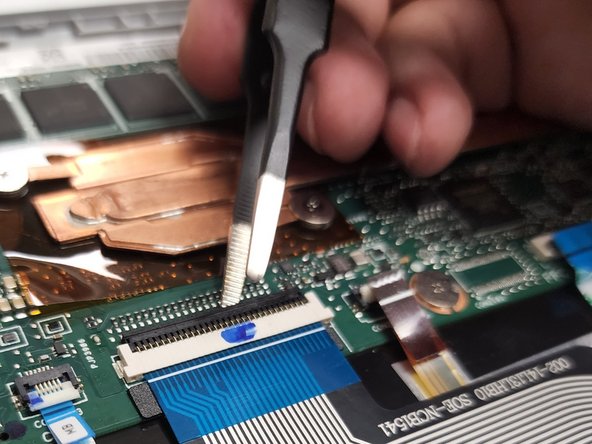
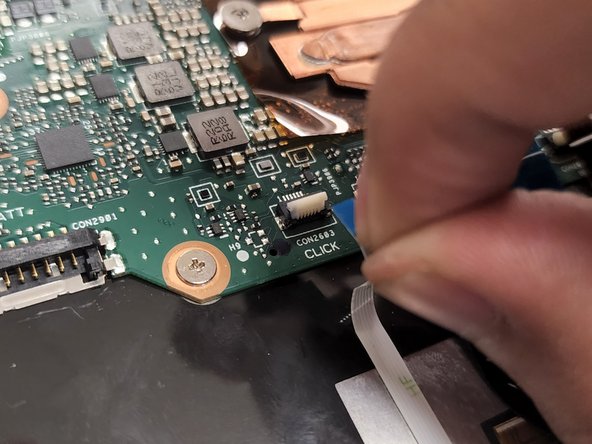
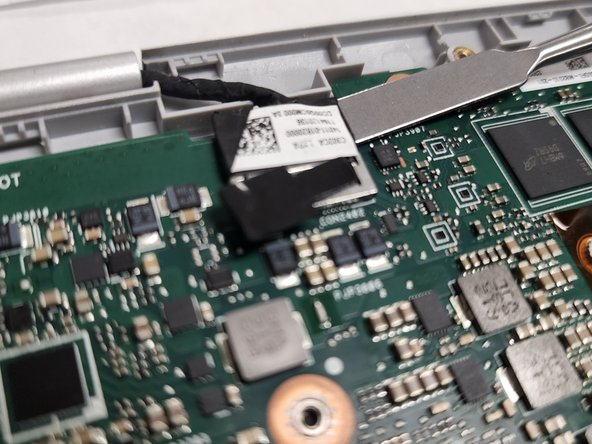
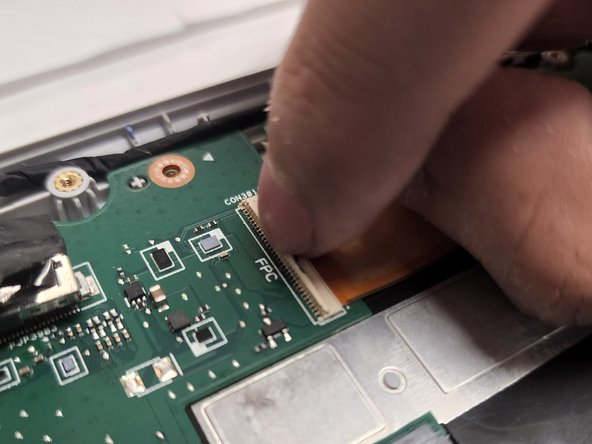
    • Remove the sticker holding the cable using a pair of tweezers.

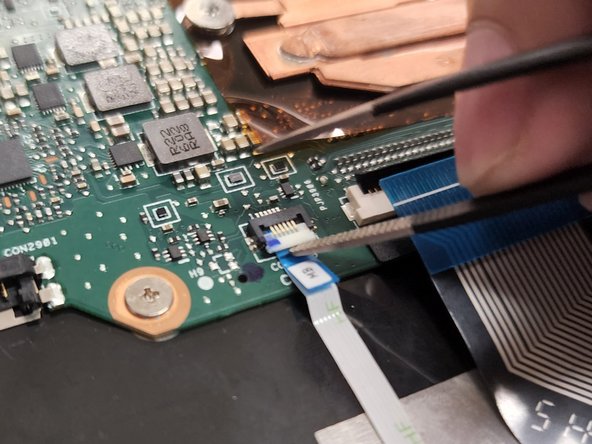
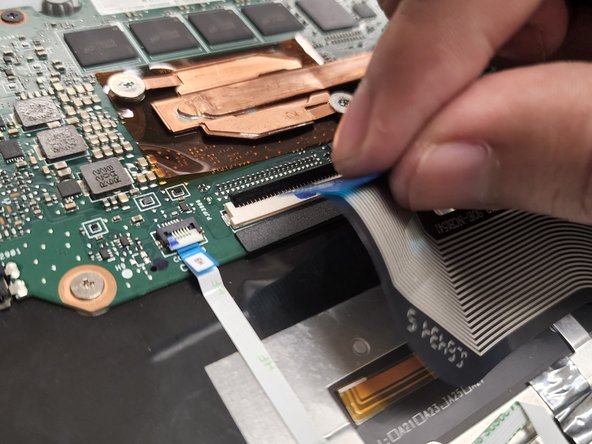
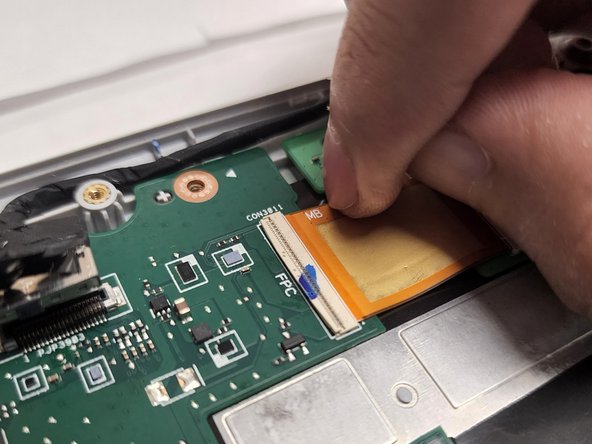
    • Detach the cable from the motherboard by lifting it up with a spudger.

    • Always use a plastic or nylon ESD-safe tool. Metal spudger and other sharp tools can puncture a battery, potentially causing a fire.

  6. Asus Chromebook Flip C302CA Motherboard Replacement: 6 단계, 이미지 1/2 Asus Chromebook Flip C302CA Motherboard Replacement: 6 단계, 이미지 2/2
    • Remove the two 2 mm screws holding the battery using a Phillips #00 screwdriver.

  7. Asus Chromebook Flip C302CA Motherboard Replacement: 7 단계, 이미지 1/1
    • Carefully lift up the battery from the front side to remove it from the laptop.

  8. Asus Chromebook Flip C302CA Motherboard Replacement, Wi-Fi Card: 8 단계, 이미지 1/3 Asus Chromebook Flip C302CA Motherboard Replacement, Wi-Fi Card: 8 단계, 이미지 2/3 Asus Chromebook Flip C302CA Motherboard Replacement, Wi-Fi Card: 8 단계, 이미지 3/3
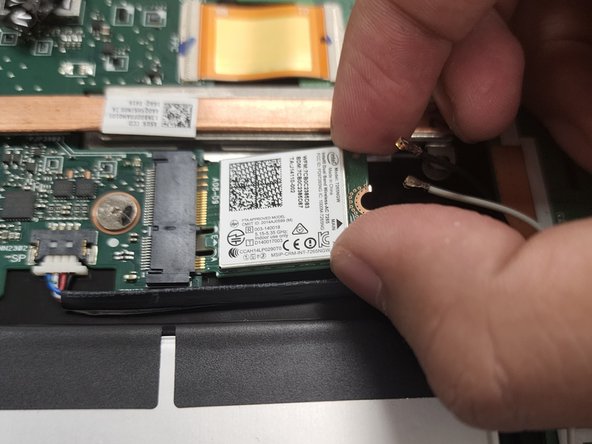
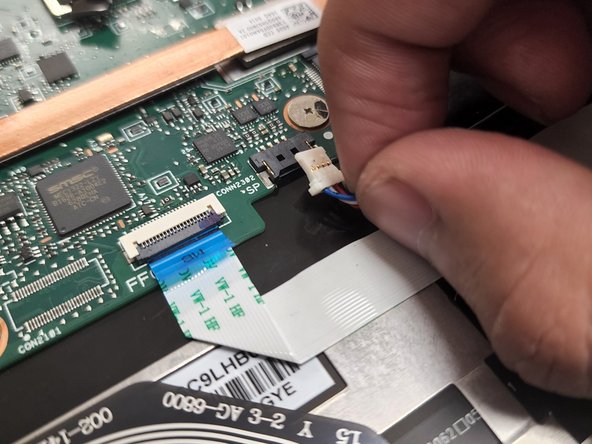
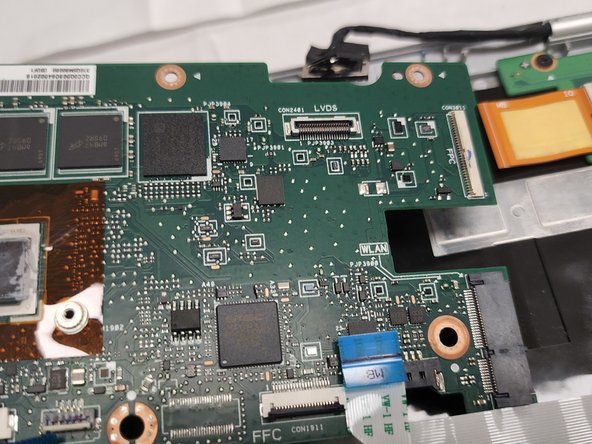
    • Carefully remove the black and white cables connected to the Wi-Fi card.

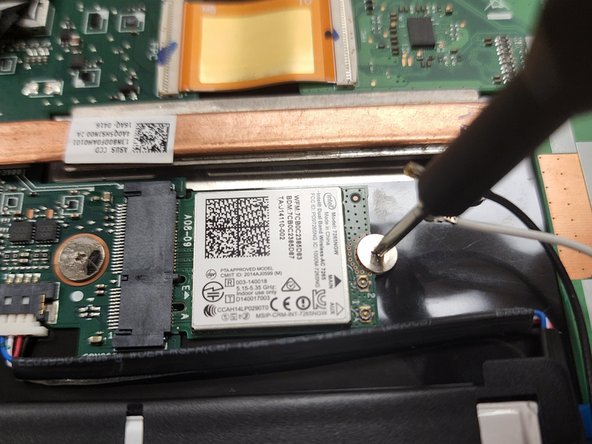
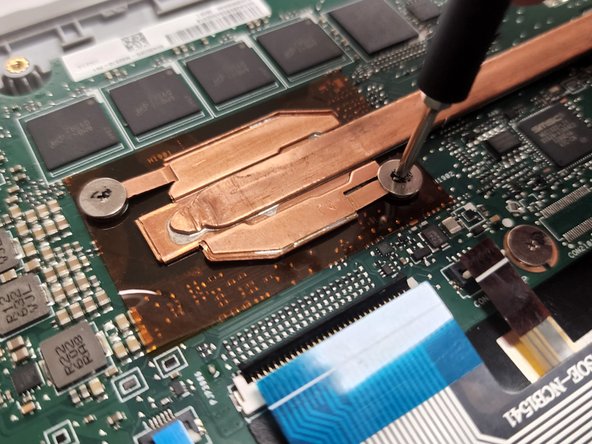
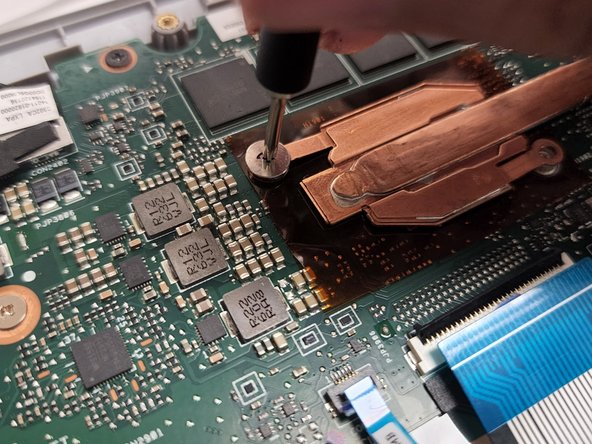
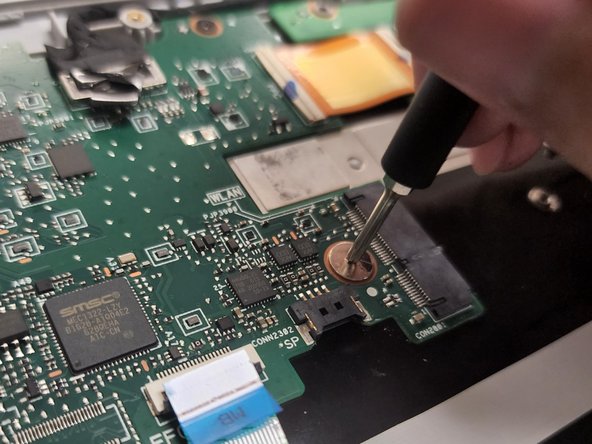
    • Remove the single 2 mm screw while holding the Wi-Fi card using the Phillips #00 screwdriver.

    • Remove the Wi-Fi card from the laptop.

  9. Asus Chromebook Flip C302CA Motherboard Replacement, Motherboard: 9 단계, 이미지 1/3 Asus Chromebook Flip C302CA Motherboard Replacement, Motherboard: 9 단계, 이미지 2/3 Asus Chromebook Flip C302CA Motherboard Replacement, Motherboard: 9 단계, 이미지 3/3
    이 단계에 사용된 도구:
    Tweezers
    $4.99
    구매
    • Lift the four tabs connected to the motherboard using tweezers.

  10. Asus Chromebook Flip C302CA Motherboard Replacement: 10 단계, 이미지 1/3 Asus Chromebook Flip C302CA Motherboard Replacement: 10 단계, 이미지 2/3 Asus Chromebook Flip C302CA Motherboard Replacement: 10 단계, 이미지 3/3
    • Carefully pull out the tabs connected to the motherboard.

  11. Asus Chromebook Flip C302CA Motherboard Replacement: 11 단계, 이미지 1/2 Asus Chromebook Flip C302CA Motherboard Replacement: 11 단계, 이미지 2/2
    • Remove the speaker cable connected to the motherboard with tweezers.

    • Careful not to damage your cable.

  12. Asus Chromebook Flip C302CA Motherboard Replacement: 12 단계, 이미지 1/3 Asus Chromebook Flip C302CA Motherboard Replacement: 12 단계, 이미지 2/3 Asus Chromebook Flip C302CA Motherboard Replacement: 12 단계, 이미지 3/3
    • Remove the ribbon cable from the motherboard.

    • Then, remove the two 1mm screws with a PH00 screwdriver.

  13. Asus Chromebook Flip C302CA Motherboard Replacement: 13 단계, 이미지 1/2 Asus Chromebook Flip C302CA Motherboard Replacement: 13 단계, 이미지 2/2
    • Lift and remove the copper from the right side of the motherboard.

  14. Asus Chromebook Flip C302CA Motherboard Replacement: 14 단계, 이미지 1/2 Asus Chromebook Flip C302CA Motherboard Replacement: 14 단계, 이미지 2/2
    • Remove the four 2mm screws with a PH00 screwdriver.

  15. Asus Chromebook Flip C302CA Motherboard Replacement: 15 단계, 이미지 1/2 Asus Chromebook Flip C302CA Motherboard Replacement: 15 단계, 이미지 2/2
    • Remove the six 1mm Screws with a PH00 screwdriver.

  16. Asus Chromebook Flip C302CA Motherboard Replacement: 16 단계, 이미지 1/3 Asus Chromebook Flip C302CA Motherboard Replacement: 16 단계, 이미지 2/3 Asus Chromebook Flip C302CA Motherboard Replacement: 16 단계, 이미지 3/3
    • Remove the two pictured tabs with a nylon spudger.

  17. Asus Chromebook Flip C302CA Motherboard Replacement: 17 단계, 이미지 1/3 Asus Chromebook Flip C302CA Motherboard Replacement: 17 단계, 이미지 2/3 Asus Chromebook Flip C302CA Motherboard Replacement: 17 단계, 이미지 3/3
    • Lift the tab with a small pick that connects to the ribbon cable

  18. Asus Chromebook Flip C302CA Motherboard Replacement: 18 단계, 이미지 1/2 Asus Chromebook Flip C302CA Motherboard Replacement: 18 단계, 이미지 2/2
    • Remove the mother from the left side of the computer

결론

To reassemble your device, follow these instructions in reverse order.

다른 한 분이 해당 안내서를 완성하였습니다.

Asifiwe Murhula

회원 가입일: 02/08/22

259 평판

안내서 1개 작성함

Gateway, Team 1-2, Saknee Spring 2022 Gateway, Team 1-2, Saknee Spring 2022 회원

GCC-SAKNEE-S22S1G2

4 회원들

안내서 5개 작성하였습니다

댓글 한 개

Thanks for this very useful guide. We were able to replace the motherboard and put it back together, but the device only runs while plugged in. We double checked all of the connections. How can I check to see if the battery itself is dead? Or maybe there are other ideas to try? Much appreciated.

Wildcat Python - 답글

댓글 쓰기

조회 통계:

24 시간 전: 1

7일 전: 6

30일 전: 19

전체 시간: 590