이 버전에는 잘못된 편집 사항이 있을 수 있습니다. 최신 확인된 스냅샷으로 전환하십시오.
필요한 것
-
이 단계는 번역되지 않았습니다. 번역을 도와주십시오
-
Flip the notebook over and remove the 10 screws from the back plate with a #0 Phillips head screwdriver.
-
-
이 단계는 번역되지 않았습니다. 번역을 도와주십시오
-
Once the screws are removed, carefully lift both sides of the plastic keyboard/touch pad cover with a plastic opening tool.
-
-
-
이 단계는 번역되지 않았습니다. 번역을 도와주십시오
-
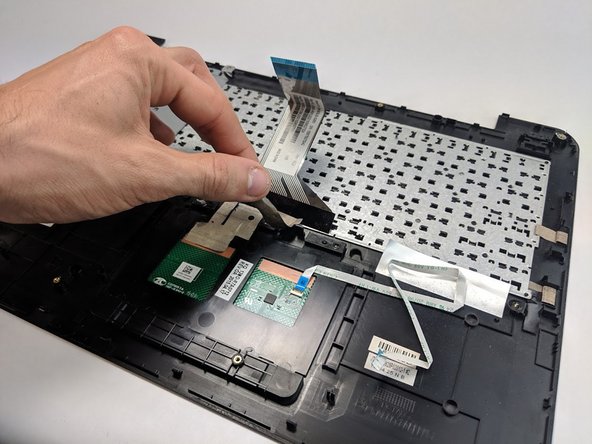
Lift the plastic cover and unplug the three data cords (not all pictured) under the cover from the keyboard and motherboard.
-
-
이 단계는 번역되지 않았습니다. 번역을 도와주십시오
-
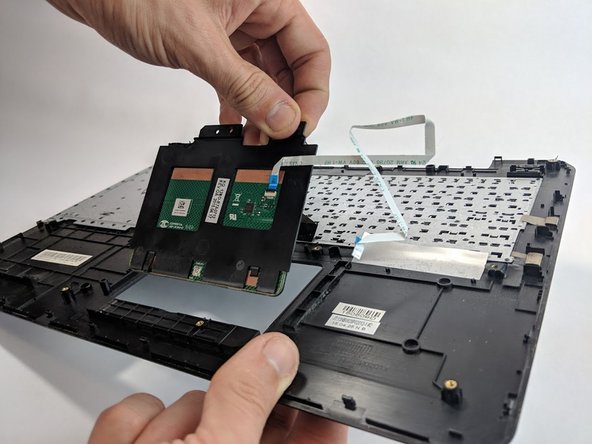
Once you've removed the plastic cover, flip it over.
-
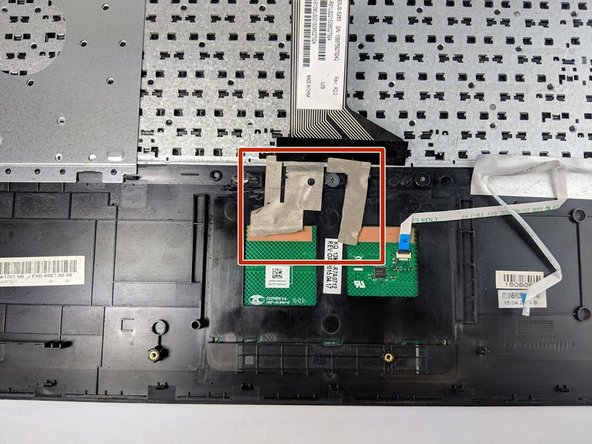
Next, carefully remove the tape from the bottom side of your touch pad.
-
-
이 단계는 번역되지 않았습니다. 번역을 도와주십시오
-
Locate and unscrew the three 3.2 mm at the top edge of the touch pad using the Phillips #0 screwdriver.
-
-
이 단계는 번역되지 않았습니다. 번역을 도와주십시오
-
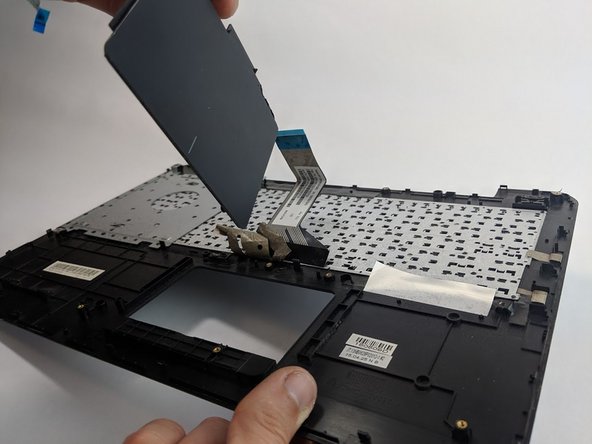
Gently push the front of the touch pad with your finger to remove it from its position within the keyboard.
-
Replace touch pad.
-


팀

USF Tampa, Team S1-G2, Leahy Fall 2018 USF Tampa, Team S1-G2, Leahy Fall 2018 회원
USFT-LEAHY-F18S1G2
4 회원들
안내서 6개 작성하였습니다