주요 콘텐츠로 건너뛰기

Asus G75VW-BHI7N07 Optical Drive Assembly Replacement

필요한 것

  1. Asus G75VW-BHI7N07 Optical Drive Assembly Replacement, Optical Drive: 1 단계, 이미지 1/3 Asus G75VW-BHI7N07 Optical Drive Assembly Replacement, Optical Drive: 1 단계, 이미지 2/3 Asus G75VW-BHI7N07 Optical Drive Assembly Replacement, Optical Drive: 1 단계, 이미지 3/3
    • If you have power, press the eject button.

    • If you don't have power, use the opening tool to pry off the disk drive cover.

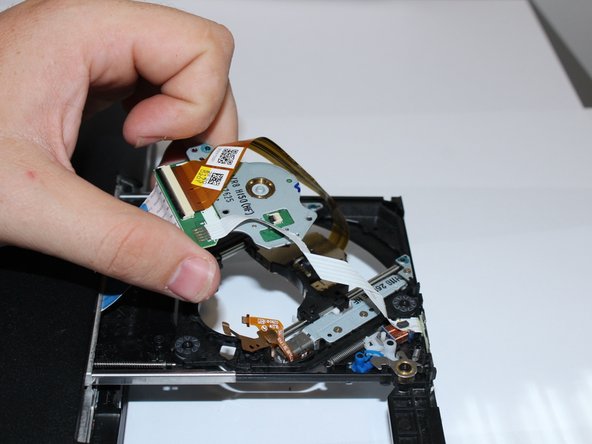
    • Press the Manual Eject button with the spudger and the disk drive should slide out. (Might need tweezers if it doesn't pop out immediately)

    • Once the disc drive pops out, flip the laptop over.

  2. Asus G75VW-BHI7N07 Optical Drive Assembly Replacement: 2 단계, 이미지 1/2 Asus G75VW-BHI7N07 Optical Drive Assembly Replacement: 2 단계, 이미지 2/2
    • Remove the 4 screws that hold down the metal plate with the J0 Phillips-head screwdriver.

    • Put the screws onto the magnetic pad, to avoid losing any.

    • Lift the metal plate off the optical drive with your fingers.

  3. Asus G75VW-BHI7N07 Optical Drive Assembly Replacement: 3 단계, 이미지 1/2 Asus G75VW-BHI7N07 Optical Drive Assembly Replacement: 3 단계, 이미지 2/2
    • Remove 3 screws of disc drive with the J0 Phillips-head screwdriver.

    • Pick up the disc drive assembly and pull it out.

  4. Asus G75VW-BHI7N07 Optical Drive Assembly Replacement: 4 단계, 이미지 1/3 Asus G75VW-BHI7N07 Optical Drive Assembly Replacement: 4 단계, 이미지 2/3 Asus G75VW-BHI7N07 Optical Drive Assembly Replacement: 4 단계, 이미지 3/3
    • Remove optical assembly by hand.

    • Remove disc reader by removing 2 bolts from the top using the J0 Phillips-head screwdriver.

    • Lift the metal piece out.

    • Make sure no edges are sticking out when putting the metal plate back in place.

결론

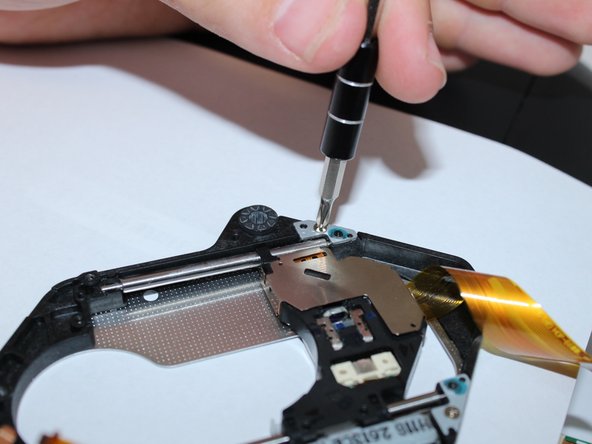
To reassemble your device, follow these instructions in reverse order.

다른 한 분이 해당 안내서를 완성하였습니다.

Joy

회원 가입일: 09/08/17

437 평판

안내서 4개 작성하였습니다

댓글 0개

댓글 쓰기

조회 통계:

24 시간 전: 1

7일 전: 1

30일 전: 8

전체 시간: 784