주요 콘텐츠로 건너뛰기

Asus K55N-DS81 Rear Panel Replacement

필요한 것

  1. Asus K55N-DS81 Rear Panel Replacement, Battery: 1 단계, 이미지 1/1
    • Flip the laptop over, such that the bottom of the laptop is facing upwards.

    • Ensure that the laptop is powered off prior to following this guide.

  2. Asus K55N-DS81 Rear Panel Replacement: 2 단계, 이미지 1/2 Asus K55N-DS81 Rear Panel Replacement: 2 단계, 이미지 2/2
    • Pull the latch to the right of the battery to the right.

  3. Asus K55N-DS81 Rear Panel Replacement: 3 단계, 이미지 1/2 Asus K55N-DS81 Rear Panel Replacement: 3 단계, 이미지 2/2
    • Pull the latch to the left of the battery to the left. Hold the latch open with a finger to prevent it from closing.

  4. Asus K55N-DS81 Rear Panel Replacement: 4 단계, 이미지 1/2 Asus K55N-DS81 Rear Panel Replacement: 4 단계, 이미지 2/2
    • While holding the second latch from the previous step, use another hand to reach underneath the battery.

    • Pull the battery upwards and away from the laptop to remove it.

  5. Asus K55N-DS81 Rear Panel Replacement, Rear Panel: 5 단계, 이미지 1/2 Asus K55N-DS81 Rear Panel Replacement, Rear Panel: 5 단계, 이미지 2/2
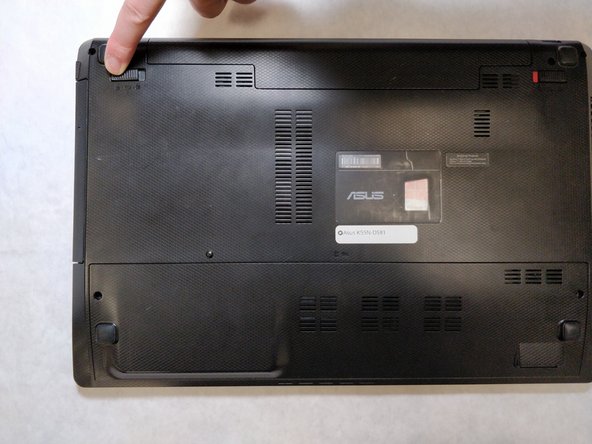
    • Using a JIS #00 screwdriver, unscrew the two 5 mm screws on either side of the laptop panel.

  6. Asus K55N-DS81 Rear Panel Replacement: 6 단계, 이미지 1/3 Asus K55N-DS81 Rear Panel Replacement: 6 단계, 이미지 2/3 Asus K55N-DS81 Rear Panel Replacement: 6 단계, 이미지 3/3
    • Remove the panel by pushing away from the laptop until the panel is free of the laptop.

    • Lift to remove the panel.

결론

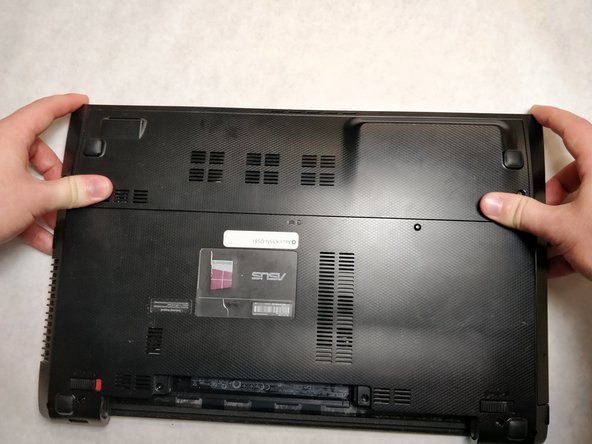
To reassemble your device, follow these instructions in reverse order.

다른 한 분이 해당 안내서를 완성하였습니다.

Elliott Beckner

회원 가입일: 11/05/18

543 평판

안내서 4개 작성하였습니다

IUPUI, Team S2-G1, Baechle Fall 2018 IUPUI, Team S2-G1, Baechle Fall 2018 회원

IUPUI-BAECHLE-F18S2G1

4 회원들

안내서 5개 작성하였습니다

댓글 0개

댓글 쓰기

조회 통계:

24 시간 전: 0

7일 전: 8

30일 전: 13

전체 시간: 371