소개
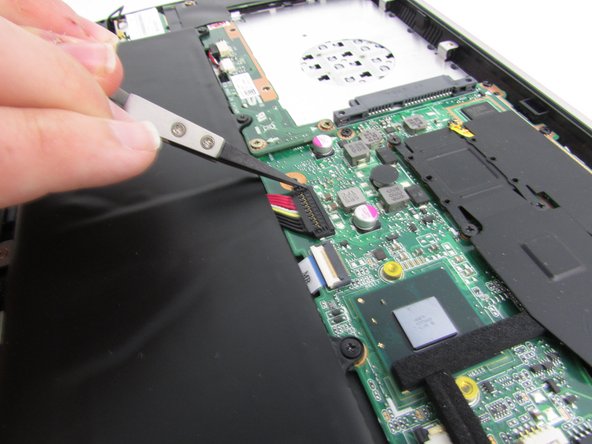
If you’ve noticed that your laptop is not turning on, or maybe there is a problem with charging your Asus Q200E-CT144H laptop, use this guide to replace your battery/connector. The purpose of the battery/connector is to provide electricity in order to power on the laptop. If the battery goes to waste, then there is no way to operate the laptop, therefore making it useless as a whole. The Lithium-ion battery is an important component of the typical laptop.
필요한 것
-
-
To start, turn off the laptop and disconnect the power cable.
-
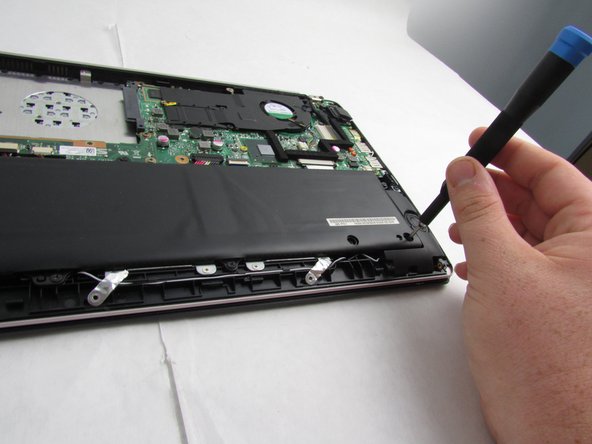
Flip the laptop over so the back panel is visible.
-
-
-


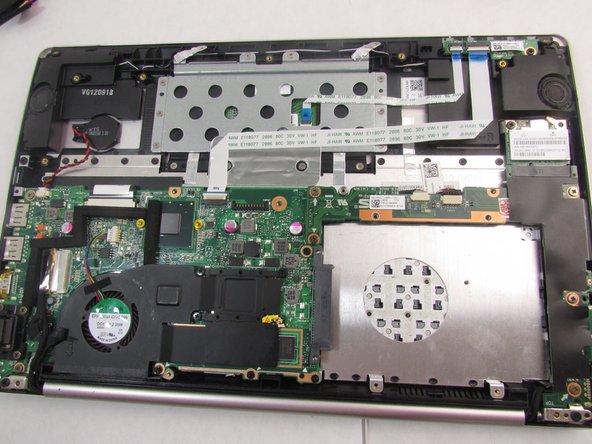
To reassemble your device, follow these instructions in reverse order.
To reassemble your device, follow these instructions in reverse order.

팀

Embry-Riddle Aeronautical University, Team S8-G2, Salas Fall 2019 Embry-Riddle Aeronautical University, Team S8-G2, Salas Fall 2019 회원
ERAU-SALAS-F19S8G2
3 회원들
안내서 6개 작성하였습니다