주요 콘텐츠로 건너뛰기

Asus Q200E-CT144H Fan Replacement

필요한 것

  1. Asus Q200E-CT144H Fan Replacement, Back Cover: 1 단계, 이미지 1/1
    • To start, turn off the laptop and disconnect the power cable.

    • If the computer is on or plugged in, it could cause electric shock.

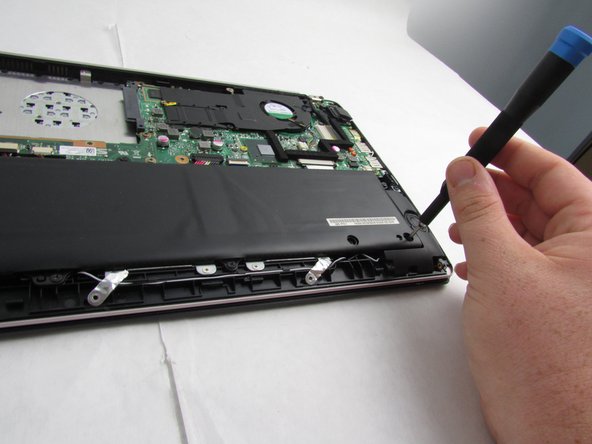
    • Flip the laptop over so the back panel is visible.

  2. Asus Q200E-CT144H Fan Replacement: 2 단계, 이미지 1/1
    • Remove the 9 screws holding the cover in place by taking a Phillips #00 Screwdriver and turning it counterclockwise.

  3. Asus Q200E-CT144H Fan Replacement: 3 단계, 이미지 1/2 Asus Q200E-CT144H Fan Replacement: 3 단계, 이미지 2/2
    • Use an iFixit opening tool to lift the back cover and remove it from the laptop.

  4. Asus Q200E-CT144H Fan Replacement, Battery: 4 단계, 이미지 1/2 Asus Q200E-CT144H Fan Replacement, Battery: 4 단계, 이미지 2/2
    이 단계에 사용된 도구:
    Tweezers
    $4.99
    구매
    • Remove the battery connector by using tweezers to lift up on it.

  5. Asus Q200E-CT144H Fan Replacement: 5 단계, 이미지 1/2 Asus Q200E-CT144H Fan Replacement: 5 단계, 이미지 2/2
    • Remove the nine Phillips #00 screws that hold the battery in place.

    • There is one 9.2mm screw, four 4.7mm screws, and four 5.7mm screws.

  6. Asus Q200E-CT144H Fan Replacement: 6 단계, 이미지 1/2 Asus Q200E-CT144H Fan Replacement: 6 단계, 이미지 2/2
    • Remove the battery from the battery bay.

  7. Asus Q200E-CT144H Fan Replacement, Fan: 7 단계, 이미지 1/1
    • Remove the five 4.6mm Phillips #00 screws holding the fan in place.

  8. Asus Q200E-CT144H Fan Replacement: 8 단계, 이미지 1/1
    이 단계에 사용된 도구:
    Tweezers
    $4.99
    구매
    • Disconnect the power bus with tweezers.

  9. Asus Q200E-CT144H Fan Replacement: 9 단계, 이미지 1/1
    • Lift and remove the fan from its housing.

결론

To reassemble your device, follow these instructions in reverse order.

Kirsti Wattles

회원 가입일: 09/16/19

689 평판

안내서 6개 작성하였습니다

댓글 0개

댓글 쓰기

조회 통계:

24 시간 전: 1

7일 전: 2

30일 전: 7

전체 시간: 117