주요 콘텐츠로 건너뛰기

Asus Q325U CPU Fan Replacement

필요한 것

  1. Asus Q325U CPU Fan Replacement, Back Panel: 1 단계, 이미지 1/3 Asus Q325U CPU Fan Replacement, Back Panel: 1 단계, 이미지 2/3 Asus Q325U CPU Fan Replacement, Back Panel: 1 단계, 이미지 3/3
    • Remove the ten 5mm screws using a T5 Torx screwdriver.

  2. Asus Q325U CPU Fan Replacement: 2 단계, 이미지 1/3 Asus Q325U CPU Fan Replacement: 2 단계, 이미지 2/3 Asus Q325U CPU Fan Replacement: 2 단계, 이미지 3/3
    • Lift the back panel upward using the suction tool.

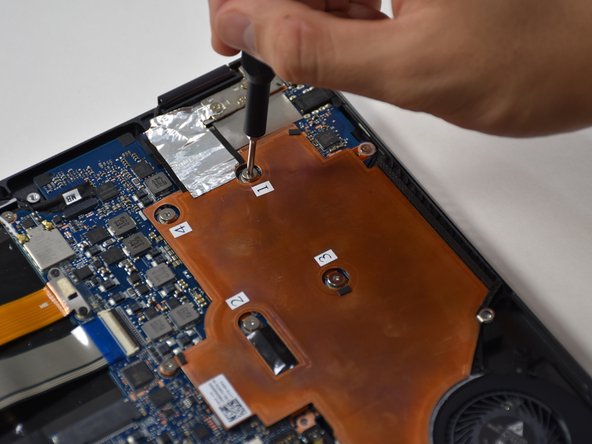
  3. Asus Q325U CPU Fan Replacement, Copper Plate: 3 단계, 이미지 1/2 Asus Q325U CPU Fan Replacement, Copper Plate: 3 단계, 이미지 2/2
    • Remove the six 3mm screws using a Phillips #00.

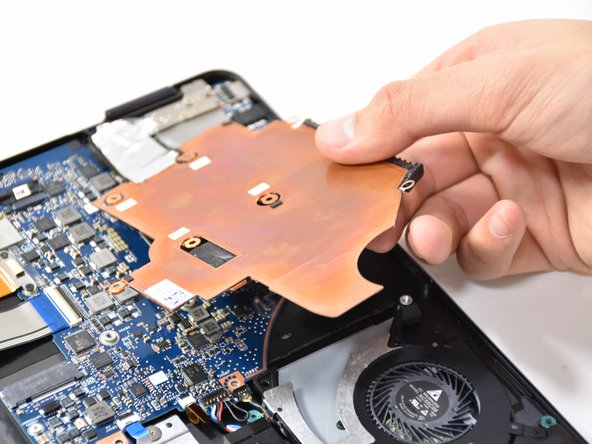
  4. Asus Q325U CPU Fan Replacement: 4 단계, 이미지 1/2 Asus Q325U CPU Fan Replacement: 4 단계, 이미지 2/2
    • Use the plastic opening tool to lift up the edge. Pull upward on the edge.

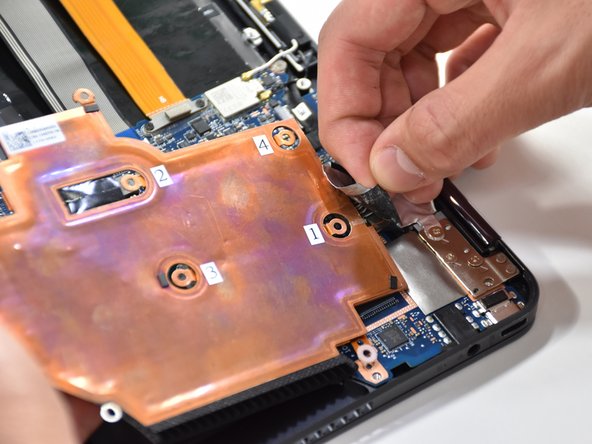
  5. Asus Q325U CPU Fan Replacement: 5 단계, 이미지 1/2 Asus Q325U CPU Fan Replacement: 5 단계, 이미지 2/2
    • On the other side of the plate, remove the tape.

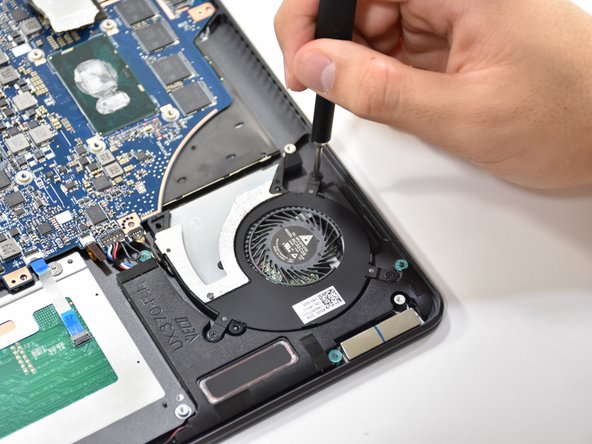
  6. Asus Q325U CPU Fan Replacement, CPU Fan: 6 단계, 이미지 1/2 Asus Q325U CPU Fan Replacement, CPU Fan: 6 단계, 이미지 2/2
    • Remove the three 3.7 mm screws using a Phillips #00 screwdriver.

  7. Asus Q325U CPU Fan Replacement: 7 단계, 이미지 1/1
    • Detach the black wire and plug shown using a tweezer.

  8. Asus Q325U CPU Fan Replacement: 8 단계, 이미지 1/1
    • Grab CPU fan by its edge and gently pull upwards to remove.

결론

To reassemble your device, follow these instructions in reverse order.

다른 2명이 해당 안내서를 완성하였습니다.

Matthew Slawson

회원 가입일: 01/29/19

271 평판

안내서 2개 작성하였습니다

Cal Poly, Team S19-G1, White Winter 2019 Cal Poly, Team S19-G1, White Winter 2019 회원

CPSU-WHITE-W19S19G1

3 회원들

안내서 6개 작성하였습니다

댓글 0개

댓글 쓰기

조회 통계:

24 시간 전: 1

7일 전: 5

30일 전: 9

전체 시간: 786