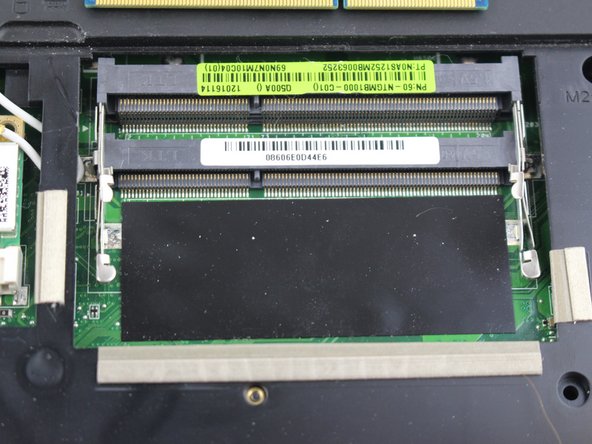
주요 콘텐츠로 건너뛰기

Asus Q500A RAM Replacement

필요한 것

  1. Asus Q500A RAM Replacement, RAM: 1 단계, 이미지 1/2 Asus Q500A RAM Replacement, RAM: 1 단계, 이미지 2/2
    • Flip device upside-down.

    • Remove back-plate by unscrewing the two screws on either side of the back-plate.

    • Remove the plastic cover.

  2. Asus Q500A RAM Replacement: 2 단계, 이미지 1/1
    • Depending on the model of the device, there will either be one or two sticks of ram.

    • There are two metal brackets holding each ram stick in.

    • To unlock the RAM, you'll need to remove the metal brackets. To do this, carefully push out the brackets.

  3. Asus Q500A RAM Replacement: 3 단계, 이미지 1/2 Asus Q500A RAM Replacement: 3 단계, 이미지 2/2
    • Now simply remove the ram by pulling it out using a set of pliers to be safe and careful not to damage the ram.

  4. Asus Q500A RAM Replacement: 4 단계, 이미지 1/1
    • To insert the ram line up the ram stick and the slot.

    • Next you will have to push the ram down until it snaps into place.

    • Be careful not to do this too hard, as it can break the ram.

    • Make sure the ram is secure in its slot before moving on to the next piece of ram or replacing the back-plate.

결론

To reassemble your device, follow these instructions in reverse order.

cameron

회원 가입일: 02/15/17

319 평판

안내서 3개 작성하였습니다

USF Tampa, Team 12-5, Eyestone Spring 2017 USF Tampa, Team 12-5, Eyestone Spring 2017 회원

USFT-EYESTONE-S17S12G5

3 회원들

안내서 3개 작성하였습니다

댓글 0개

댓글 쓰기

조회 통계:

24 시간 전: 0

7일 전: 7

30일 전: 18

전체 시간: 686