주요 콘텐츠로 건너뛰기

Asus Q524U Daughterboard Replacement

필요한 것

  1. Asus Q524U Daughterboard Replacement, Back Panel: 1 단계, 이미지 1/2 Asus Q524U Daughterboard Replacement, Back Panel: 1 단계, 이미지 2/2
    • Remove ten 3 mm screws using a Phillips #0 screwdriver.

  2. Asus Q524U Daughterboard Replacement: 2 단계, 이미지 1/1
    • Lift up the back panel and set it to the side.

  3. Asus Q524U Daughterboard Replacement, Battery: 3 단계, 이미지 1/2 Asus Q524U Daughterboard Replacement, Battery: 3 단계, 이미지 2/2
    • Using your fingers, grip onto both sides of the wire harness and push it upwards.

  4. Asus Q524U Daughterboard Replacement: 4 단계, 이미지 1/2 Asus Q524U Daughterboard Replacement: 4 단계, 이미지 2/2
    • Remove the five 3 mm screws holding the battery in place using a Phillips #0 screwdriver.

  5. Asus Q524U Daughterboard Replacement: 5 단계, 이미지 1/3 Asus Q524U Daughterboard Replacement: 5 단계, 이미지 2/3 Asus Q524U Daughterboard Replacement: 5 단계, 이미지 3/3
    • Tilt the small black tab up which will allow the blue tape to be slid out.

  6. Asus Q524U Daughterboard Replacement: 6 단계, 이미지 1/1
    • Simply lift the battery up and out of its holding area.

  7. Asus Q524U Daughterboard Replacement, Fan Assembly: 7 단계, 이미지 1/1
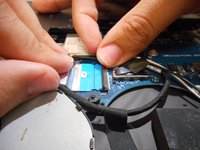
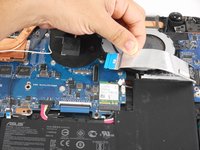
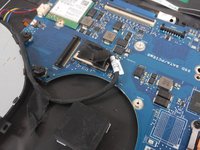
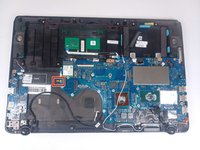
    • Remove the four 3 mm screws holding the fan in place using a Phillips #0 screwdriver.

  8. Asus Q524U Daughterboard Replacement: 8 단계, 이미지 1/2 Asus Q524U Daughterboard Replacement: 8 단계, 이미지 2/2
    • Remove five 3 mm screws holding the heat sink in place using a Phillips #0 screwdriver.

  9. Asus Q524U Daughterboard Replacement: 9 단계, 이미지 1/3 Asus Q524U Daughterboard Replacement: 9 단계, 이미지 2/3 Asus Q524U Daughterboard Replacement: 9 단계, 이미지 3/3
    • Pull up fan connector tab by using the plastic handle.

  10. Asus Q524U Daughterboard Replacement: 10 단계, 이미지 1/2 Asus Q524U Daughterboard Replacement: 10 단계, 이미지 2/2
    • Unwind the cable wrapped around the fan casing.

  11. Asus Q524U Daughterboard Replacement: 11 단계, 이미지 1/1
    • Disconnect the small cable from the fan.

  12. Asus Q524U Daughterboard Replacement: 12 단계, 이미지 1/1
    • After all screws and cables are unsecured, lift the fan assembly out of the laptop.

  13. Asus Q524U Daughterboard Replacement, Wi-Fi Card: 13 단계, 이미지 1/2 Asus Q524U Daughterboard Replacement, Wi-Fi Card: 13 단계, 이미지 2/2
    • Disconnect the black and white wires by pulling them up.

  14. Asus Q524U Daughterboard Replacement: 14 단계, 이미지 1/2 Asus Q524U Daughterboard Replacement: 14 단계, 이미지 2/2
    • Unscrew the single 3 mm screw using a Phillips #0 screwdriver.

  15. Asus Q524U Daughterboard Replacement: 15 단계, 이미지 1/2 Asus Q524U Daughterboard Replacement: 15 단계, 이미지 2/2
    • Slide the Wi-Fi card out of its slot.

  16. Asus Q524U Daughterboard Replacement, Motherboard: 16 단계, 이미지 1/2 Asus Q524U Daughterboard Replacement, Motherboard: 16 단계, 이미지 2/2
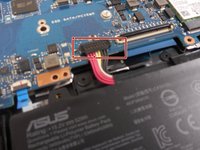
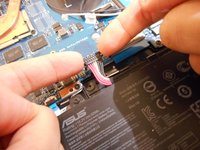
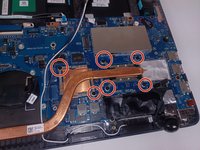
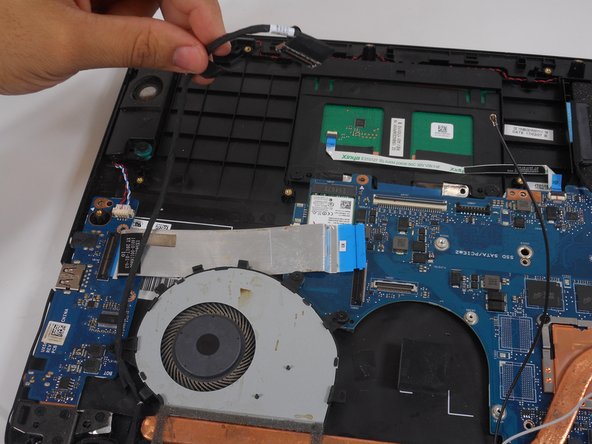
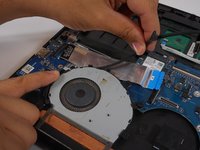
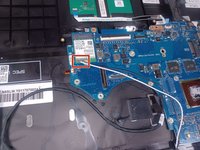
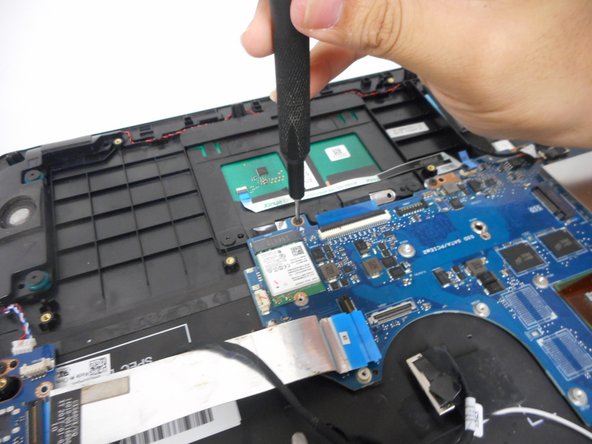
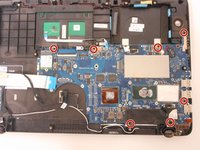
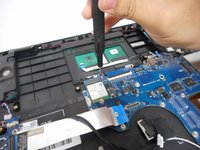
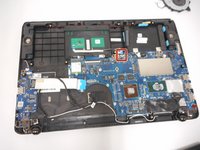
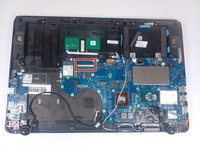
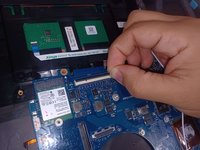
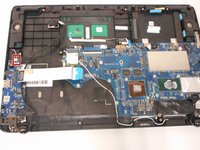
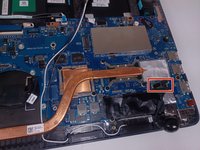
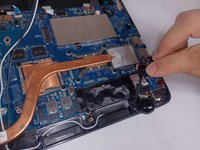
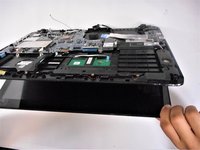
    • Remove the seven screws attached to the motherboard using a Phillips #0 screwdriver.

  17. Asus Q524U Daughterboard Replacement: 17 단계, 이미지 1/3 Asus Q524U Daughterboard Replacement: 17 단계, 이미지 2/3 Asus Q524U Daughterboard Replacement: 17 단계, 이미지 3/3
    • Using your finger flip the tab holding this light blue ribbon cable and move it out of the way.

  18. Asus Q524U Daughterboard Replacement: 18 단계, 이미지 1/2 Asus Q524U Daughterboard Replacement: 18 단계, 이미지 2/2
    • Using your fingers lift this tab up and pull out the blue ribbon cable.

  19. Asus Q524U Daughterboard Replacement: 19 단계, 이미지 1/3 Asus Q524U Daughterboard Replacement: 19 단계, 이미지 2/3 Asus Q524U Daughterboard Replacement: 19 단계, 이미지 3/3
    • Flip up the orange tab beneath the Wi-Fi card and pull out the wire.

  20. Asus Q524U Daughterboard Replacement: 20 단계, 이미지 1/3 Asus Q524U Daughterboard Replacement: 20 단계, 이미지 2/3 Asus Q524U Daughterboard Replacement: 20 단계, 이미지 3/3
    • Using your fingers, disconnect this wire harness by pushing it out from both sides.

  21. Asus Q524U Daughterboard Replacement: 21 단계, 이미지 1/2 Asus Q524U Daughterboard Replacement: 21 단계, 이미지 2/2
    • With your fingers, pull this tab up to disconnect the wire from the motherboard.

    • With this tab out of the way you can now pull the motherboard out.

  22. Asus Q524U Daughterboard Replacement, Daughterboard: 22 단계, 이미지 1/2 Asus Q524U Daughterboard Replacement, Daughterboard: 22 단계, 이미지 2/2
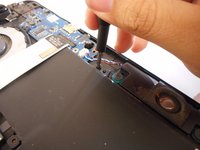
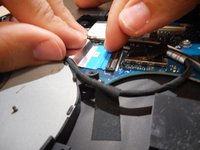
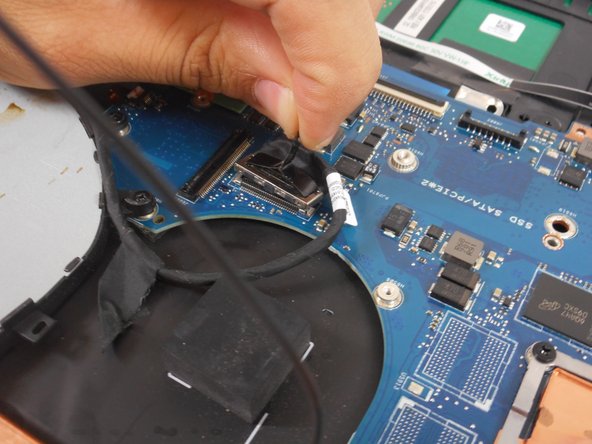
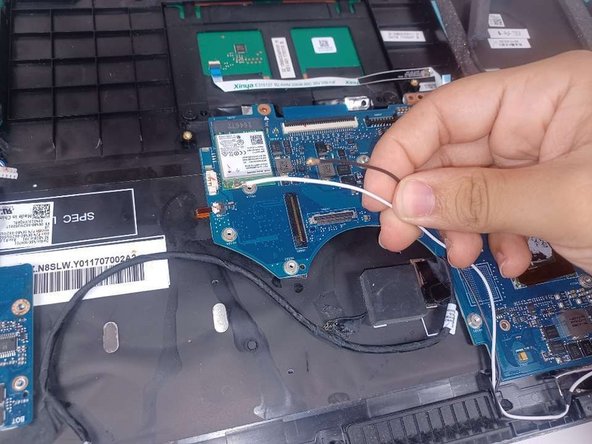
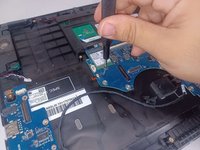
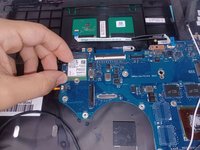
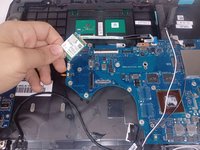
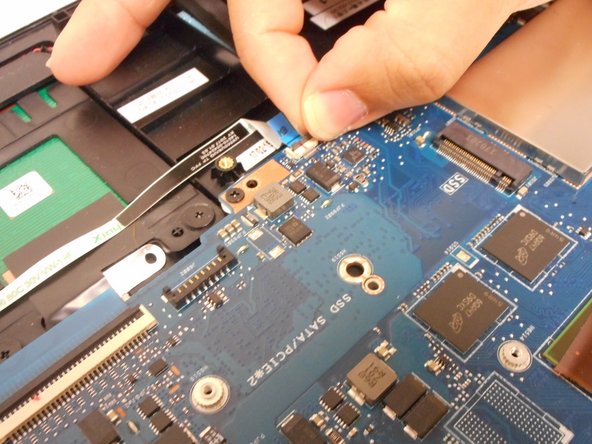
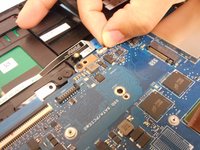
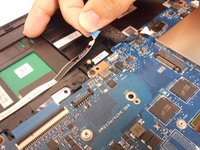
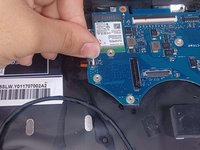
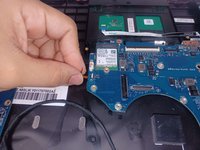
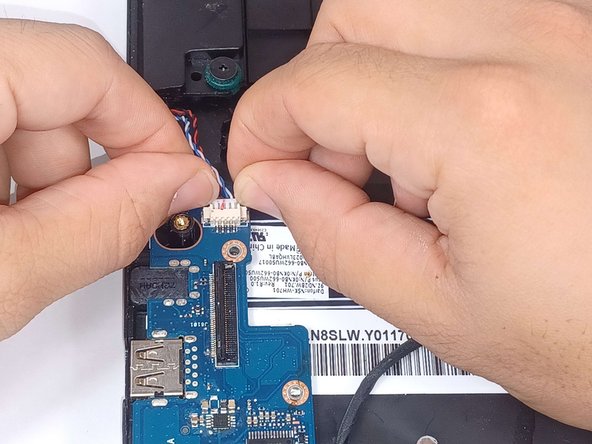
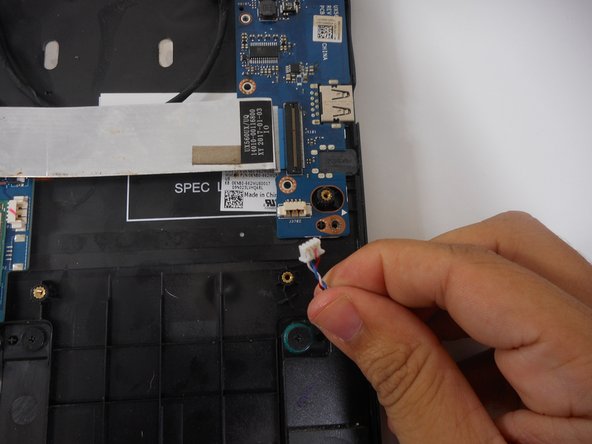
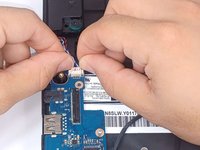
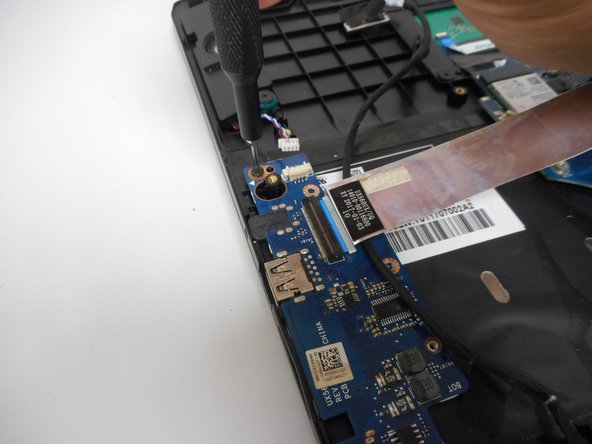
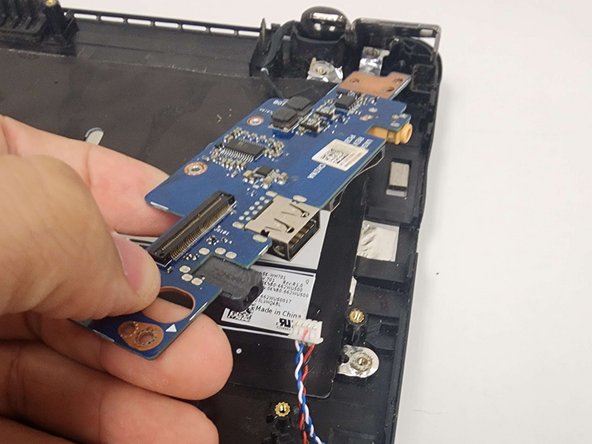
    • Remove the five screws from the daughterboard using a Phillips #0 screwdriver.

  23. Asus Q524U Daughterboard Replacement: 23 단계, 이미지 1/3 Asus Q524U Daughterboard Replacement: 23 단계, 이미지 2/3 Asus Q524U Daughterboard Replacement: 23 단계, 이미지 3/3
    • Open the laptop slightly in order for this hinge to open up.

  24. Asus Q524U Daughterboard Replacement: 24 단계, 이미지 1/2 Asus Q524U Daughterboard Replacement: 24 단계, 이미지 2/2
    • Remove the daughterboard from the laptop.

결론

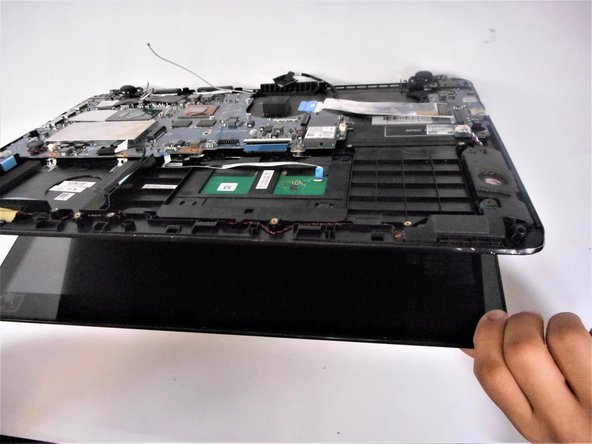
To reassemble your device, follow these instructions in reverse order.

Kristen Gismondi

회원 가입일: 11/12/14

82,723 평판

안내서 202개 작성하였습니다

iFixit iFixit 회원

Staff

136 회원들

안내서 17,442개 작성하였습니다

댓글 0개

댓글 쓰기

조회 통계:

24 시간 전: 1

7일 전: 1

30일 전: 2

전체 시간: 52