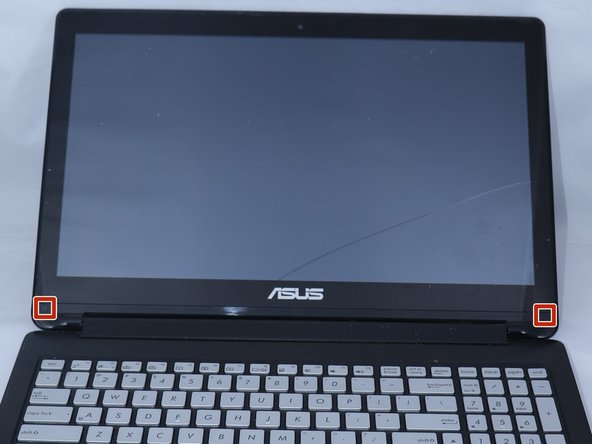
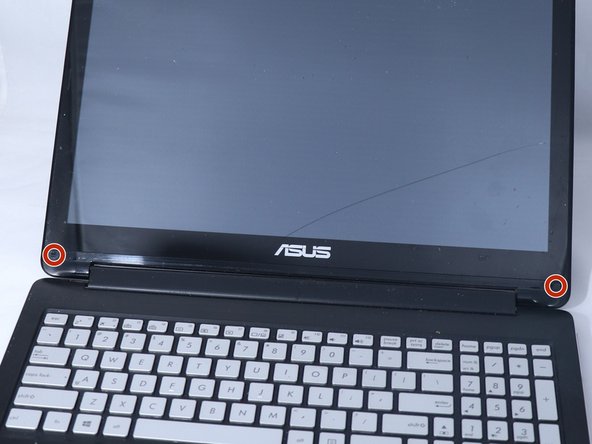
주요 콘텐츠로 건너뛰기

Asus Q551L Screen Replacement

필요한 것

  1. Asus Q551L Screen Replacement, Back Panel: 1 단계, 이미지 2개 중 1개 Asus Q551L Screen Replacement, Back Panel: 1 단계, 이미지 2개 중 2개
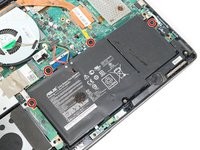
    • Unscrew the 10 screws around the edge of the back panel. Eight of the screws are 0.0793mm T5 , two of them are 0.0793 JIS #0.

  2. Asus Q551L Screen Replacement: 2 단계, 이미지 1개 중 1개
    • Use the plastic opening tool to pry the back panel off the base of the laptop.

  3. Asus Q551L Screen Replacement, Battery: 3 단계, 이미지 2개 중 1개 Asus Q551L Screen Replacement, Battery: 3 단계, 이미지 2개 중 2개
    • Unscrew the four screws to remove the battery.

  4. Asus Q551L Screen Replacement: 4 단계, 이미지 2개 중 1개 Asus Q551L Screen Replacement: 4 단계, 이미지 2개 중 2개
    • Un-clip both wire clips on the upper and right side of the battery.

    • Lift the battery out of the device.

  5. Asus Q551L Screen Replacement, Screen: 5 단계, 이미지 2개 중 1개 Asus Q551L Screen Replacement, Screen: 5 단계, 이미지 2개 중 2개
    • Use the metal spudger to gently lift the two plastic squares off the screen.

  6. Asus Q551L Screen Replacement: 6 단계, 이미지 2개 중 1개 Asus Q551L Screen Replacement: 6 단계, 이미지 2개 중 2개
    • Unscrew the two PH0 screws and set them aside.

  7. Asus Q551L Screen Replacement: 7 단계, 이미지 1개 중 1개
    • Use the plastic opening tool to pry the front edges of the screen off of the back.

  8. Asus Q551L Screen Replacement: 8 단계, 이미지 1개 중 1개
    • Take off the tapes.

    • Gently pry the LCD from the front frame.

결론

To reassemble your device, follow these instructions in reverse order.

다른 4명이 해당 안내서를 완성하였습니다.

작성자

3다른 기여자 명과 함께

Colleen Ford

회원 가입일: 04/09/18

327 평판

안내서 2개를 작성함

0가이드 댓글

댓글 쓰기

조회 통계:

지난 24시간: 0

지난 7일: 1

지난 30일: 8

전체 시간: 3,327