주요 콘텐츠로 건너뛰기

Asus Q552UB-BHI7T12 Screen Replacement

필요한 것

  1. Asus Q552UB-BHI7T12 Screen Replacement, Screen: 1 단계, 이미지 1/2 Asus Q552UB-BHI7T12 Screen Replacement, Screen: 1 단계, 이미지 2/2
    • Remove the two screw covers by hand or by using the pointed end of a spudger.

  2. Asus Q552UB-BHI7T12 Screen Replacement: 2 단계, 이미지 1/1
    • Remove both screws with a Phillips head screwdriver.

  3. Asus Q552UB-BHI7T12 Screen Replacement: 3 단계, 이미지 1/2 Asus Q552UB-BHI7T12 Screen Replacement: 3 단계, 이미지 2/2
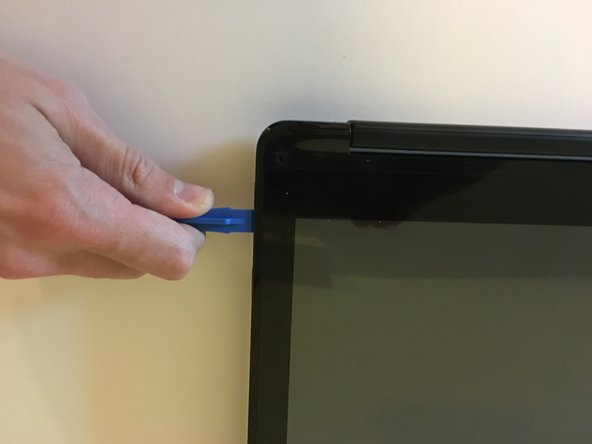
    • Wedge an opening tool between the two halves of the screen.

    • Keep the two latches together and go completely around the screen to release all the latches.

  4. Asus Q552UB-BHI7T12 Screen Replacement: 4 단계, 이미지 1/2 Asus Q552UB-BHI7T12 Screen Replacement: 4 단계, 이미지 2/2
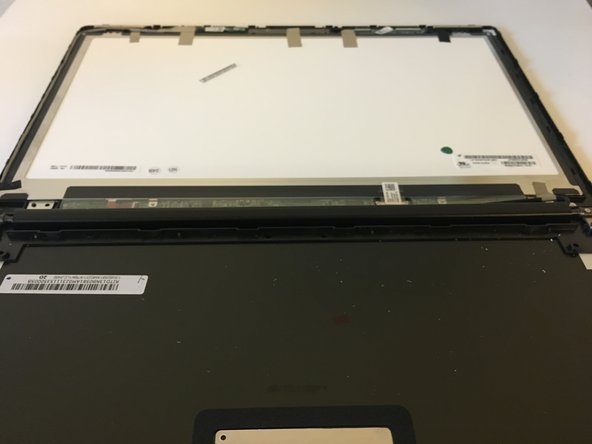
    • Separate the two parts of the screen.

  5. Asus Q552UB-BHI7T12 Screen Replacement: 5 단계, 이미지 1/1
    • Remove any tape that is holding the screen in place.

  6. Asus Q552UB-BHI7T12 Screen Replacement: 6 단계, 이미지 1/2 Asus Q552UB-BHI7T12 Screen Replacement: 6 단계, 이미지 2/2
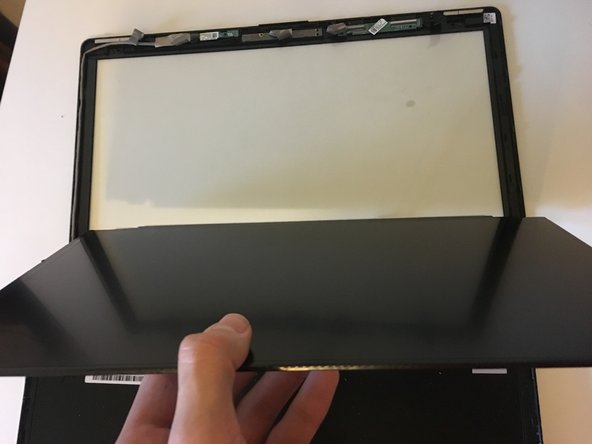
    • Use an opening tool to lift out the screen after all the tape is removed.

    • The screen may be stuck due to any tape or any remaining glue.

  7. Asus Q552UB-BHI7T12 Screen Replacement: 7 단계, 이미지 1/1
    • Pull the screen horizontally away to remove the last cable attached to the screen.

결론

Follow these instructions in reverse order to reassemble your device.

다른 2명이 해당 안내서를 완성하였습니다.

Alexander Boettcher

회원 가입일: 09/25/17

657 평판

안내서 5개 작성하였습니다

댓글 2개

Can you show the connection on motherboard for LCD cable?

Bustelo Pilon - 답글

Does anyone know where I can get this same model replacement?

Anthony C - 답글

댓글 쓰기

조회 통계:

24 시간 전: 0

7일 전: 2

30일 전: 3

전체 시간: 943