주요 콘텐츠로 건너뛰기

Asus ROG GL551J Optical Drive Replacement

필요한 것

  1. Asus ROG GL551J Optical Drive Replacement, Battery: 1 단계, 이미지 1/1
    • Lay the device on a flat surface with the battery facing up.

    • Be sure to wear ESD or Rubber gloves to protect the computer components.

  2. Asus ROG GL551J Optical Drive Replacement: 2 단계, 이미지 1/1
    • Push the latch found below the battery to the unlock position.

  3. Asus ROG GL551J Optical Drive Replacement: 3 단계, 이미지 1/1
    • Pull the battery out.

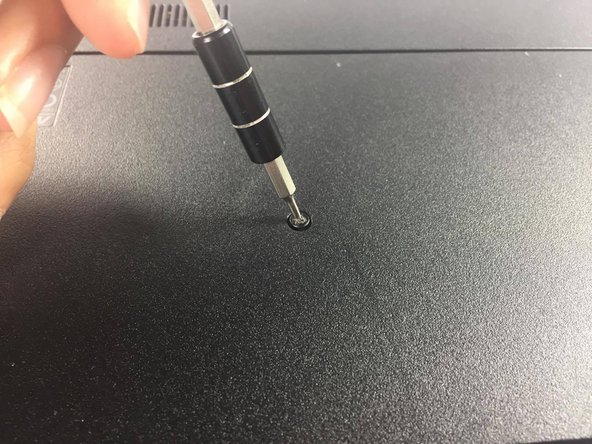
  4. Asus ROG GL551J Optical Drive Replacement, Optical Drive: 4 단계, 이미지 1/2 Asus ROG GL551J Optical Drive Replacement, Optical Drive: 4 단계, 이미지 2/2
    • Locate and unscrew the screw which connects the optical drive to the chassis

  5. Asus ROG GL551J Optical Drive Replacement: 5 단계, 이미지 1/1
    • Grasp the edge of the optical drive

  6. Asus ROG GL551J Optical Drive Replacement: 6 단계, 이미지 1/1
    • Pull on the optical drive gently. With little resistance, the optical drive should just slide out

결론

To reassemble your device, follow these instructions in reverse order.

다른 4명이 해당 안내서를 완성하였습니다.

Philip Muino

회원 가입일: 02/15/17

179 평판

안내서 1개 작성함

USF Tampa, Team 5-4, Lacy Spring 2017 USF Tampa, Team 5-4, Lacy Spring 2017 회원

USFT-LACY-S17S5G4

4 회원들

안내서 5개 작성하였습니다

댓글 한 개

ok.so , if someone had replaced the dvd rom with a hard disk drive i nust do the same for replace the drive?

anix - 답글

댓글 쓰기

조회 통계:

24 시간 전: 1

7일 전: 2

30일 전: 5

전체 시간: 1,961