주요 콘텐츠로 건너뛰기

Asus ROG Strix GL702VS LCD Screen (Display) Replacement

필요한 것

  1. Asus ROG Strix GL702VS LCD Screen (Display) Replacement, LCD Screen (Display): 1 단계, 이미지 1/3 Asus ROG Strix GL702VS LCD Screen (Display) Replacement, LCD Screen (Display): 1 단계, 이미지 2/3 Asus ROG Strix GL702VS LCD Screen (Display) Replacement, LCD Screen (Display): 1 단계, 이미지 3/3
    • Remove the two screw stickers at the bottom corners of the screen.

    • Remove the two 4mm JIS #0 screws beneath the stickers.

  2. Asus ROG Strix GL702VS LCD Screen (Display) Replacement: 2 단계, 이미지 1/3 Asus ROG Strix GL702VS LCD Screen (Display) Replacement: 2 단계, 이미지 2/3 Asus ROG Strix GL702VS LCD Screen (Display) Replacement: 2 단계, 이미지 3/3
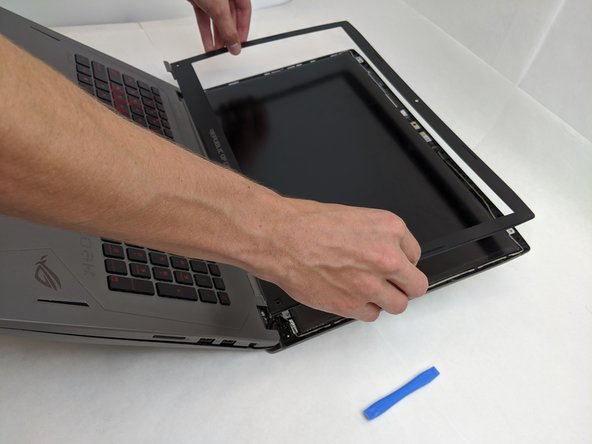
    • Break the glue between the bezel and screen with a nylon spudger, working around the inside of the bezel.

    • Using an opening tool, lift up the bezel once the glue has been removed.

    • The plastic clips remain so it will have some resistance/snapping noises.

  3. Asus ROG Strix GL702VS LCD Screen (Display) Replacement: 3 단계, 이미지 1/2 Asus ROG Strix GL702VS LCD Screen (Display) Replacement: 3 단계, 이미지 2/2
    • Lift the plastic bezel off of the front display panel.

    • The plastic bezel will click when put back on the screen.

  4. Asus ROG Strix GL702VS LCD Screen (Display) Replacement: 4 단계, 이미지 1/1
    • Remove the four interior 4mm JIS #0 screws from each of the four metal LCD tabs.

  5. Asus ROG Strix GL702VS LCD Screen (Display) Replacement: 5 단계, 이미지 1/3 Asus ROG Strix GL702VS LCD Screen (Display) Replacement: 5 단계, 이미지 2/3 Asus ROG Strix GL702VS LCD Screen (Display) Replacement: 5 단계, 이미지 3/3
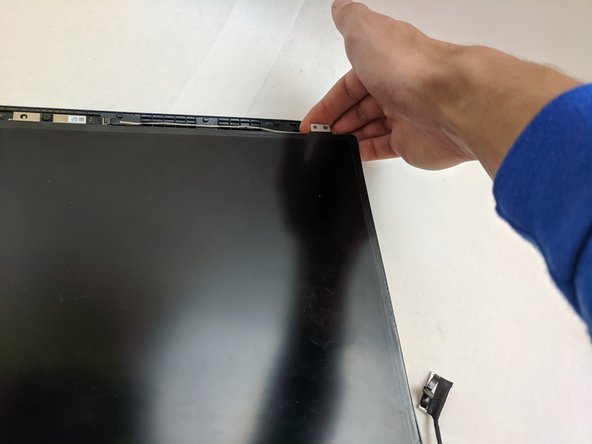
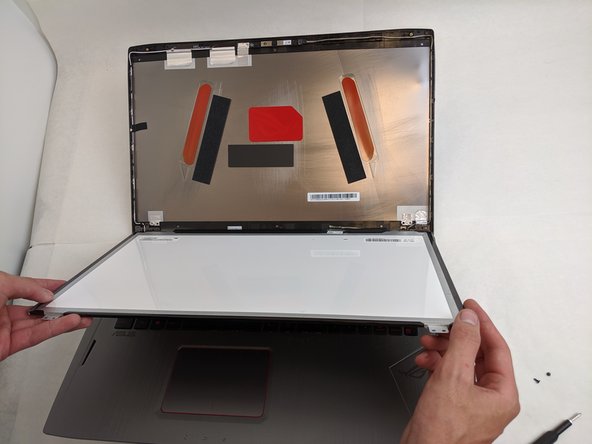
    • Once the LCD display is freed you can lift it up out of the casing.

    • Be careful as the cable remains attached.

  6. Asus ROG Strix GL702VS LCD Screen (Display) Replacement: 6 단계, 이미지 1/2 Asus ROG Strix GL702VS LCD Screen (Display) Replacement: 6 단계, 이미지 2/2
    • On the backside of the LCD, disconnect the LCD cable using a pair of tweezers.

    • Once fully disconnected, remove the LCD and replace it.

결론

To reassemble your device, follow these instructions in reverse order.

다른 한 분이 해당 안내서를 완성하였습니다.

Conor H Allen

회원 가입일: 09/16/19

622 평판

안내서 5개 작성하였습니다

댓글 0개

댓글 쓰기

조회 통계:

24 시간 전: 0

7일 전: 3

30일 전: 13

전체 시간: 1,678