소개
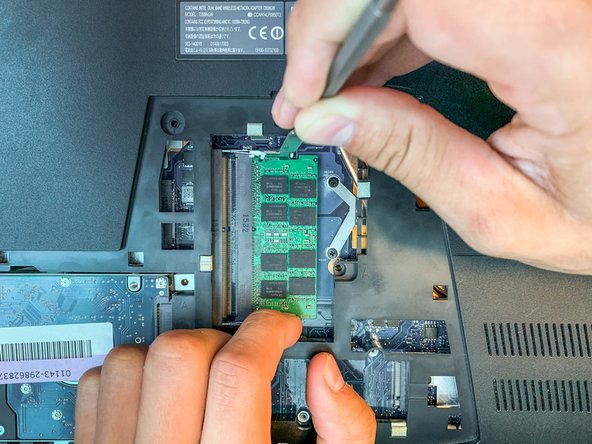
The Random Access Memory (RAM) of the laptop is a component that is commonly replaced. RAM replacements are generally for people who are looking to upgrade their RAM storage, but there are many cases where your RAM is susceptible to fail. If you’re experiencing any problems with your computer such as the blue screen of death (BSoD) or slow loading times, it may be time to replace your RAM. This guide will instruct how to replace the RAM on the Asus ROG ZX50VW-BH17N10.
필요한 것


To reassemble your device, follow these instructions in reverse order.
To reassemble your device, follow these instructions in reverse order.
팀

Embry-Riddle Aeronautical University, Team S15-G3, Lamothe Fall 2019 Embry-Riddle Aeronautical University, Team S15-G3, Lamothe Fall 2019 회원
ERAU-LAMOTHE-F19S15G3
4 회원들
안내서 6개 작성하였습니다