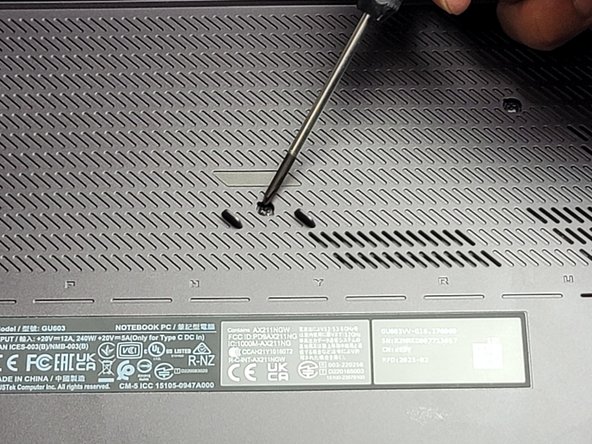
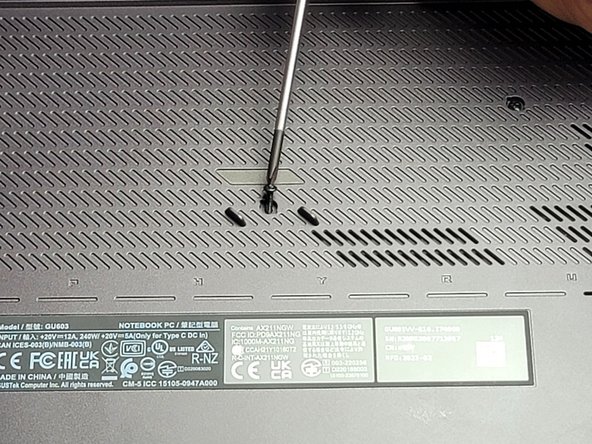
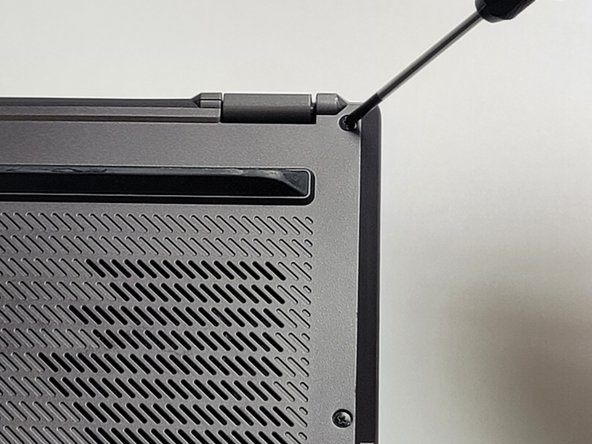
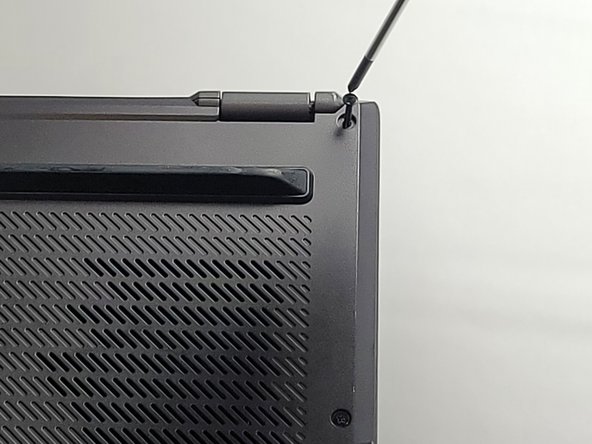
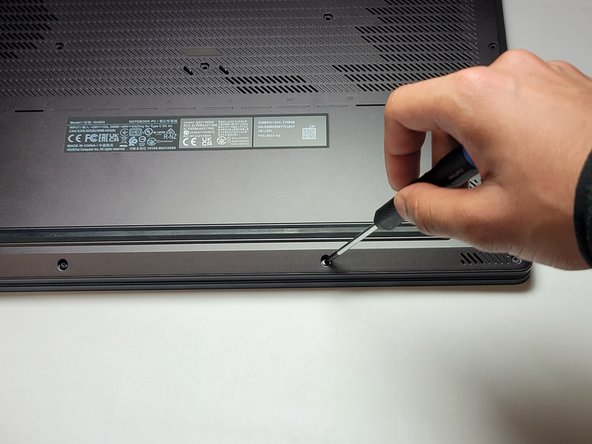
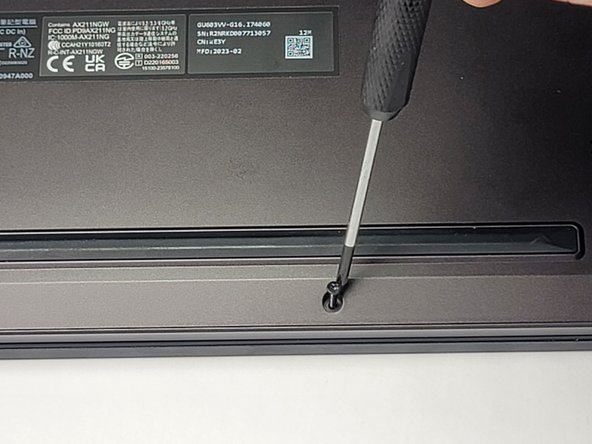
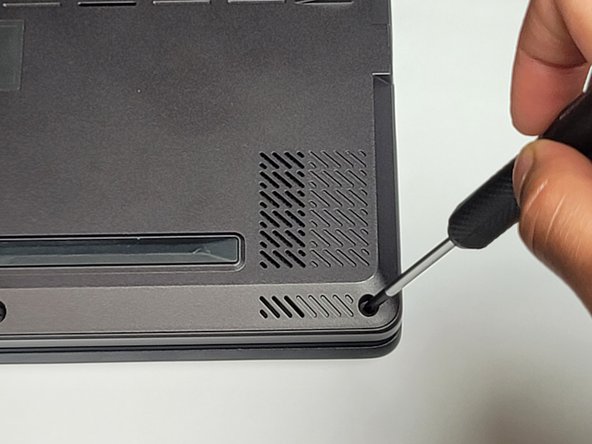
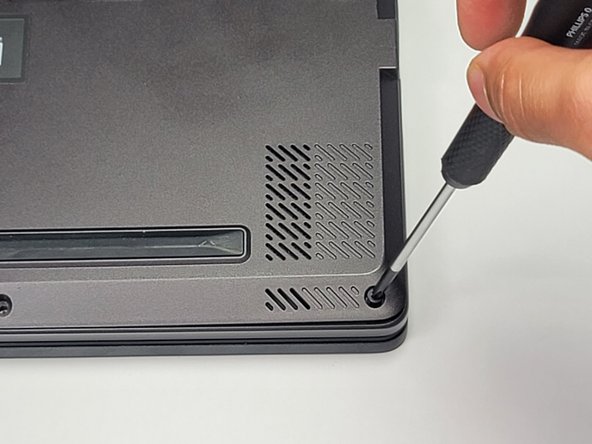
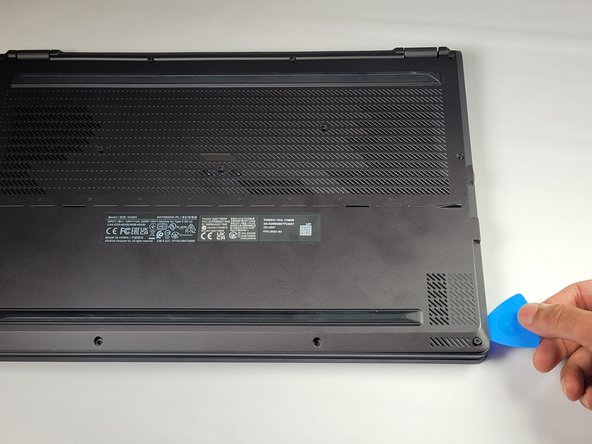
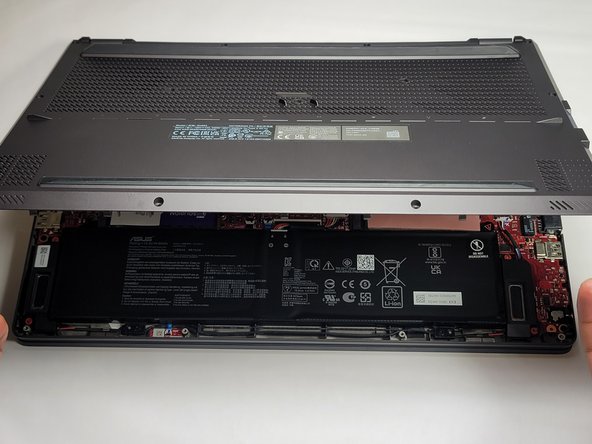
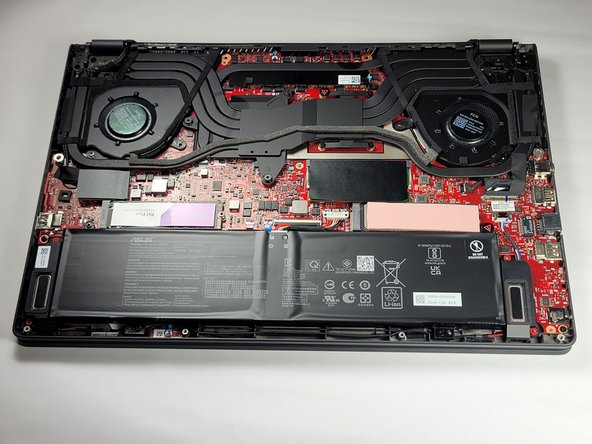
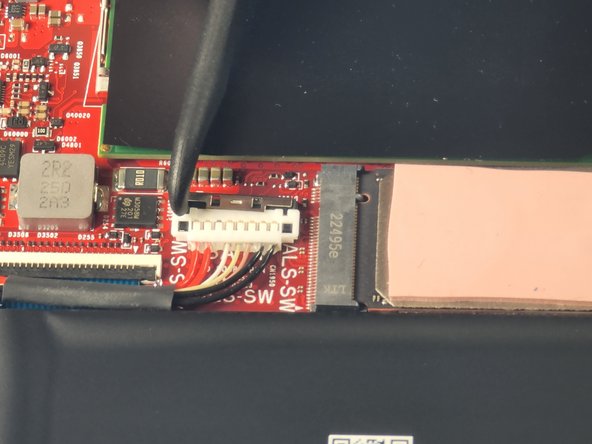
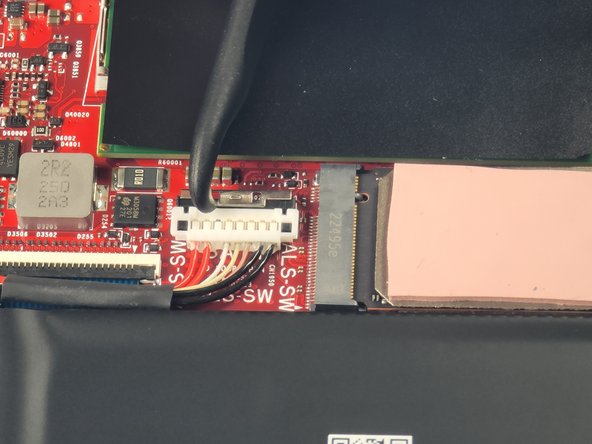
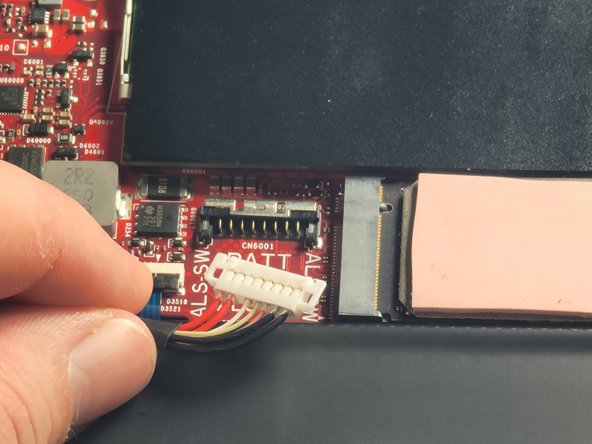
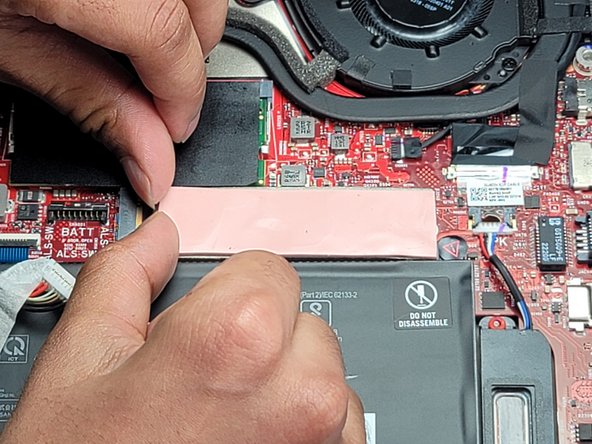
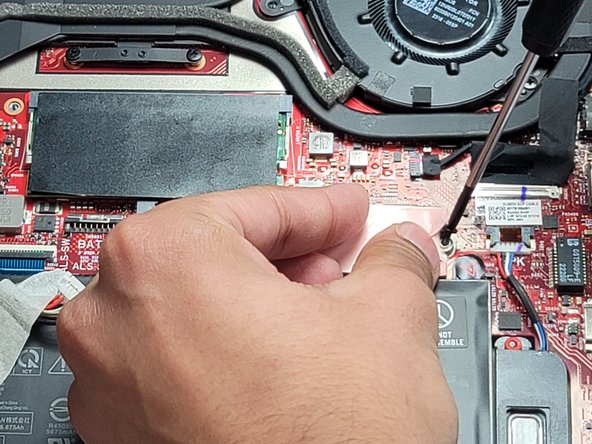
주요 콘텐츠로 건너뛰기

Asus ROG Zephyrus G16 GU603VV SSD Replacement

필요한 것

  1. Asus ROG Zephyrus G16 GU603VV SSD Replacement, SSD: 1 단계, 이미지 1/1
    • This step can be used as reference for screw locations that secure the bottom panel:

    • Three M2 8 mm screws

    • Two M2 11.5 mm screws

    • Four M2 11 mm screws

    • Three M2 5.5 mm screws

    • One M2 8 mm captive screw

  2. Asus ROG Zephyrus G16 GU603VV SSD Replacement: 2 단계, 이미지 1/3 Asus ROG Zephyrus G16 GU603VV SSD Replacement: 2 단계, 이미지 2/3 Asus ROG Zephyrus G16 GU603VV SSD Replacement: 2 단계, 이미지 3/3
    • Remove the three rubber covers for the middle screws.

    • These rubber covers have a tendency to fly off when being removed.

  3. Asus ROG Zephyrus G16 GU603VV SSD Replacement: 3 단계, 이미지 1/3 Asus ROG Zephyrus G16 GU603VV SSD Replacement: 3 단계, 이미지 2/3 Asus ROG Zephyrus G16 GU603VV SSD Replacement: 3 단계, 이미지 3/3
    • Remove the three 8 mm Phillips screws.

  4. Asus ROG Zephyrus G16 GU603VV SSD Replacement: 4 단계, 이미지 1/3 Asus ROG Zephyrus G16 GU603VV SSD Replacement: 4 단계, 이미지 2/3 Asus ROG Zephyrus G16 GU603VV SSD Replacement: 4 단계, 이미지 3/3
    • Remove the four 11 mm Phillips screws.

    • Remove the center two 11.5 mm Phillips screws.

  5. Asus ROG Zephyrus G16 GU603VV SSD Replacement: 5 단계, 이미지 1/3 Asus ROG Zephyrus G16 GU603VV SSD Replacement: 5 단계, 이미지 2/3 Asus ROG Zephyrus G16 GU603VV SSD Replacement: 5 단계, 이미지 3/3
    • Remove the bottom three 5.5 mm Phillips screws.

    • The bottom right screw is not removed during this step.

  6. Asus ROG Zephyrus G16 GU603VV SSD Replacement: 6 단계, 이미지 1/3 Asus ROG Zephyrus G16 GU603VV SSD Replacement: 6 단계, 이미지 2/3 Asus ROG Zephyrus G16 GU603VV SSD Replacement: 6 단계, 이미지 3/3
    • Loosen the 8 mm Phillips captive screw in the bottom right corner.

    • The screw will not be removed entirely; it is a captive screw.

  7. Asus ROG Zephyrus G16 GU603VV SSD Replacement: 7 단계, 이미지 1/3 Asus ROG Zephyrus G16 GU603VV SSD Replacement: 7 단계, 이미지 2/3 Asus ROG Zephyrus G16 GU603VV SSD Replacement: 7 단계, 이미지 3/3
    • Shimmy your pick into the seam opened up by loosening the retaining screw.

    • Gently move your pick clockwise around the edge of the device in the seam between the cover and the laptop to loosen the cover plate.

  8. Asus ROG Zephyrus G16 GU603VV SSD Replacement: 8 단계, 이미지 1/3 Asus ROG Zephyrus G16 GU603VV SSD Replacement: 8 단계, 이미지 2/3 Asus ROG Zephyrus G16 GU603VV SSD Replacement: 8 단계, 이미지 3/3
    • Gently remove the lower case.

  9. Asus ROG Zephyrus G16 GU603VV SSD Replacement: 9 단계, 이미지 1/3 Asus ROG Zephyrus G16 GU603VV SSD Replacement: 9 단계, 이미지 2/3 Asus ROG Zephyrus G16 GU603VV SSD Replacement: 9 단계, 이미지 3/3
    • Slide the battery connector latch upwards to free the battery cable for removal.

  10. Asus ROG Zephyrus G16 GU603VV SSD Replacement: 10 단계, 이미지 1/2 Asus ROG Zephyrus G16 GU603VV SSD Replacement: 10 단계, 이미지 2/2
    • Remove the battery connector by lifting it up and away from the board.

  11. Asus ROG Zephyrus G16 GU603VV SSD Replacement: 11 단계, 이미지 1/3 Asus ROG Zephyrus G16 GU603VV SSD Replacement: 11 단계, 이미지 2/3 Asus ROG Zephyrus G16 GU603VV SSD Replacement: 11 단계, 이미지 3/3
    • Lift the right edge of the protective thermal pad on top of the old SSD and remove the screw underneath.

    • Disconnect the SSD by gently pushing it to the right.

    • Remove the SSD.

  12. Asus ROG Zephyrus G16 GU603VV SSD Replacement: 12 단계, 이미지 1/2 Asus ROG Zephyrus G16 GU603VV SSD Replacement: 12 단계, 이미지 2/2
    • Insert the replacement SSD and screw it into place.

결론

To reassemble your device, follow these instructions in reverse order. Take your e-waste to an R2 or e-Stewards certified recycler.

다른 한 분이 해당 안내서를 완성하였습니다.

Anusheel

회원 가입일: 01/22/24

217 평판

안내서 1개 작성함

UC Davis, Team 1-2, Morris Winter 2024 UC Davis, Team 1-2, Morris Winter 2024 회원

UCD-MORRIS-W24S1G2

3 회원들

안내서 1개 작성하였습니다

댓글 0개

댓글 쓰기

조회 통계:

24 시간 전: 4

7일 전: 57

30일 전: 213

전체 시간: 566