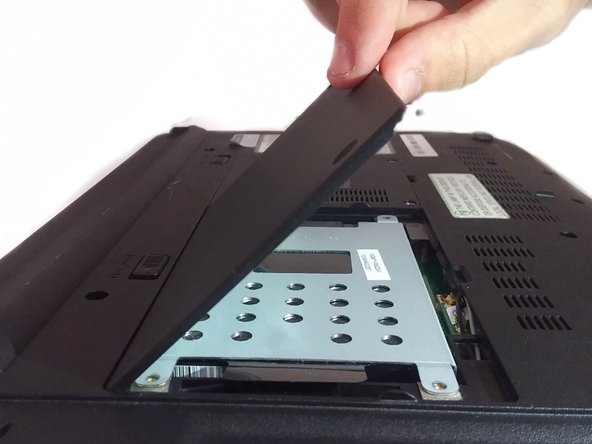
주요 콘텐츠로 건너뛰기

Asus UL30VT-X1 Hard Drive Replacement

필요한 것

  1. Asus UL30VT-X1 Hard Drive Replacement, Hard Drive: 1 단계, 이미지 1/2 Asus UL30VT-X1 Hard Drive Replacement, Hard Drive: 1 단계, 이미지 2/2
    • Flip the laptop over onto the back.

  2. Asus UL30VT-X1 Hard Drive Replacement: 2 단계, 이미지 1/2 Asus UL30VT-X1 Hard Drive Replacement: 2 단계, 이미지 2/2
    • Unscrew the three screws on the hard drive panel using a Phillips Head #00 screwdriver.

  3. Asus UL30VT-X1 Hard Drive Replacement: 3 단계, 이미지 1/2 Asus UL30VT-X1 Hard Drive Replacement: 3 단계, 이미지 2/2
    • Lift the hard drive panel up from the small cut out at the bottom with your finger to expose the hard drive.

  4. Asus UL30VT-X1 Hard Drive Replacement: 4 단계, 이미지 1/2 Asus UL30VT-X1 Hard Drive Replacement: 4 단계, 이미지 2/2
    • Grab the black pull tab with your fingers. Pull upwards and then outwards to remove the hard drive.

    • It can sometimes be a little difficult to remove the hard drive.

결론

To reassemble your device, follow these instructions in reverse order.

Robert Wilcox

회원 가입일: 09/20/17

218 평판

안내서 2개 작성하였습니다

댓글 0개

댓글 쓰기

조회 통계:

24 시간 전: 0

7일 전: 2

30일 전: 2

전체 시간: 178