소개
Fan is a very essential part of a laptop which prevents it from overheating. Your Asus V6800V Fan needs to be changed when your laptop is running slow due to overheating or the fan is making a usual noisy sound or in some cases the fan stops immediately after starting. Before changing your Asus V6800V Fan use this page to confirm that the problem is actually in the fan but not any other parts.
The replacement guide will help you change your Asus V6800V Fan in the following simple steps. It won’t take more than 30 minutes.
필요한 것
-
-
Place the computer upside down.
-
Using your thumbs, slide both latches away from each other (towards the outside).
-
Push the battery out with your fingers.
-
-


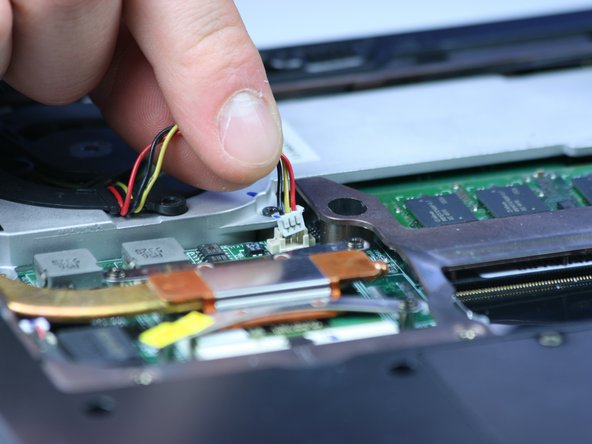


To reassemble your device, follow these instructions in reverse order.
To reassemble your device, follow these instructions in reverse order.
팀

Cal Poly, Team 2-9, Johann Summer 2010 Cal Poly, Team 2-9, Johann Summer 2010 회원
CPSU-JOHANN-R10S2G9
5 회원들
안내서 10개 작성하였습니다