주요 콘텐츠로 건너뛰기

Asus VivoBook E203MA-TBCL432B Speaker Replacement

필요한 것

  1. Asus VivoBook E203MA-TBCL432B Speaker Replacement, Back Panel: 1 단계, 이미지 1/1
    • Position the laptop so that the bottom panel is facing upwards, the hinge is away from you, and the ASUS logo is against the table.

    • It will be easier to replace the battery if the laptop is closed.

  2. Asus VivoBook E203MA-TBCL432B Speaker Replacement: 2 단계, 이미지 1/3 Asus VivoBook E203MA-TBCL432B Speaker Replacement: 2 단계, 이미지 2/3 Asus VivoBook E203MA-TBCL432B Speaker Replacement: 2 단계, 이미지 3/3
    • Use a Phillips #0 screwdriver to remove the eight 5 mm screws on the back panel.

    • Remove the two 7 mm Phillips #0 screws.

    • The 8 screws marked in red are all of the same length, 5 mm, and should not be interchanged with the two longer 7 mm screws marked in orange.

  3. Asus VivoBook E203MA-TBCL432B Speaker Replacement: 3 단계, 이미지 1/3 Asus VivoBook E203MA-TBCL432B Speaker Replacement: 3 단계, 이미지 2/3 Asus VivoBook E203MA-TBCL432B Speaker Replacement: 3 단계, 이미지 3/3
    • Insert the iFixit opening tool in between the back panel and the rest of the laptop.

    • With the iFixit opening tool, lift the panel from the laptop body. Work your way around the device creating separation with the tool.

    • Once there is enough separation between the back panel and the device, gently pull off the back panel with your hands and completely remove it.

    • Make sure to use a plastic tool, not a metal one, so that you don't scratch the panel.

  4. Asus VivoBook E203MA-TBCL432B Speaker Replacement, Speaker: 4 단계, 이미지 1/3 Asus VivoBook E203MA-TBCL432B Speaker Replacement, Speaker: 4 단계, 이미지 2/3 Asus VivoBook E203MA-TBCL432B Speaker Replacement, Speaker: 4 단계, 이미지 3/3
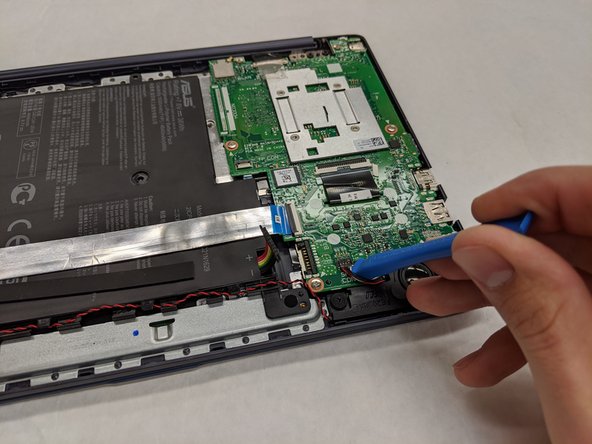
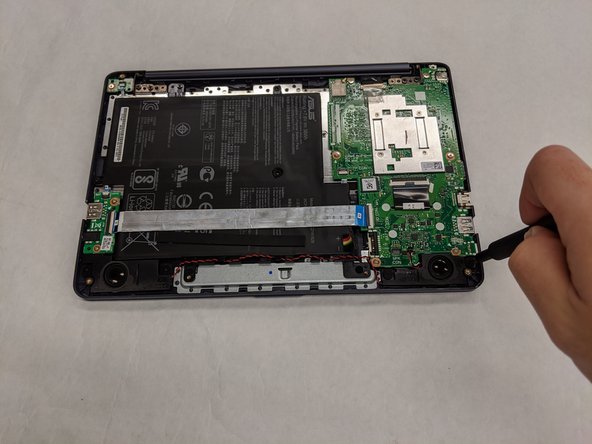
    • Using the iFixit opening tool, pry up and remove the battery connector from the motherboard.

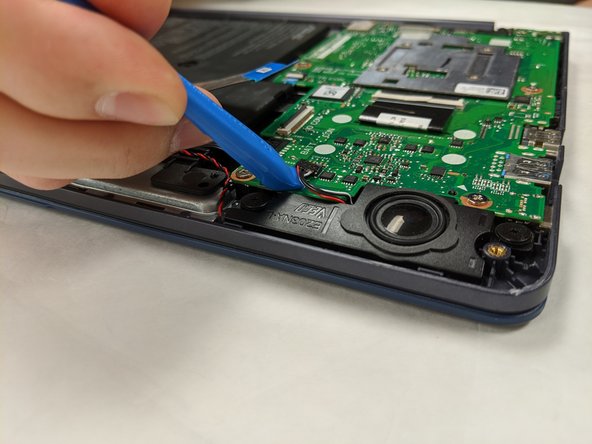
    • Using the iFixit opening tool again, carefully wedge the tool under a corner of the speaker connector on the motherboard that is connected by three wires (colored red, black, and white).

    • Slowly pry the connector up without damaging the motherboard.

  5. Asus VivoBook E203MA-TBCL432B Speaker Replacement: 5 단계, 이미지 1/3 Asus VivoBook E203MA-TBCL432B Speaker Replacement: 5 단계, 이미지 2/3 Asus VivoBook E203MA-TBCL432B Speaker Replacement: 5 단계, 이미지 3/3
    • Using a Phillips #00 screwdriver, remove the four 2.0 mm screws near the edge opposite of the hinge.

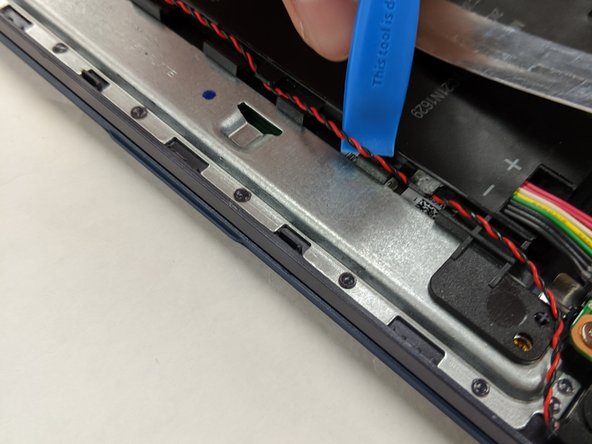
    • Insert the iFixit opening tool underneath the red and black wire and remove the wire from the small clasps.

  6. Asus VivoBook E203MA-TBCL432B Speaker Replacement: 6 단계, 이미지 1/2 Asus VivoBook E203MA-TBCL432B Speaker Replacement: 6 단계, 이미지 2/2
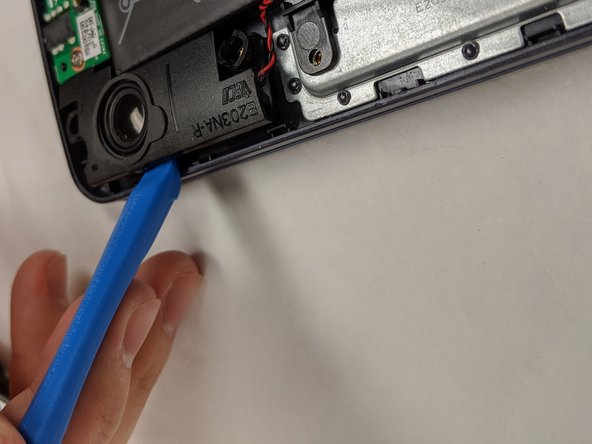
    • Insert the iFixit opening tool underneath the speaker on the right side. Gently pry the speaker up to remove.

    • Repeat the step above for the opposite speaker. Then, carefully set both speakers off to the side.

결론

To reassemble your device, follow these instructions in reverse order.

다른 한 분이 해당 안내서를 완성하였습니다.

Khadijah Sulail

회원 가입일: 11/16/19

415 평판

안내서 3개 작성하였습니다

IUPUI, Team S3-G3, Wilson Fall 2019 IUPUI, Team S3-G3, Wilson Fall 2019 회원

IUPUI-WILSON-F19S3G3

4 회원들

안내서 3개 작성하였습니다

댓글 0개

댓글 쓰기

조회 통계:

24 시간 전: 0

7일 전: 4

30일 전: 5

전체 시간: 331