이 버전에는 잘못된 편집 사항이 있을 수 있습니다. 최신 확인된 스냅샷으로 전환하십시오.
필요한 것
-
이 단계는 번역되지 않았습니다. 번역을 도와주십시오
-
Remove the tablet from the attached keyboard.
-
To remove the keyboard, simply depress the switch on the left side of the screen and pull the tablet portion off.
-
-
이 단계는 번역되지 않았습니다. 번역을 도와주십시오
-
Rotate the device 180°, and use a PH000 screwdriver to remove the two 1.59 mm screws at the bottom.
-
-
이 단계는 번역되지 않았습니다. 번역을 도와주십시오
-
Insert a plastic opening tool into the bottom right corner, and gently start to pry off the screen.
-
Once the screen begins to separate from the body of the device, start working the tool around the outer edges until the entire screen becomes detached.
-
-
이 단계는 번역되지 않았습니다. 번역을 도와주십시오
-
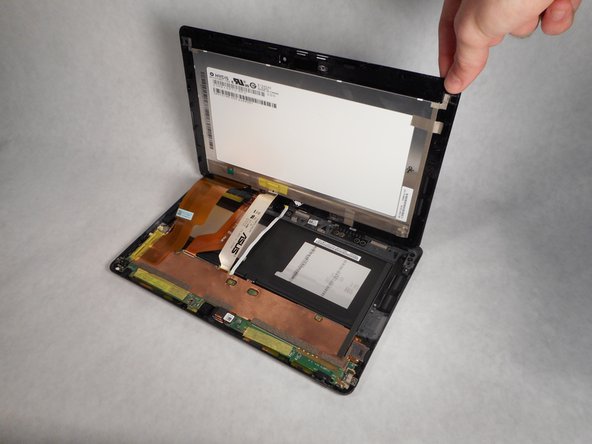
Now that the frame is separated, lift the screen assembly partially away from the motherboard.
-
-
이 단계는 번역되지 않았습니다. 번역을 도와주십시오
-
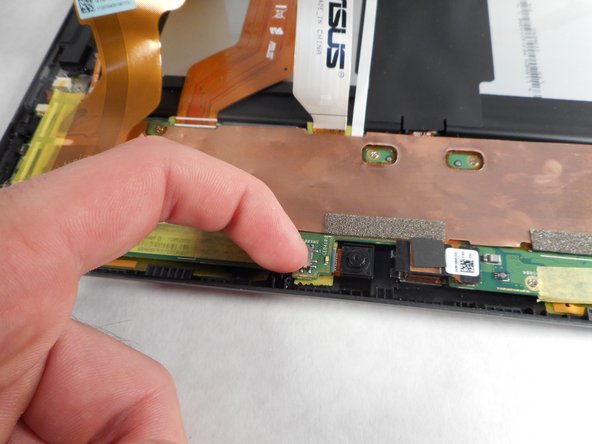
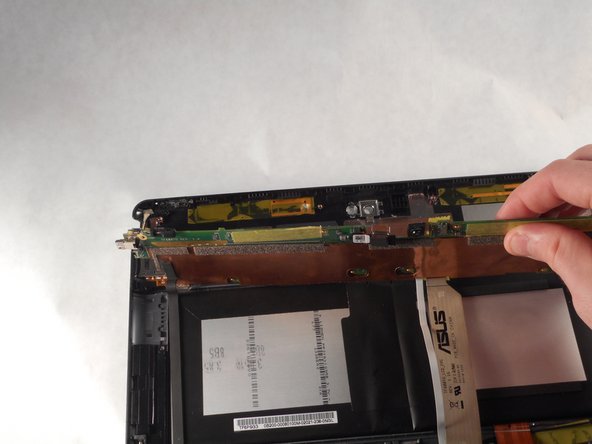
Before disconnecting the display cables, turn off the switch labeled DIP; this switch is used to de-energize the system.
-
-
-
이 단계는 번역되지 않았습니다. 번역을 도와주십시오
-
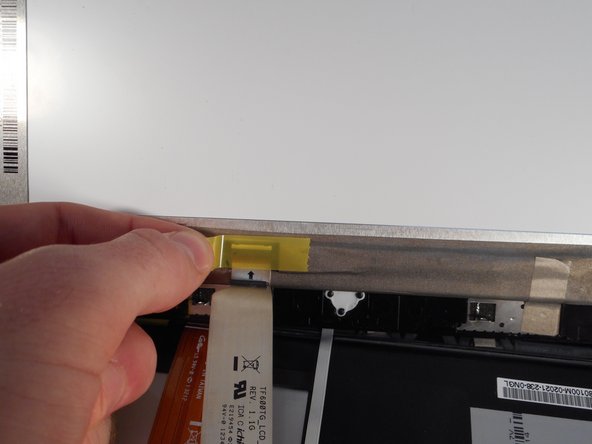
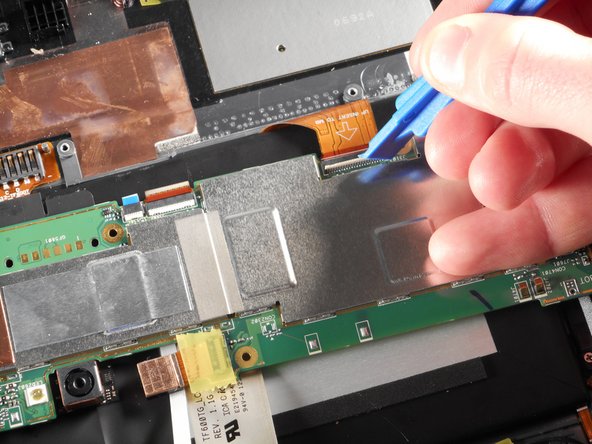
Remove the yellow tape that secures the digitizer and LCD screen ZIF connectors.
-
-
이 단계는 번역되지 않았습니다. 번역을 도와주십시오
-
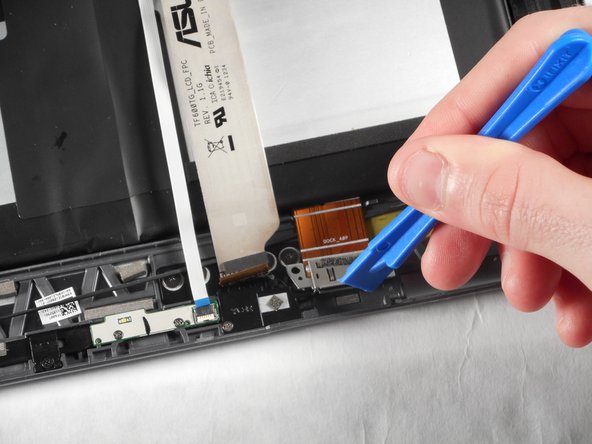
After removing the yellow tape, use a plastic opening tool to lift the two digitizer ZIF connector tabs; pull the ribbon cable free.
-
-
이 단계는 번역되지 않았습니다. 번역을 도와주십시오
-
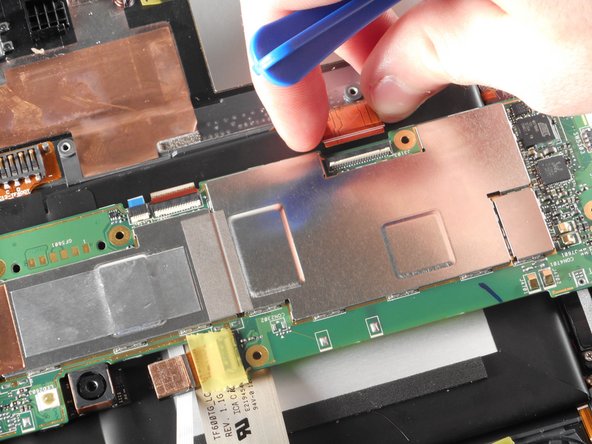
Use a plastic opening too to lift the LCD screen ZIF connector; pull the ribbon cable free.
-
-
이 단계는 번역되지 않았습니다. 번역을 도와주십시오
-
Remove the two 0.79mm screws from the charging port with the Phillips #00 screwdriver.
-
-
이 단계는 번역되지 않았습니다. 번역을 도와주십시오
-
Place the plastic opening tool behind the charging port, closest to the outer edge of the device.
-
Gently pry the charging port away from the frame.
-
-
이 단계는 번역되지 않았습니다. 번역을 도와주십시오
-
Use a nylon spudger to help carefully pry the motherboard from the back panel.
-
Once the motherboard is relieved from the glue, use your hand to lift the motherboard up and to the opposite end of the back panel.
-
-
이 단계는 번역되지 않았습니다. 번역을 도와주십시오
-
Use a plastic opening tool to lift and release the battery ZIF connector; gently pull the ribbon cable free.
-
Remove the motherboard.
-