주요 콘텐츠로 건너뛰기

Asus Vivobook Max X541SA-PD0703X Hard Drive Replacement

필요한 것

  1. Asus Vivobook Max X541SA-PD0703X Hard Drive Replacement, Hard Drive: 1 단계, 이미지 1/1
    • Flip the laptop upside down so that the back of the laptop faces you.

  2. Asus Vivobook Max X541SA-PD0703X Hard Drive Replacement: 2 단계, 이미지 1/1
    • Remove the following ten Phillips #0 screws from the bottom of the laptop:

    • Six 13mm screws.

    • Four 11mm screws.

  3. Asus Vivobook Max X541SA-PD0703X Hard Drive Replacement: 3 단계, 이미지 1/3 Asus Vivobook Max X541SA-PD0703X Hard Drive Replacement: 3 단계, 이미지 2/3 Asus Vivobook Max X541SA-PD0703X Hard Drive Replacement: 3 단계, 이미지 3/3
    • Using a plastic opening tool, pry up the palm rest from the bottom case of the laptop.

    • Don't completely remove as there are ribbon cables connecting the two halves.

  4. Asus Vivobook Max X541SA-PD0703X Hard Drive Replacement: 4 단계, 이미지 1/3 Asus Vivobook Max X541SA-PD0703X Hard Drive Replacement: 4 단계, 이미지 2/3 Asus Vivobook Max X541SA-PD0703X Hard Drive Replacement: 4 단계, 이미지 3/3
    • Use a spudger to flip up the retaining flaps on both keyboard ribbon cable ZIF sockets.

    • Pull the ribbon cables out of their sockets.

  5. Asus Vivobook Max X541SA-PD0703X Hard Drive Replacement: 5 단계, 이미지 1/1
    • Remove the three 6mm Phillips #0 screws from the motherboard.

  6. Asus Vivobook Max X541SA-PD0703X Hard Drive Replacement: 6 단계, 이미지 1/2 Asus Vivobook Max X541SA-PD0703X Hard Drive Replacement: 6 단계, 이미지 2/2
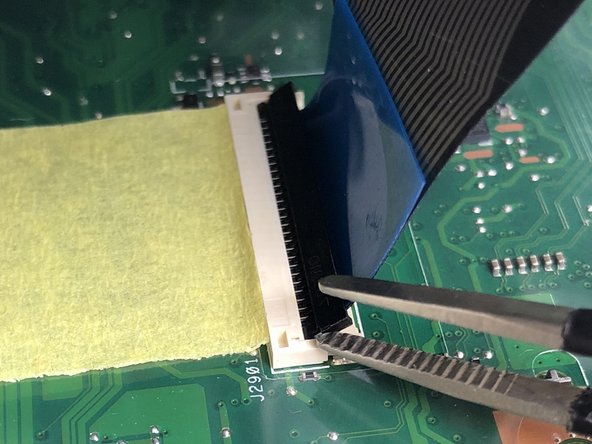
    • Pull the Wi-Fi card out of the motherboard.

    The removal of the wifi card seems unnecessary for removing the hard drive.

    Jakub Šušlík - 답글

  7. Asus Vivobook Max X541SA-PD0703X Hard Drive Replacement: 7 단계, 이미지 1/1
    • Remove the hard drive by pulling it towards the right, and removing it from the laptop case

    I have an ASUS x451N. I changed the storage to an ssd since its very slow and now it doesn't boot. It just gets stuck in bios. It appears in the storage section but not on the boot menu. The ssd has an os and I have already tried to boot it in my pc and it works. I hope you can help me with this problem. Thank you!

    Christusjohn Leoncio L Salvani - 답글

결론

To reassemble your device, follow these instructions in reverse order.

다른 3명이 해당 안내서를 완성하였습니다.

Mayar Eskandarani

회원 가입일: 02/22/18

385 평판

안내서 2개 작성하였습니다

USF Tampa, Team S1-G4, Cagle Spring 2018 USF Tampa, Team S1-G4, Cagle Spring 2018 회원

USFT-CAGLE-S18S1G4

4 회원들

안내서 7개 작성하였습니다

댓글 2개

is it possible to upgrade the hard drive of any laptop? from 500GB to 1T?

kevin ross s. rosento - 답글

댓글 쓰기

조회 통계:

24 시간 전: 0

7일 전: 3

30일 전: 10

전체 시간: 2,515