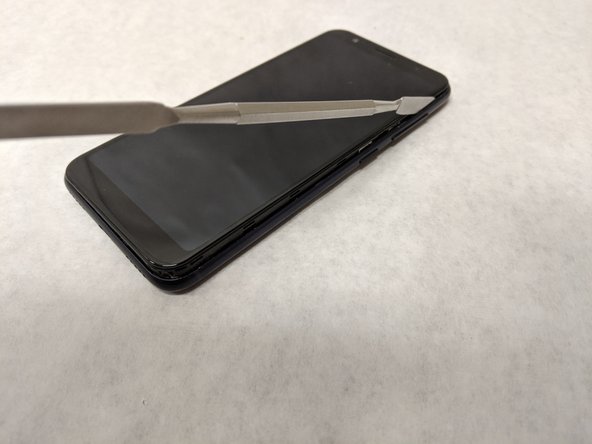
주요 콘텐츠로 건너뛰기

Asus ZenFone 5 Camera Stabilizer Replacement

보관된 가이드
해당 안내서는 단지 역사적인 목적으로 보관됩니다. 최신 버전 안내서를 사용하여 수리 하십시오.

필요한 것

  1. Asus ZenFone 5 Camera Stabilizer Replacement, Battery: 1 단계, 이미지 1/1
    • Heat up the iOpener in the microwave for 30 seconds.

    • Caution: when the iOpener is heated up, hold it by the sides to prevent bodily harm.

  2. Asus ZenFone 5 Camera Stabilizer Replacement: 2 단계, 이미지 1/1
    • Place the iOpener on the side of the phone until the iOpener gets cool (approximately 10-15 minutes).

    • Reheat the iOpener and reapply it to the other side of the phone.

  3. Asus ZenFone 5 Camera Stabilizer Replacement: 3 단계, 이미지 1/2 Asus ZenFone 5 Camera Stabilizer Replacement: 3 단계, 이미지 2/2
    • Gently slide the jimmy along the edges of the phone to break the adhesive.

    • Use opening picks and the opening tool to pry the back cover off.

    • The use of metal tools as shown in the photos is potentially dangerous as the battery is exposed along the edges of the case and risk of puncture is high. Choose an ESD safe tool instead.

    • There are 6 different tabs on each side of the phone that might take force to get apart.

    • Repeat the heating and prying process until the back cover can be fully removed.

  4. Asus ZenFone 5 Camera Stabilizer Replacement: 4 단계, 이미지 1/2 Asus ZenFone 5 Camera Stabilizer Replacement: 4 단계, 이미지 2/2
    • Use the #00 phillips head to take out the six phillips #00 3.175mm screws on the top cover plate.

    • Use the spudger to release the clasps along the edge of the top plate.

  5. Asus ZenFone 5 Camera Stabilizer Replacement: 5 단계, 이미지 1/1
    • Disconnect the press fit connector located near the upper right corner of the battery to disengage the battery from the motherboard.

  6. Asus ZenFone 5 Camera Stabilizer Replacement: 6 단계, 이미지 1/2 Asus ZenFone 5 Camera Stabilizer Replacement: 6 단계, 이미지 2/2
    • Use the same screwdriver to remove the five phillips #00 3.96mm screws along the bottom plate.

    • Use the spudger to pry the bottom plate off.

  7. Asus ZenFone 5 Camera Stabilizer Replacement: 7 단계, 이미지 1/2 Asus ZenFone 5 Camera Stabilizer Replacement: 7 단계, 이미지 2/2
    • Pull on the two black tabs on the bottom of the battery until the battery is released.

    • Gently pull the battery out of its socket.

  8. Asus ZenFone 5 Camera Stabilizer Replacement, Camera Stabilizer: 8 단계, 이미지 1/3 Asus ZenFone 5 Camera Stabilizer Replacement, Camera Stabilizer: 8 단계, 이미지 2/3 Asus ZenFone 5 Camera Stabilizer Replacement, Camera Stabilizer: 8 단계, 이미지 3/3
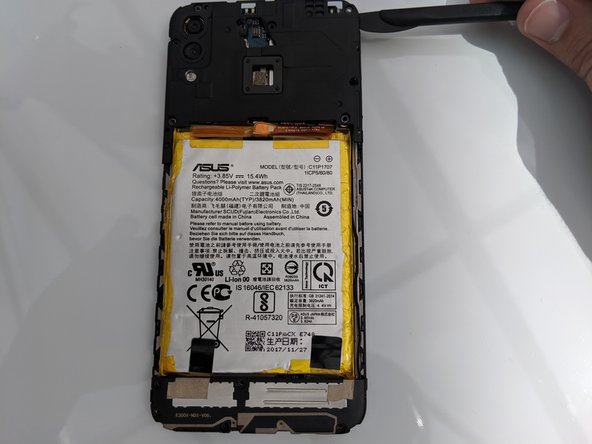
    • On the top left of the motherboard underneath the camera, use the tweezers to disconnect the press fit connector that is to the right of the stabilizer.

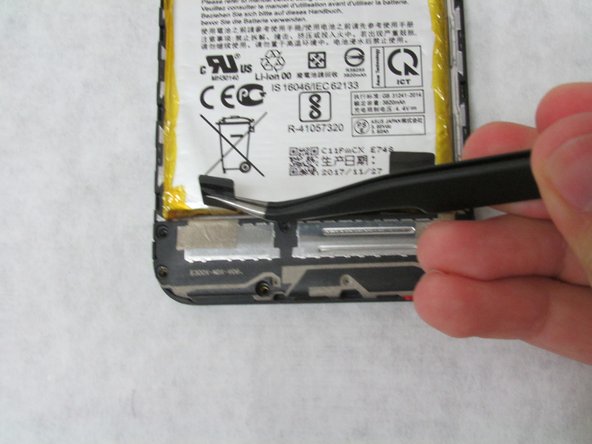
    • Use the tweezers to pry off the black gasket around the stabilizer.

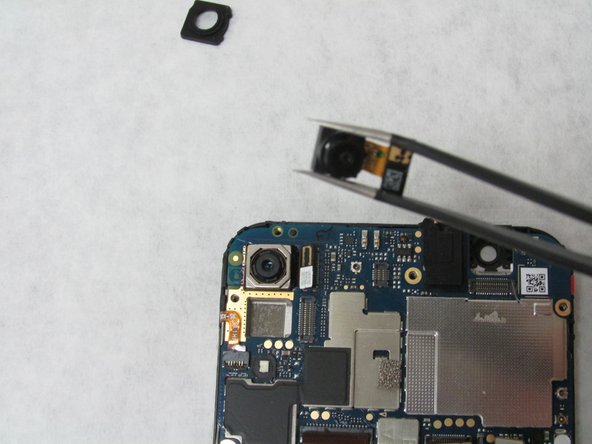
    • Gently grab either side of stabilizer and lift it up.

결론

To reassemble your device, follow these instructions in reverse order.

Nathan Foster

회원 가입일: 07/08/19

612 평판

안내서 6개 작성하였습니다

댓글 0개

댓글 쓰기

조회 통계:

24 시간 전: 1

7일 전: 1

30일 전: 2

전체 시간: 159