소개
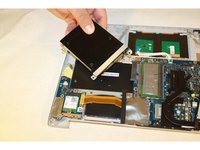
If the mouse on your Asus Zenbook UX303L is not moving, moving incorrectly, not clicking, or clicking incorrectly, use this guide to replace its trackpad. Before using this guide, be sure to clean your trackpad of any dirt or debris that might be obstructing the trackpad’s movement and see if that fixes the problem.
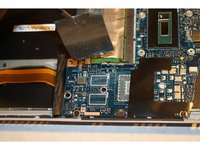
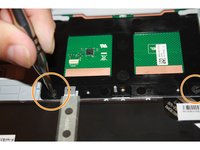
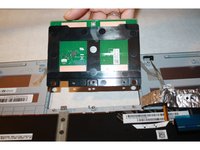
The track pad is the small rectangular surface just below the space bar that is used to control the mouse. If available, attach an external USB mouse and verify that the cursor moves and clicks correctly with it. If it does not, the issue may be with the mouse settings.
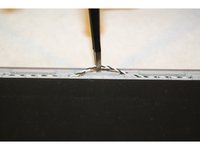
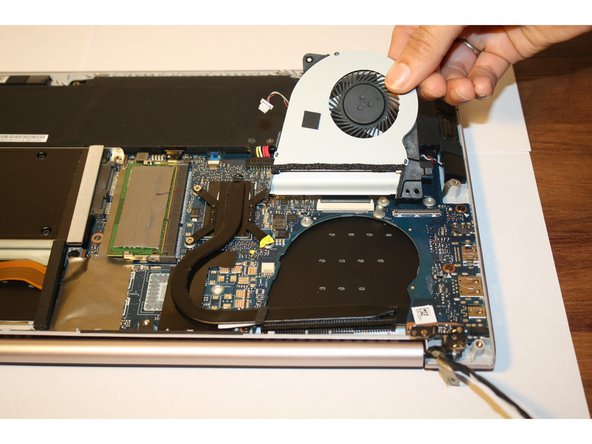
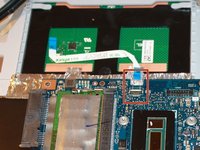
Before beginning, make sure to power off your Asus Zenbook UX303L completely and disconnect it from any external power source.
필요한 것


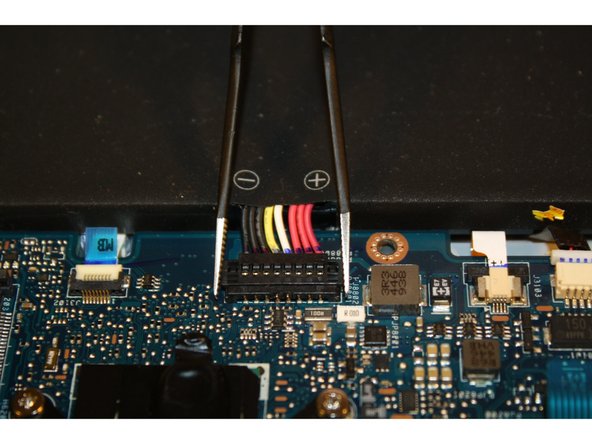
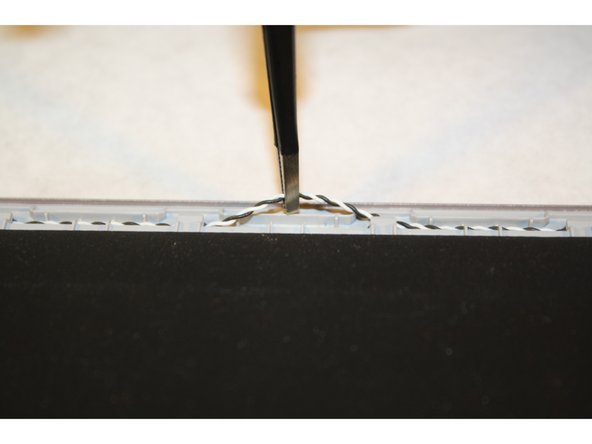
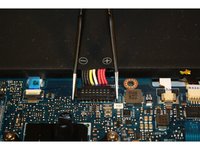


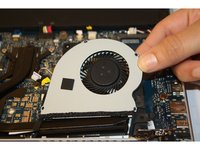


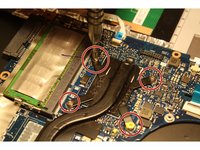
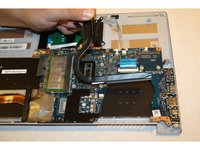

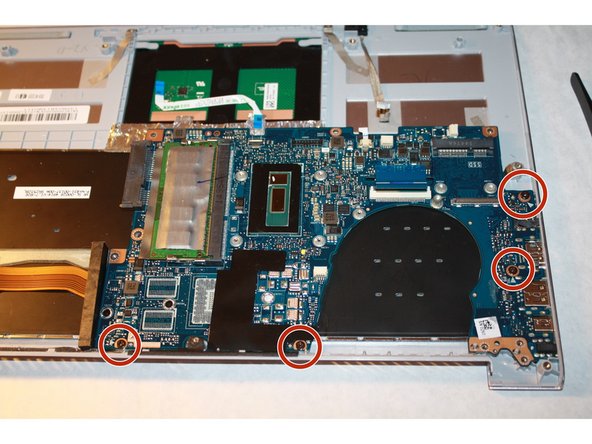
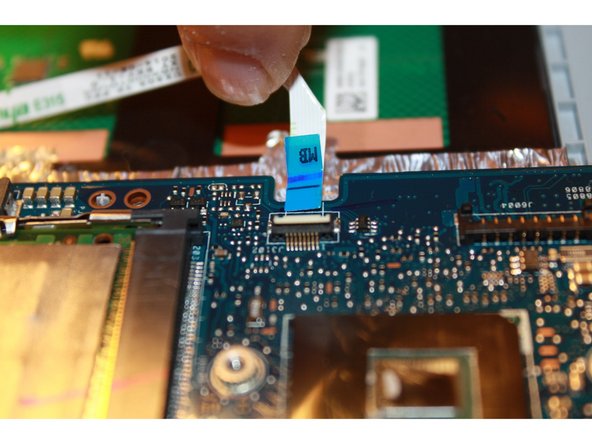


To reassemble your device, follow these instructions in reverse order.
To reassemble your device, follow these instructions in reverse order.
다른 3명이 해당 안내서를 완성하였습니다.
팀

Sam Houston State, Team 1-3, Blackburne Fall 2015 Sam Houston State, Team 1-3, Blackburne Fall 2015 회원
SHSU-BLACKBURNE-F15S1G3
3 회원들
안내서 4개를 작성함