소개
Replace or upgrade your hard drive in your laptop to gain more storage space!
필요한 것
-
-
Remove the twelve 3 mm bottom panel screws with a T5 Torx Screwdriver.
-
-
-
-
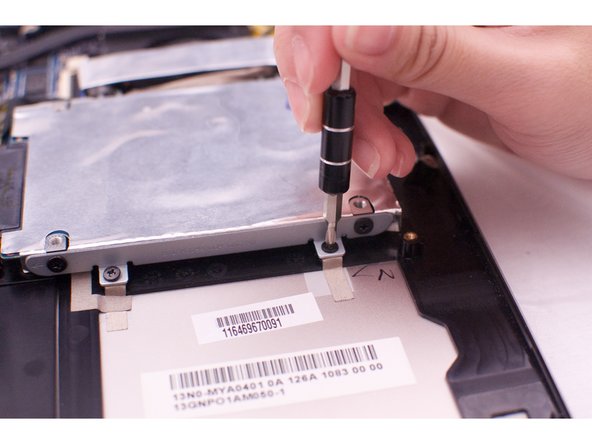
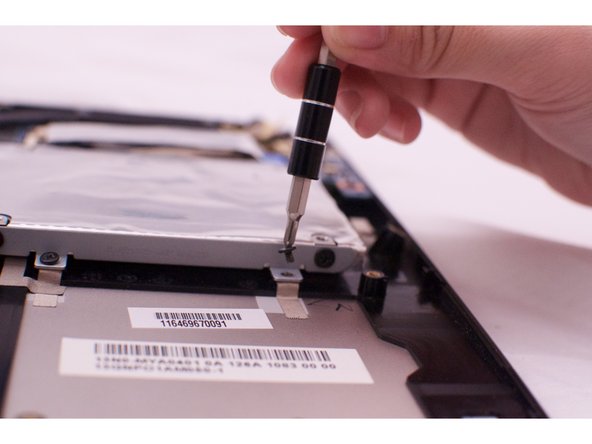
Remove the four 3mm hard drive screws with a Phillips #0 Screwdriver.
-


To reassemble your device, follow these instructions in reverse order.
To reassemble your device, follow these instructions in reverse order.
다른 12명이 해당 안내서를 완성하였습니다.
팀

CSU Fullerton, Team 2-2, Bruce Fall 2015 CSU Fullerton, Team 2-2, Bruce Fall 2015 회원
CSUF-BRUCE-F15S2G2
4 회원들
안내서 6개 작성하였습니다
댓글 4개
Excellent! Precise and concise to the point!Thank you!
can someone confirm to me that samsung evo 860 will work or not for this asus please