주요 콘텐츠로 건너뛰기

Asus Zenfone Max M2 Screen Replacement

필요한 것

  1. Asus Zenfone Max M2 Screen Replacement, Remove back cover: 1 단계, 이미지 1/3 Asus Zenfone Max M2 Screen Replacement, Remove back cover: 1 단계, 이미지 2/3 Asus Zenfone Max M2 Screen Replacement, Remove back cover: 1 단계, 이미지 3/3
    • Power off the phone before starting the repair.

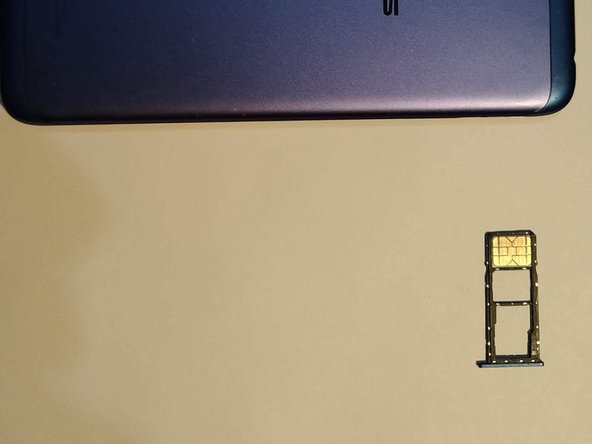
    • Remove the SIM card tray.

    • Pry open the back cover. Start at the SIM card slot where it's most flexible.

    • Work your way around the back cover using a plastic pick until it detaches from the phone.

  2. Asus Zenfone Max M2 Screen Replacement, Remove screws for top cross-bracket: 2 단계, 이미지 1/3 Asus Zenfone Max M2 Screen Replacement, Remove screws for top cross-bracket: 2 단계, 이미지 2/3 Asus Zenfone Max M2 Screen Replacement, Remove screws for top cross-bracket: 2 단계, 이미지 3/3
    • Lift up the fingerprint sensor.

    • There is some adhesive tape below the fingerprint scanner.

    • Use your screwdriver to remove the three screws that secure the bracket underneath the fingerprint sensor.

  3. Asus Zenfone Max M2 Screen Replacement, Remove hardware below battery: 3 단계, 이미지 1/3 Asus Zenfone Max M2 Screen Replacement, Remove hardware below battery: 3 단계, 이미지 2/3 Asus Zenfone Max M2 Screen Replacement, Remove hardware below battery: 3 단계, 이미지 3/3
    • Remove the seven screws securing in the speaker plastic and pry it up.

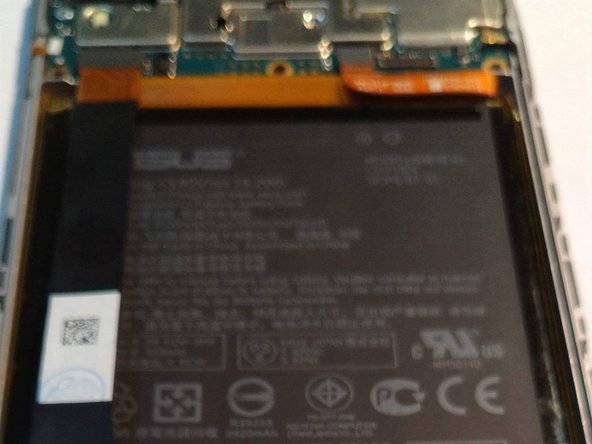
    • Disconnect the antenna cable and the interconnect cable that runs across the battery.

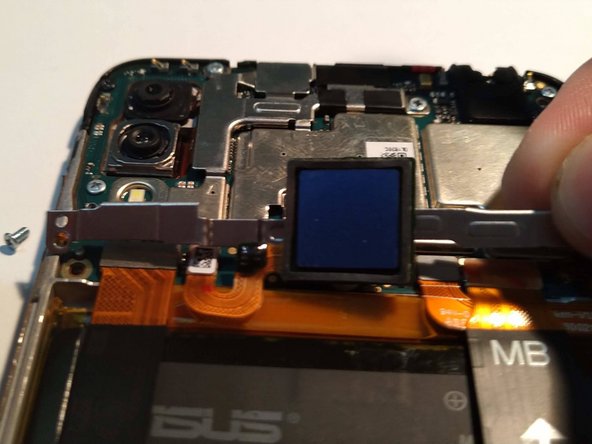
    • Remove the rest of the screws holding in the daughterboard and remove it as shown.

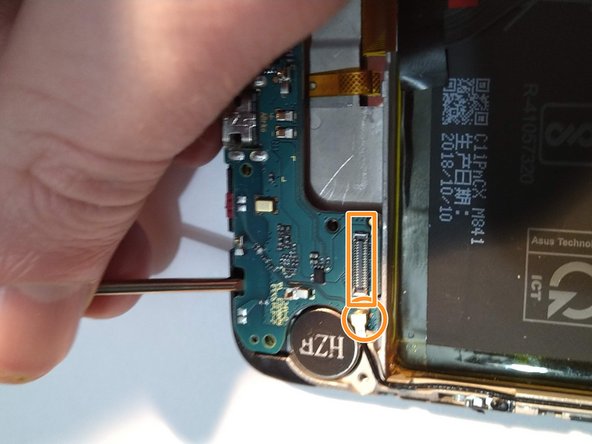
    • Remove the connectors underneath the top bracket.

  4. Asus Zenfone Max M2 Screen Replacement, Remove broken screen: 4 단계, 이미지 1/3 Asus Zenfone Max M2 Screen Replacement, Remove broken screen: 4 단계, 이미지 2/3 Asus Zenfone Max M2 Screen Replacement, Remove broken screen: 4 단계, 이미지 3/3
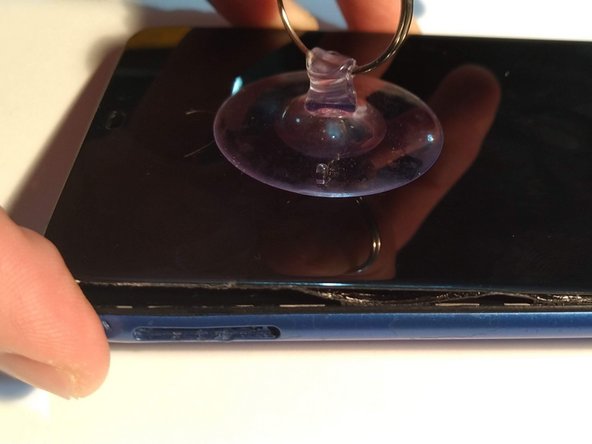
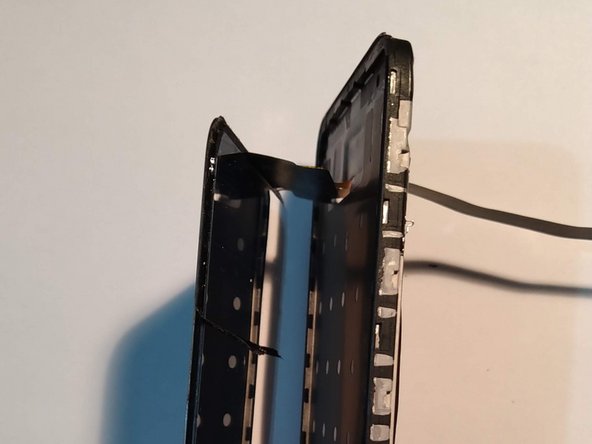
    • Use suction cups to pull back on broken screen.

    • If your screen is heavily cracked, cover it in tape. This allows the suction cup to grip better and will prevent glass shards from falling off.

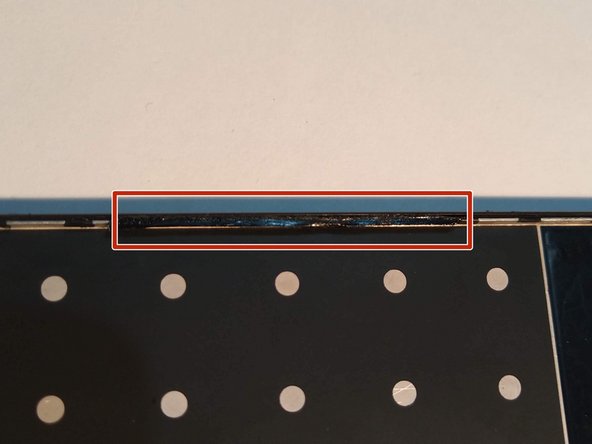
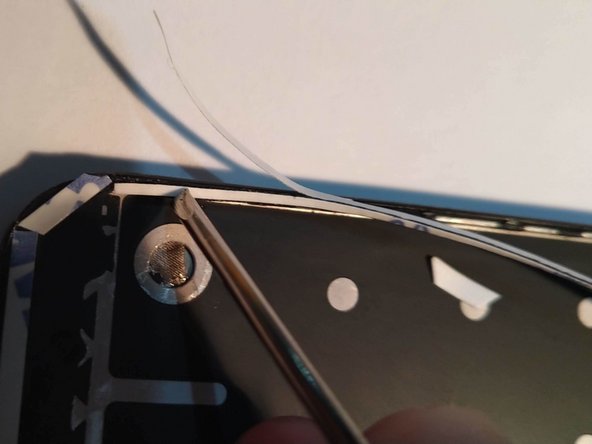
    • The screen is held in by tape. Be gentle and patient, it can be detached. If needed, you can reinstall the back cover for more leverage.

    • During reassembly, test the new screen before applying adhesive by reconnecting the display cables and powering on your phone. Power your phone off before continuing reassembly.

  5. Asus Zenfone Max M2 Screen Replacement, Install 3M 9448A tape: 5 단계, 이미지 1/3 Asus Zenfone Max M2 Screen Replacement, Install 3M 9448A tape: 5 단계, 이미지 2/3 Asus Zenfone Max M2 Screen Replacement, Install 3M 9448A tape: 5 단계, 이미지 3/3
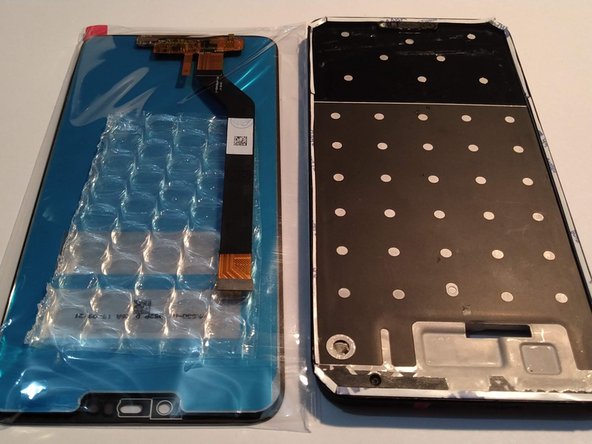
    • Remove any old adhesive residue from the front of the phone and set the old screen aside.

    • You can use a spudger to help scrape it off.

    • Reapply 3M 9448A tape to the lips on the inside edge of the phone. Cover as much surface area as possible.

    • During reassembly, use a pair of tweezers to install the new adhesive.

    • Don't touch the tape with your fingers or the adhesive will lose strength.

    • Remove the front backing and you're ready to install the new screen.

  6. Asus Zenfone Max M2 Screen Replacement, Attach new screen: 6 단계, 이미지 1/3 Asus Zenfone Max M2 Screen Replacement, Attach new screen: 6 단계, 이미지 2/3 Asus Zenfone Max M2 Screen Replacement, Attach new screen: 6 단계, 이미지 3/3
    • Remove all packaging from the new screen.

    • Thread the ribbon cable through the slot in the phone.

    • Carefully line up and apply the new screen to the tape, using light pressure to ensure the screen adheres correctly.

    • Flip the phone over.

  7. Asus Zenfone Max M2 Screen Replacement, Connect the new screen: 7 단계, 이미지 1/3 Asus Zenfone Max M2 Screen Replacement, Connect the new screen: 7 단계, 이미지 2/3 Asus Zenfone Max M2 Screen Replacement, Connect the new screen: 7 단계, 이미지 3/3
    • Ground the screen to the body of the phone.

    • Re-insert the charging circuit board.

    • Reconnect the ribbon that goes across the battery.

  8. Asus Zenfone Max M2 Screen Replacement, Reassemble: 8 단계, 이미지 1/3 Asus Zenfone Max M2 Screen Replacement, Reassemble: 8 단계, 이미지 2/3 Asus Zenfone Max M2 Screen Replacement, Reassemble: 8 단계, 이미지 3/3
    • Snap the bottom plastic speaker piece back into place and screw it in.

    • Reinsert the top cross-bracket and fingerprint sensor. Screw it in place.

    • Reinstall the back cover and SIM card tray.

  9. Asus Zenfone Max M2 Screen Replacement, Enjoy your new screen!: 9 단계, 이미지 1/3 Asus Zenfone Max M2 Screen Replacement, Enjoy your new screen!: 9 단계, 이미지 2/3 Asus Zenfone Max M2 Screen Replacement, Enjoy your new screen!: 9 단계, 이미지 3/3
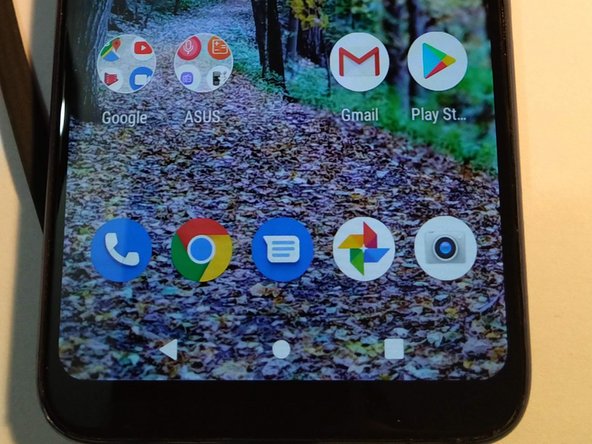
    • Enjoy the sound of peeling the plastic off your new screen!

    • Congratulations, you're done!

    • Check that all functions of your phone are working correctly and test out your new screen.

결론

To reassemble your device, follow these instructions in reverse order.

다른 5명이 해당 안내서를 완성하였습니다.

jfar

회원 가입일: 05/11/19

385 평판

안내서 2개 작성하였습니다

댓글 0개

댓글 쓰기

조회 통계:

24 시간 전: 4

7일 전: 8

30일 전: 37

전체 시간: 3,018