주요 콘텐츠로 건너뛰기

Atari 5200 Controller Flex Board Replacement

필요한 것

  1. Atari 5200 Controller Flex Board Replacement, Opening up the controller: 1 단계, 이미지 1/3 Atari 5200 Controller Flex Board Replacement, Opening up the controller: 1 단계, 이미지 2/3 Atari 5200 Controller Flex Board Replacement, Opening up the controller: 1 단계, 이미지 3/3
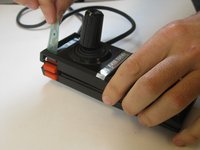
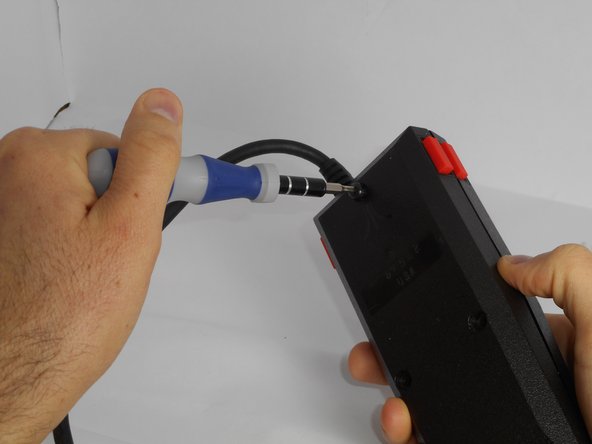
    • Turn the controller over, exposing the three screws on the back. Use a 6mm screwdriver to remove these screws.

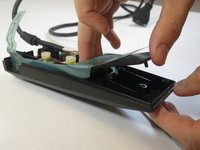
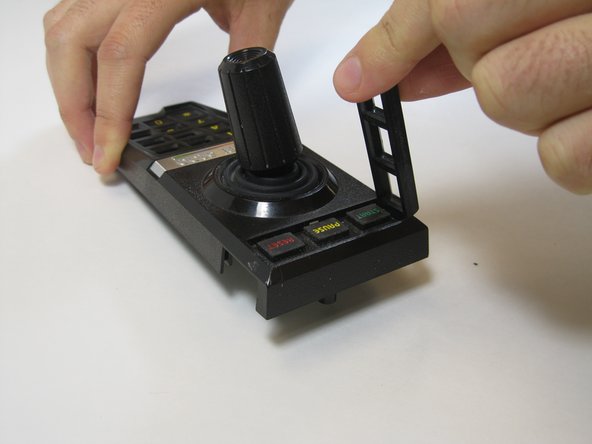
    • Carefully slide and pull the two parts of the controller shell apart, exposing the innards.

    • Try not to move the joystick when reassembling. This will almost assuredly break your alignment. The less the joystick is moved, the easier it will be to realign the joystick to the pots.

  2. Atari 5200 Controller Flex Board Replacement, Removing the Circuit Board: 2 단계, 이미지 1/3 Atari 5200 Controller Flex Board Replacement, Removing the Circuit Board: 2 단계, 이미지 2/3 Atari 5200 Controller Flex Board Replacement, Removing the Circuit Board: 2 단계, 이미지 3/3
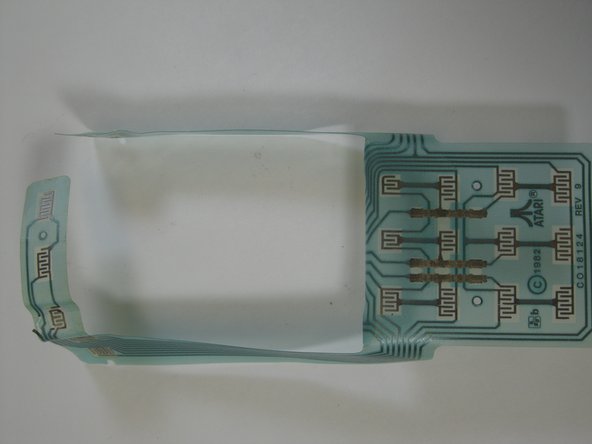
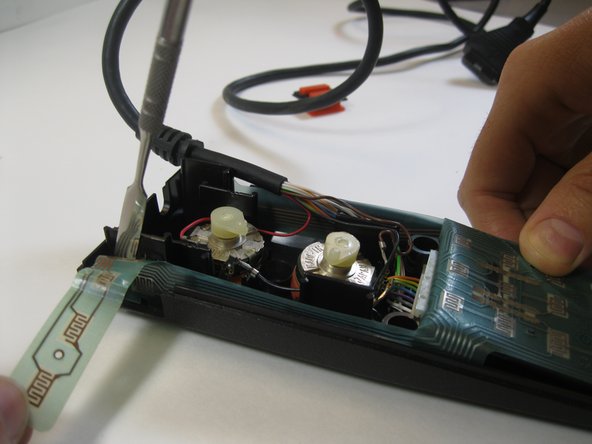
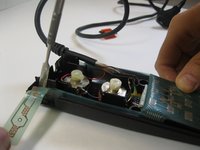
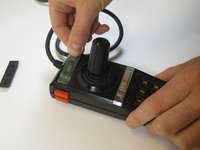
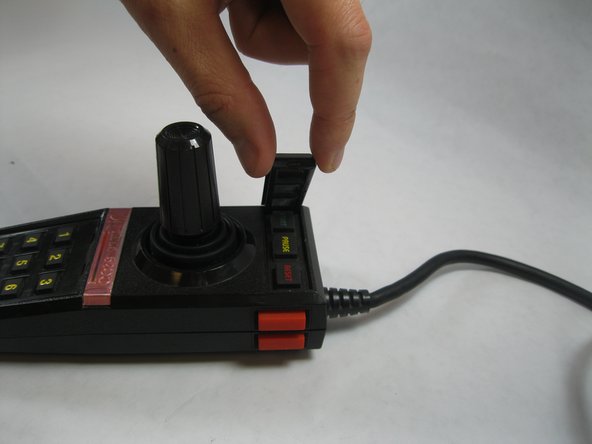
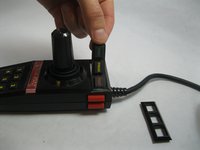
    • Slide out the strip of the board connected to the controller's START, PAUSE, and RESET buttons.

  3. Atari 5200 Controller Flex Board Replacement: 3 단계, 이미지 1/3 Atari 5200 Controller Flex Board Replacement: 3 단계, 이미지 2/3 Atari 5200 Controller Flex Board Replacement: 3 단계, 이미지 3/3
    • Peel off the old circuit board.

    • The buttons should fall out/be removable.

    • Disconnect it from the wire connector.

  4. Atari 5200 Controller Flex Board Replacement, Adding the new board: 4 단계, 이미지 1/3 Atari 5200 Controller Flex Board Replacement, Adding the new board: 4 단계, 이미지 2/3 Atari 5200 Controller Flex Board Replacement, Adding the new board: 4 단계, 이미지 3/3
    • Place the new circuit board where the old one was.

    • Glue/tape it in places where the previous board was held.

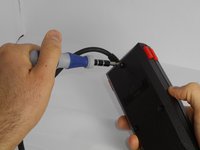
    • Connect it to the wire connector.

  5. Atari 5200 Controller Flex Board Replacement, Reassembly Part 1: 5 단계, 이미지 1/2 Atari 5200 Controller Flex Board Replacement, Reassembly Part 1: 5 단계, 이미지 2/2
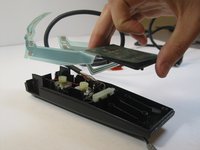
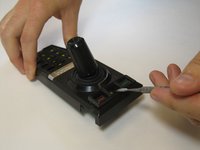
    • Use a spudger to remove the top frame.
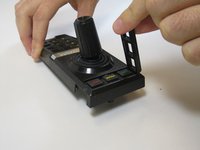
    • Take off the plate.

    • Remove the rubber buttons.

  6. Atari 5200 Controller Flex Board Replacement, Reassembly Part 2: 6 단계, 이미지 1/2 Atari 5200 Controller Flex Board Replacement, Reassembly Part 2: 6 단계, 이미지 2/2
    • Pull the circuit strip through the new space.

    • Realign the top and bottom of the controller.

  7. Atari 5200 Controller Flex Board Replacement: 7 단계, 이미지 1/3 Atari 5200 Controller Flex Board Replacement: 7 단계, 이미지 2/3 Atari 5200 Controller Flex Board Replacement: 7 단계, 이미지 3/3
    • Return the buttons to the top of the controller.

    • Snap the frame back into place.

    • Screw the Screws

결승점

다른 한 분이 해당 안내서를 완성하였습니다.

Zach Petryszyn

회원 가입일: 09/26/14

21 평판

안내서 3개 작성하였습니다

USF Tampa, Team 13-1, Staggers Fall 2014 USF Tampa, Team 13-1, Staggers Fall 2014 회원

USFT-STAGGERS-F14S13G1

5 회원들

안내서 17개 작성하였습니다

댓글 0개

댓글 쓰기

조회 통계:

24 시간 전: 0

7일 전: 6

30일 전: 15

전체 시간: 3,120