주요 콘텐츠로 건너뛰기

Audiovox T752 Screen Replacement

필요한 것

  1. Audiovox T752 Screen Replacement, Back Panel: 1 단계, 이미지 1/3 Audiovox T752 Screen Replacement, Back Panel: 1 단계, 이미지 2/3 Audiovox T752 Screen Replacement, Back Panel: 1 단계, 이미지 3/3
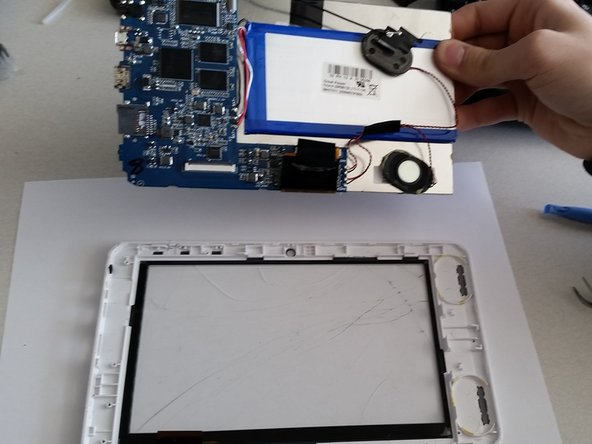
    • Find a good spot to fit the pry bar between the back cover and tablet. Slowly drag the pry bar along the sides of the cover.

    • NOTE: some force will need to be used to remove the cover. Avoid excessive force.

  2. Audiovox T752 Screen Replacement, Screen: 2 단계, 이미지 1/1
    • Remove the speakers.

  3. Audiovox T752 Screen Replacement: 3 단계, 이미지 1/1
    • Remove any adhesives (such as tape).

  4. Audiovox T752 Screen Replacement: 4 단계, 이미지 1/2 Audiovox T752 Screen Replacement: 4 단계, 이미지 2/2
    • Pry under the aluminum touch screen to remove the remaining components from the front housing.

결론

To reassemble your device, follow these instructions in reverse order.

다른 3명이 해당 안내서를 완성하였습니다.

Logan

회원 가입일: 01/28/15

391 평판

안내서 3개 작성하였습니다

Penn State, Team 2-42, Kaschak Winter 2015 Penn State, Team 2-42, Kaschak Winter 2015 회원

PSU-KASCHAK-W15S2G42

4 회원들

안내서 3개 작성하였습니다

댓글 0개

댓글 쓰기

조회 통계:

24 시간 전: 0

7일 전: 0

30일 전: 1

전체 시간: 409